SETTING THE SYSTEM CONFIGURATION
To set up the IPDS tray cells: In each IPDS tray cell, place the same media icon that is in the cell for the printer tray to which you want to map that IPDS tray. Follow these steps for each IPDS tray you are mapping:
a.On the Input Configuration screen, drag the media icon from the printer tray cell to the IPDS tray cell you want to map to it. The media icon is copied into the IPDS tray cell where you release the mouse button.
b.Repeat step a for each IPDS tray called out in the print job.
Note: The display of eight IPDS tray cells means eight IPDS trays are reported to the host when the printer is started. Any IPDS tray not containing a media icon is flagged to the host as “disabled.” If a job calls out an IPDS tray marked disabled, PSF on the host substitutes one of the available trays (those containing media icons), and displays an error message. ![]()
![]()
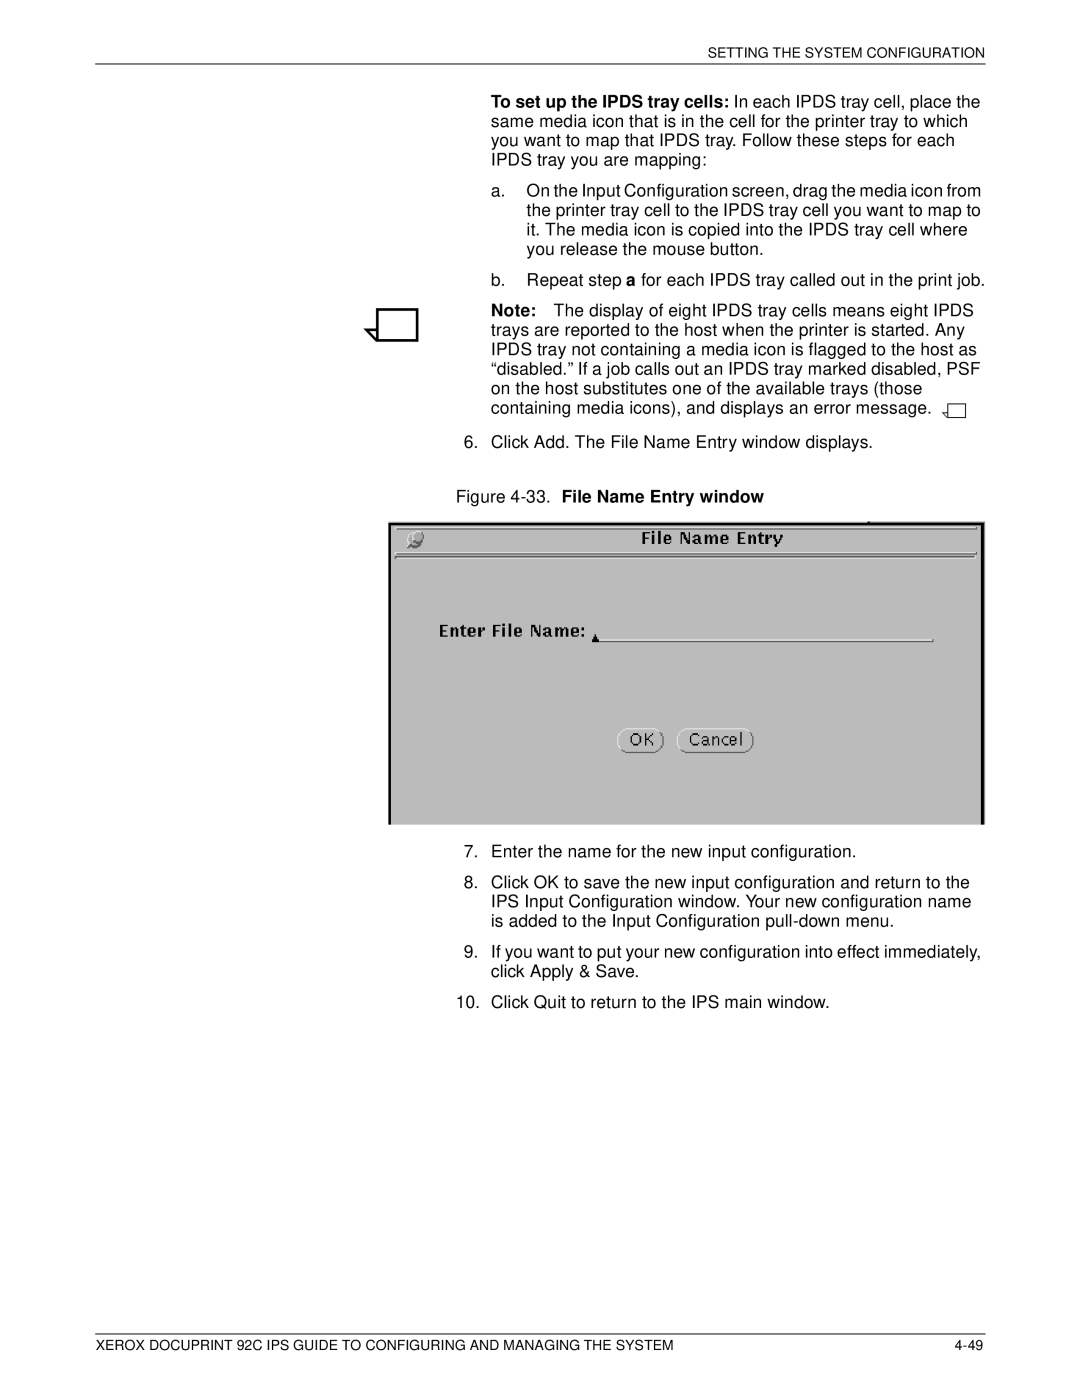
6.Click Add. The File Name Entry window displays.
Figure 4-33. File Name Entry window
7.Enter the name for the new input configuration.
8.Click OK to save the new input configuration and return to the IPS Input Configuration window. Your new configuration name is added to the Input Configuration
9.If you want to put your new configuration into effect immediately, click Apply & Save.
10. Click Quit to return to the IPS main window.
XEROX DOCUPRINT 92C IPS GUIDE TO CONFIGURING AND MANAGING THE SYSTEM |