Joystick Mounting 2 WD & 4 WD
Installing Wiring Harness for Joystick: (Continued)
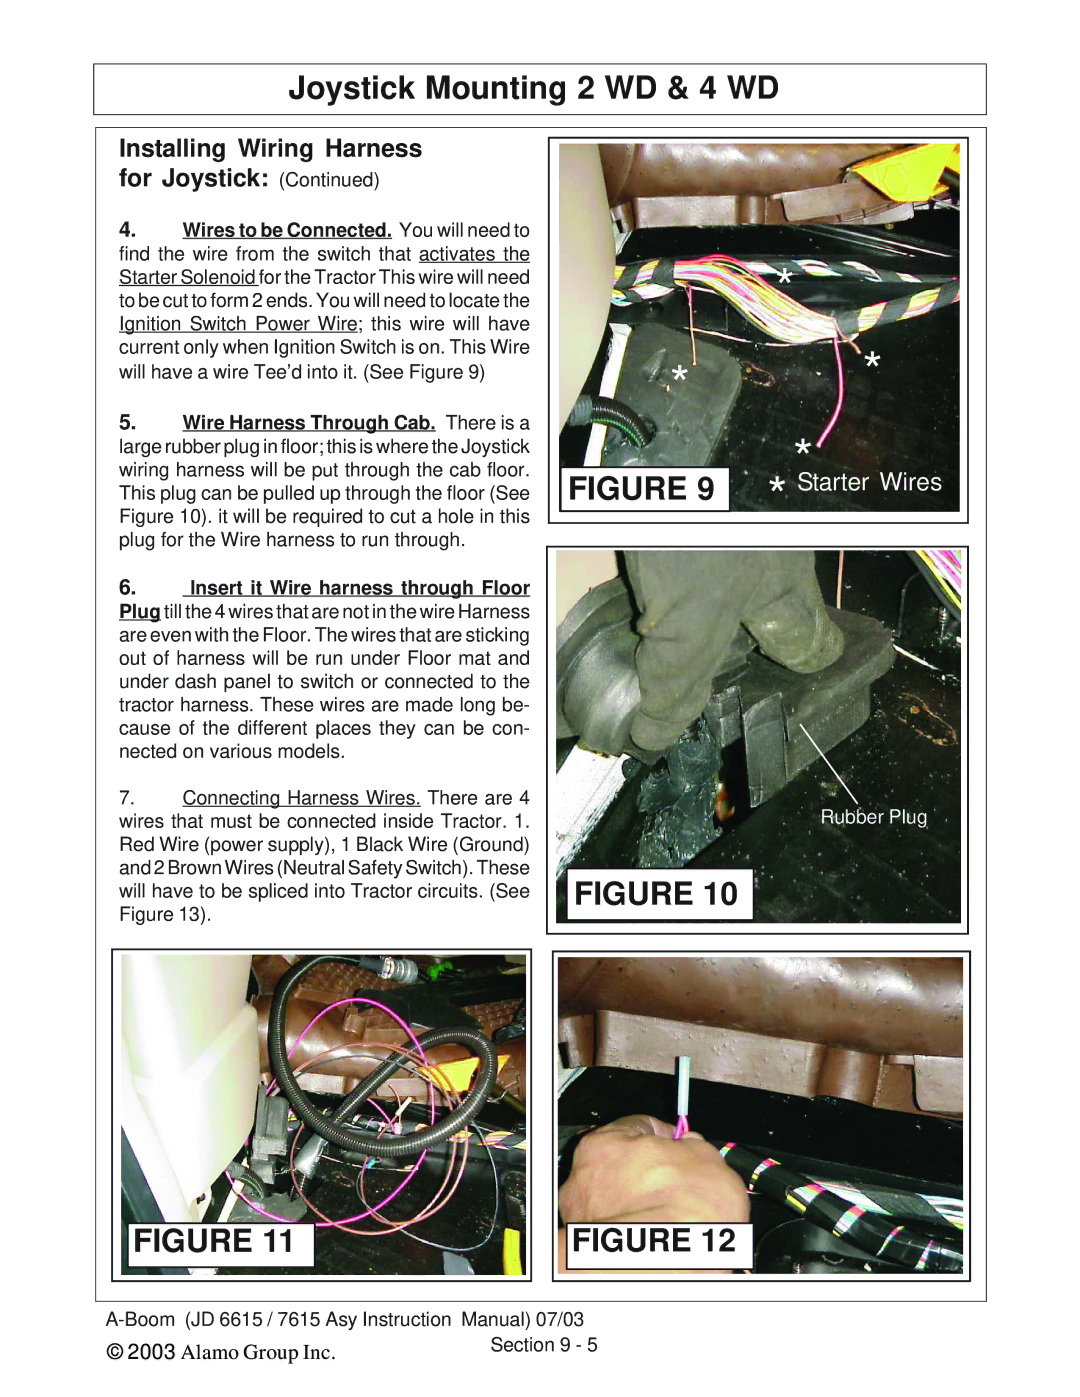
4.Wires to be Connected. You will need to find the wire from the switch that activates the Starter Solenoid for the Tractor This wire will need to be cut to form 2 ends. You will need to locate the Ignition Switch Power Wire; this wire will have current only when Ignition Switch is on. This Wire will have a wire Tee’d into it. (See Figure 9)
5.Wire Harness Through Cab. There is a
large rubber plug in floor; this is where the Joystick wiring harness will be put* through the cab floor. This plug can be pulled up through the floor (See Figure 10). it will be required to cut a hole in this plug for the Wire harness to run through.
6.Insert it Wire harness through Floor Plug till the 4 wires that are not in the wire Harness are even with the Floor. The wires that are sticking out of harness will be run under Floor mat and under dash panel to switch or connected to the tractor harness. These wires are made long be- cause of the different places they can be con- nected on various models.
7.Connecting Harness Wires. There are 4 wires that must be connected inside Tractor. 1. Red Wire (power supply), 1 Black Wire (Ground) and 2 Brown Wires (Neutral Safety Switch). These will have to be spliced into Tractor circuits. (See Figure 13).
*
* |
| * | |
| * | * | |
FIGURE 9 | |||
Starter Wires | |||
|
| ||
|
|
Rubber Plug
FIGURE 10
FIGURE 11
FIGURE 12
© 2003 | Alamo Group Inc. | Section 9 - 5 |
|