|
| Personal Video Recorder 41 | |
|
|
| |
| To set up the Personal Video Recorder | ||
|
| Click the Setup button in the TV control panel, then click | |
|
| the Personal Video Recorder tab. | |
|
|
| |
| Selection | Function |
|
| Recording | Check DVD, Good, Longer, Video CD, or Custom. | |
| Preset | (The higher the quality, the less video you will be able to | |
| These settings | store on a disk.) | |
| Note: The Video CD setting lets you create | ||
| are dependent | ||
| compliant files that can be played on most consumer | ||
| upon your | ||
| DVD players. To create a CD containing the Video CD | ||
| system | ||
| files, you need a writable CD drive and accompanying CD | ||
| configuration. | ||
| creation software. | ||
| Each can be | ||
|
|
| |
| customized. | For extremely fine control, click the Map Preset button to | |
|
| open the Recording Presets, where you can create and | |
|
| modify preset recording formats. | |
Click the Create New... button to create a new recording preset. The Recording Wizard guides you through the process.
Click the Edit... button to create a modified copy of an existing recording preset, or to edit one of your own custom settings. The Recording Wizard will guide you through the process.
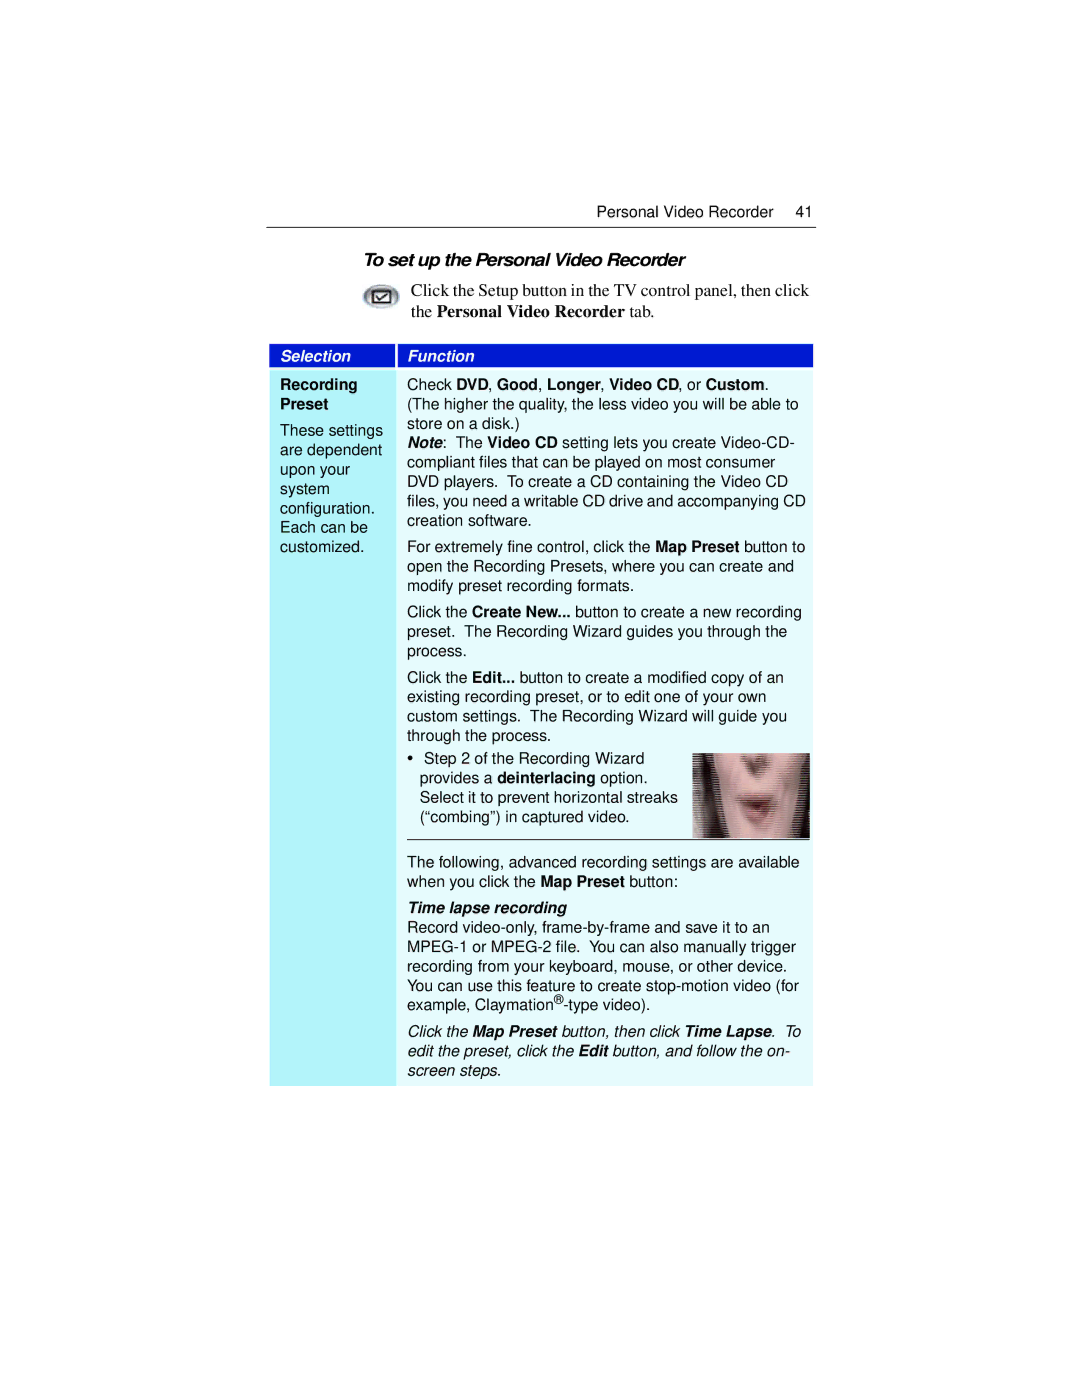
•Step 2 of the Recording Wizard provides a deinterlacing option. Select it to prevent horizontal streaks (“combing”) in captured video.
The following, advanced recording settings are available when you click the Map Preset button:
Time lapse recording
Record
Click the Map Preset button, then click Time Lapse. To edit the preset, click the Edit button, and follow the on- screen steps.