Bay Technical Associates 350 manual Connecting Port Cables, RJ-45 Port Cables

Models: 350

1 146
Download 146 pages 41.7 Kb
Page 60
Image 60
Connecting Port Cables

Using the BayStack 350 10/100 Autosense Switch

Connecting Port Cables

This section describes how to connect the BayStack 350 switch ports to the network. Depending on your network configuration requirements, connect the RJ-45 port cables, 100BASE-FX port cables, or both. After connecting the port cables, proceed to “Connecting Power” on page 2-14 to connect the AC power cord and power up the BayStack 350 switch.

The BayStack 350 10BASE-T/100BASE-TX switch ports are configured with RJ-45 connectors that are wired as MDI-X ports. As in conventional Ethernet repeater hubs, the BayStack 350 switch ports connect via straight-through cables to the network interface card (NIC) in a node or server. When connecting to an Ethernet hub or to another switch, you must use a crossover cable. Refer to Appendix B, “Connectors and Pin Assignments,” for more information.

Note: By default, all BayStack 350
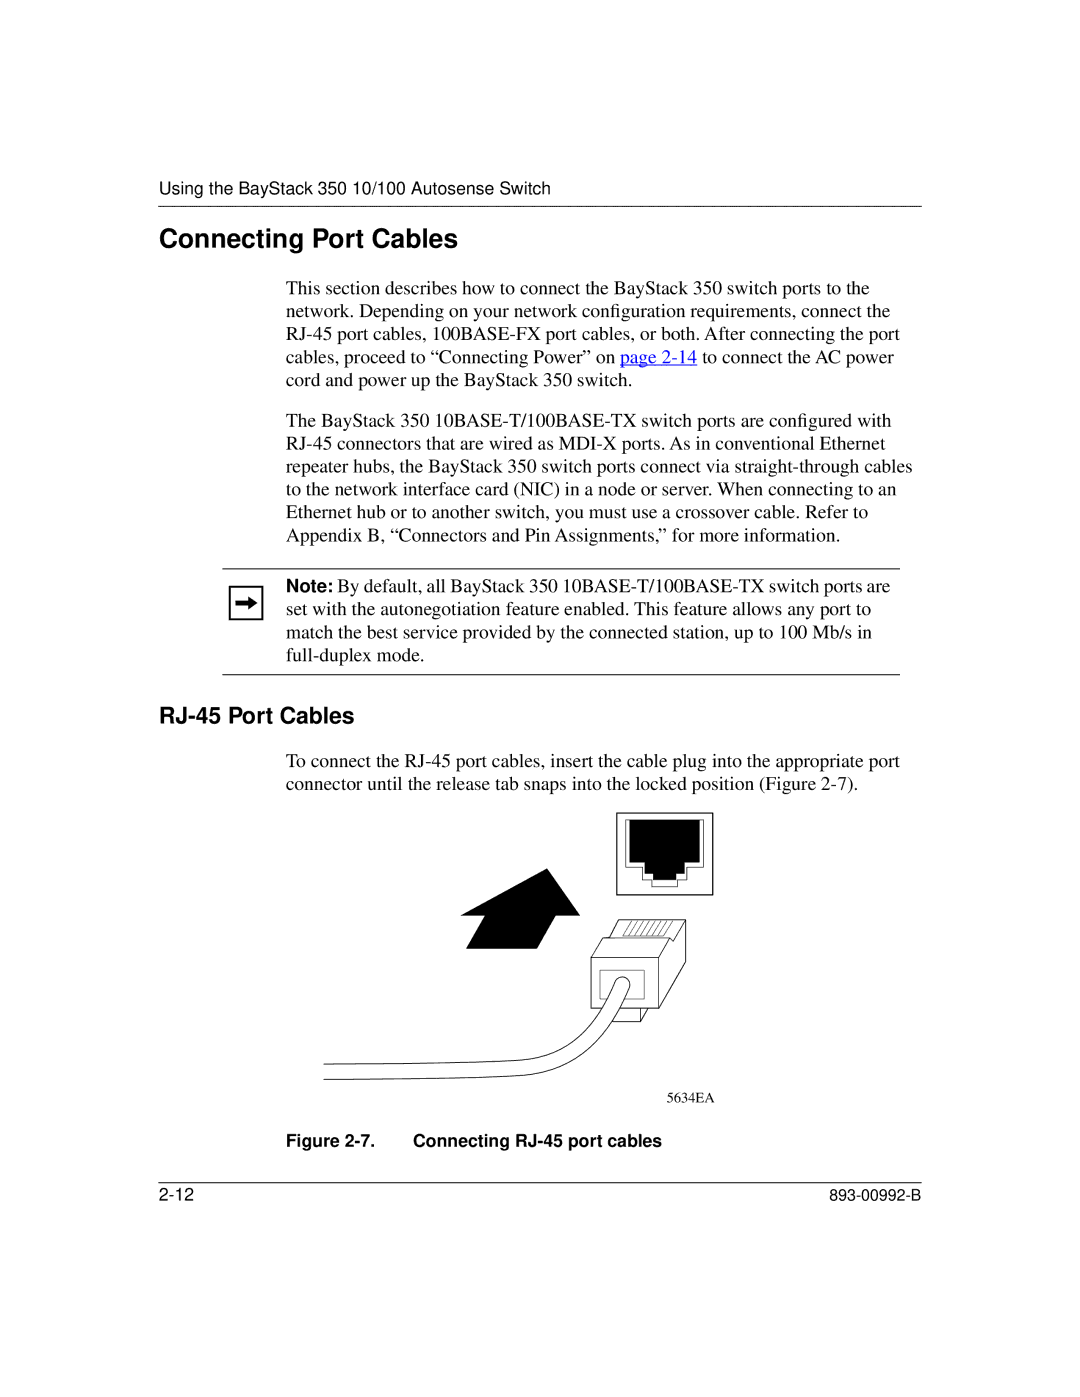
 10BASE-T/100BASE-TX switch ports are set with the autonegotiation feature enabled. This feature allows any port to match the best service provided by the connected station, up to 100 Mb/s in full-duplex mode.

RJ-45 Port Cables

To connect the RJ-45 port cables, insert the cable plug into the appropriate port connector until the release tab snaps into the locked position (Figure 2-7).

5634EA

Figure 2-7. Connecting RJ-45 port cables

2-12

893-00992-B

Page 60
Image 60
Bay Technical Associates 350 manual Connecting Port Cables, RJ-45 Port Cables