Chapter 3: Configuration
•Buttons:
-Save: Click to save changes.
-Reset: Click to undo any changes made locally and revert to previously saved values.
-Cancel: Click to cancel changes.
•
•Icons, upper right of screen (Refresh, Clear, Remove All): Click to refresh the ACL Configuration. Click Clear to reset chang- es manually. Click Remove All to clean up all ACL configurations on the table.
3.2.4 ACL Status
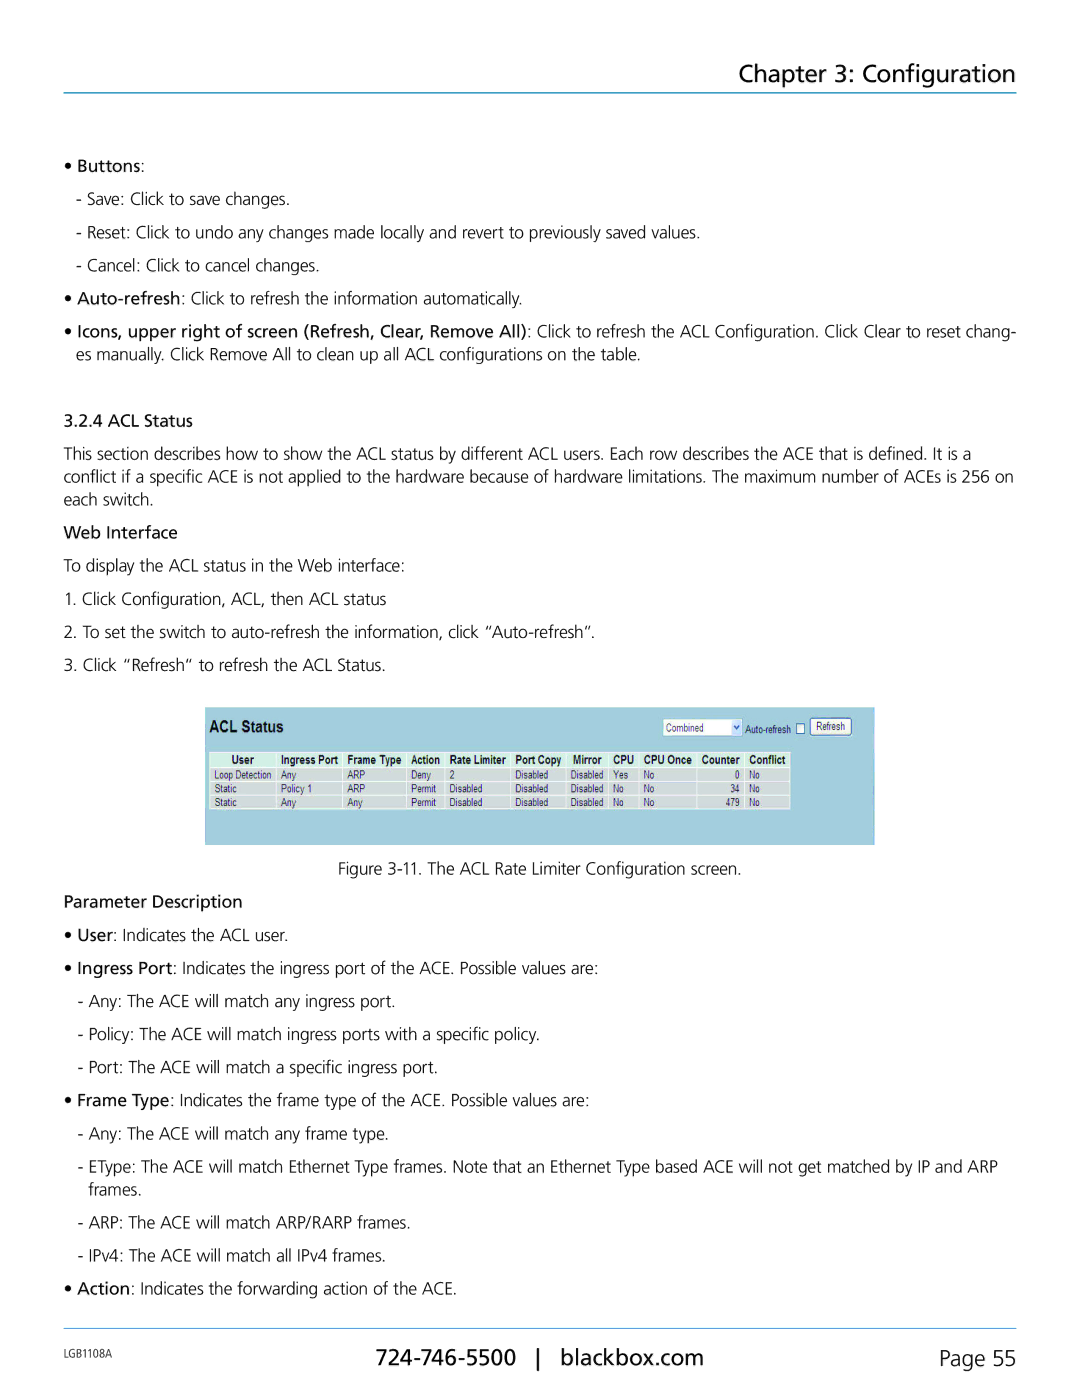
This section describes how to show the ACL status by different ACL users. Each row describes the ACE that is defined. It is a conflict if a specific ACE is not applied to the hardware because of hardware limitations. The maximum number of ACEs is 256 on each switch.
Web Interface
To display the ACL status in the Web interface:
1.Click Configuration, ACL, then ACL status
2.To set the switch to
3.Click “Refresh“ to refresh the ACL Status.
Figure 3-11. The ACL Rate Limiter Configuration screen.
Parameter Description
•User: Indicates the ACL user.
•Ingress Port: Indicates the ingress port of the ACE. Possible values are:
-Any: The ACE will match any ingress port.
-Policy: The ACE will match ingress ports with a specific policy.
-Port: The ACE will match a specific ingress port.
•Frame Type: Indicates the frame type of the ACE. Possible values are:
-Any: The ACE will match any frame type.
-EType: The ACE will match Ethernet Type frames. Note that an Ethernet Type based ACE will not get matched by IP and ARP frames.
-ARP: The ACE will match ARP/RARP frames.
-IPv4: The ACE will match all IPv4 frames.
•Action: Indicates the forwarding action of the ACE.
LGB1108A | Page 55 | |
|
|
