Chapter 4 Installation and Maintenance
Installing the SCE 2000 Platform
Step 4 Attach the rubber feet by removing the adhesive strips and affix the rubber feet onto the marked locations (on the bottom panel).
Step 5 Replace the SCE 2000 platform firmly on the tabletop or workbench.
Remember to check for proper ventilation. Allow at least 2 inches (5 cm) on each side for proper ventilation and 5 inches (12.7 cm) at the back for ventilation.and power cord clearance.
This completes the general workbench or tabletop installation.
Proceed to section, Attaching a Chassis Ground Connection (on page
Rack-Mounting a SCE 2000 Platform
You can mount the SCE 2000 platform to a 19” rack. There are two standard types of equipment racks, and the appropriate brackets for each are provided in the enclosed kit.
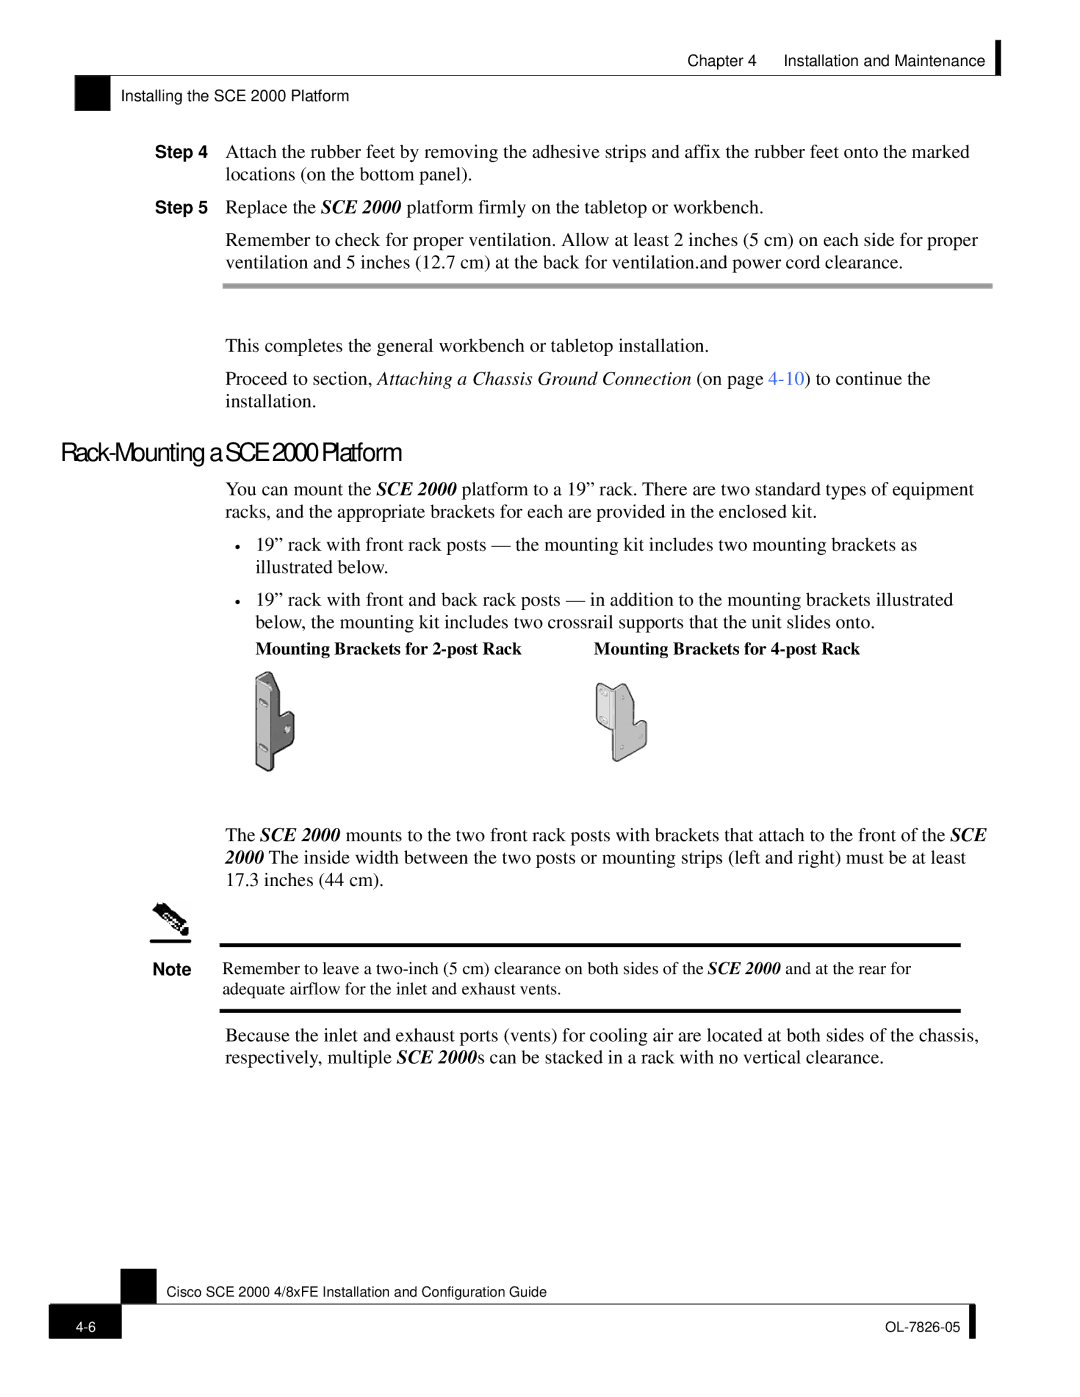
•19” rack with front rack posts — the mounting kit includes two mounting brackets as illustrated below.
•19” rack with front and back rack posts — in addition to the mounting brackets illustrated below, the mounting kit includes two crossrail supports that the unit slides onto.
Mounting Brackets for | Mounting Brackets for |
The SCE 2000 mounts to the two front rack posts with brackets that attach to the front of the SCE 2000 The inside width between the two posts or mounting strips (left and right) must be at least 17.3 inches (44 cm).
Note Remember to leave a
Because the inlet and exhaust ports (vents) for cooling air are located at both sides of the chassis, respectively, multiple SCE 2000s can be stacked in a rack with no vertical clearance.
Cisco SCE 2000 4/8xFE Installation and Configuration Guide
| ||
|
|
|