System and Control Options
7.5.9Change Low Setpoint
When the sensor detects a condition below the Low Setpoint value, an alarm or event will occur, depending on the sensor configuration.
The Low Setpoint value must not be set below the sensor’s 4 mA value plus the offset value. For example, if the 4 mA value is 50°F and the Offset value is 5°F, the Low Setpoint must be 55°F or higher.
The default Low Setpoint for each sensor is +0050.0. Values that can be entered range from:
•the 4 mA value + the Offset value (in the example, 50+5=55) to
•the 20 mA value + the Offset value (in the example, 90+5=95)
To view or change these values, see 7.5.4 - Change 4 mA Value,
7.5.5- Change 20 mA Value and 7.5.6 - Change Offset Value. To enter a new value:
•From the Setup Sensor Menu, choose Low Setpt for the selected sensor and press Enter ↵ .
•To change the Low Setpoint:
•Use the arrows ↑↓ to choose a character.
•Press Enter ↵ to advance to the next character position.
•When finished, press Enter ↵ again.
7.5.10Change High Setpoint
When the sensor detects a condition above the High Setpoint value, an alarm or event will occur, depending on the sensor configuration.
The High Setpoint value must not be set above the sensor’s 20 mA value plus the offset value. For example, if the 20 mA value is 90°F and the Offset value is 5°F, the High Setpoint must be 95°F or lower.
The default High Setpoint for each sensor is +0090.0. Values that can be entered range from:
•the 4 mA value + the Offset value (in the example, 50+5=55)
to
• the 20 mA value + the Offset value (in the example, 90+5=95) To view or change these values, see 7.5.4 - Change 4 mA Value,
7.5.5- Change 20 mA Value and 7.5.6 - Change Offset Value. To enter a new value:
•From the Setup Sensor Menu, choose High Setpt for the selected sensor and press Enter ↵ .
•To change the High Setpoint:
•Use the arrows ↑↓ to choose a character.
•Press Enter ↵ to advance to the next character position.
•When finished, press Enter ↵ again.
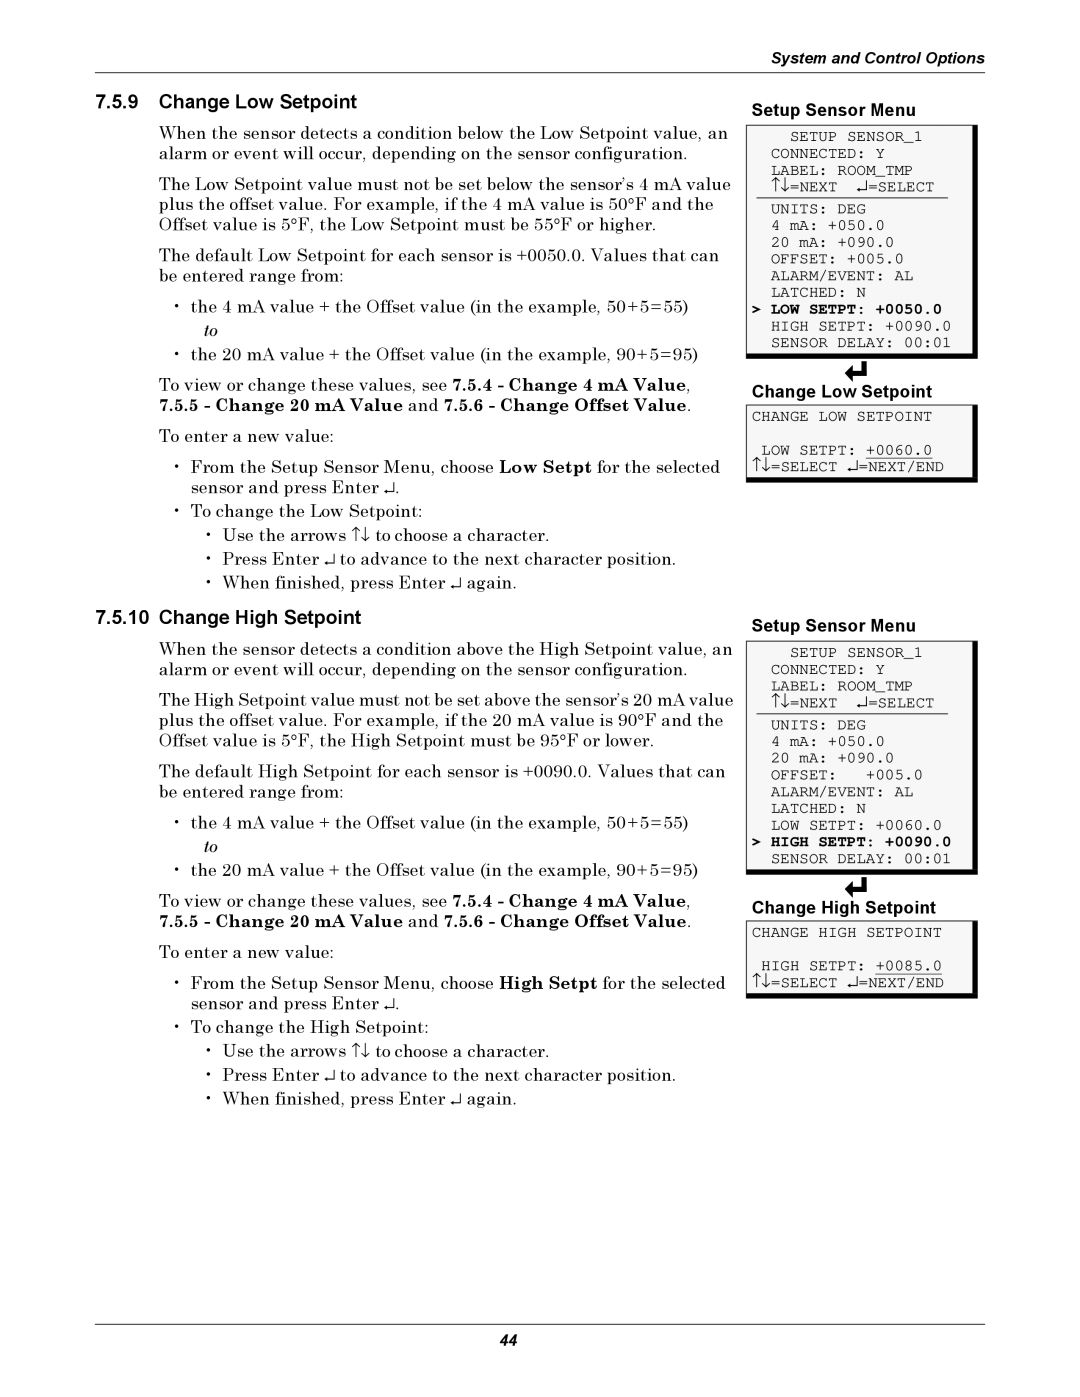
Setup Sensor Menu
SETUP SENSOR_1 CONNECTED: Y LABEL: ROOM_TMP ↑↓ =NEXT ↵ =SELECT
UNITS: DEG
4 mA: +050.0
20 mA: +090.0
OFFSET: +005.0
ALARM/EVENT: AL
LATCHED: N
>LOW SETPT: +0050.0
HIGH SETPT: +0090.0
SENSOR DELAY: 00:01
Change Low Setpoint
CHANGE LOW SETPOINT
LOW SETPT: +0060.0 ↑↓ =SELECT ↵ =NEXT/END
Setup Sensor Menu
SETUP SENSOR_1 CONNECTED: Y LABEL: ROOM_TMP ↑↓ =NEXT ↵ =SELECT
UNITS: DEG
4 mA: +050.0
20 mA: +090.0
OFFSET: +005.0
ALARM/EVENT: AL
LATCHED: N
LOW SETPT: +0060.0
>HIGH SETPT: +0090.0
SENSOR DELAY: 00:01
Change High Setpoint
CHANGE HIGH SETPOINT
HIGH SETPT: +0085.0 ↑↓ =SELECT ↵ =NEXT/END
44