Installing the Hardware
2.Along with an assistant, lift the chassis into place in the mounting rack.
3.While your assistant holds the chassis in place, use the #2 Phillips screwdriver and four #2 Phillips screws to attach the mounting brackets to the mounting rack.
Note: Make sure there are at least 3 inches (7.62 centimeters) of room above and behind the unit for air flow to the cooling fans.
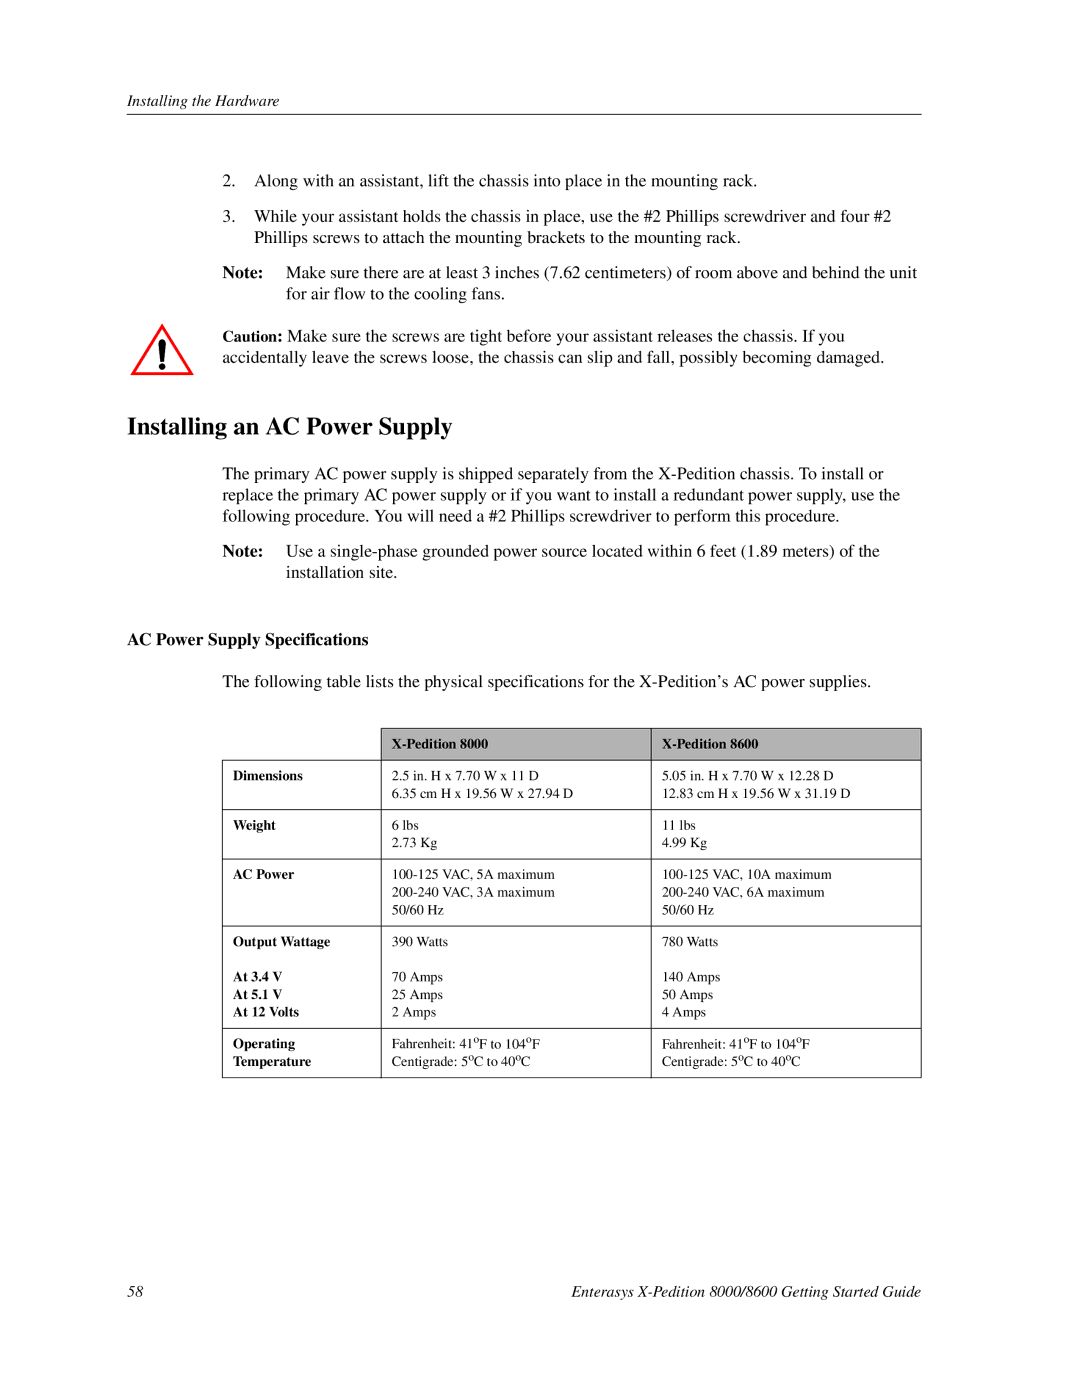
Caution: Make sure the screws are tight before your assistant releases the chassis. If you accidentally leave the screws loose, the chassis can slip and fall, possibly becoming damaged.
Installing an AC Power Supply
The primary AC power supply is shipped separately from the
Note: Use a
AC Power Supply Specifications
The following table lists the physical specifications for the
|
| |
|
|
|
Dimensions | 2.5 in. H x 7.70 W x 11 D | 5.05 in. H x 7.70 W x 12.28 D |
| 6.35 cm H x 19.56 W x 27.94 D | 12.83 cm H x 19.56 W x 31.19 D |
|
|
|
Weight | 6 lbs | 11 lbs |
| 2.73 Kg | 4.99 Kg |
|
|
|
AC Power | ||
| ||
| 50/60 Hz | 50/60 Hz |
|
|
|
Output Wattage | 390 Watts | 780 Watts |
At 3.4 V | 70 Amps | 140 Amps |
At 5.1 V | 25 Amps | 50 Amps |
At 12 Volts | 2 Amps | 4 Amps |
|
|
|
Operating | Fahrenheit: 41oF to 104oF | Fahrenheit: 41oF to 104oF |
Temperature | Centigrade: 5oC to 40oC | Centigrade: 5oC to 40oC |
|
|
|
58 | Enterasys |
