CHAPTER 3
Installing ERX Modules
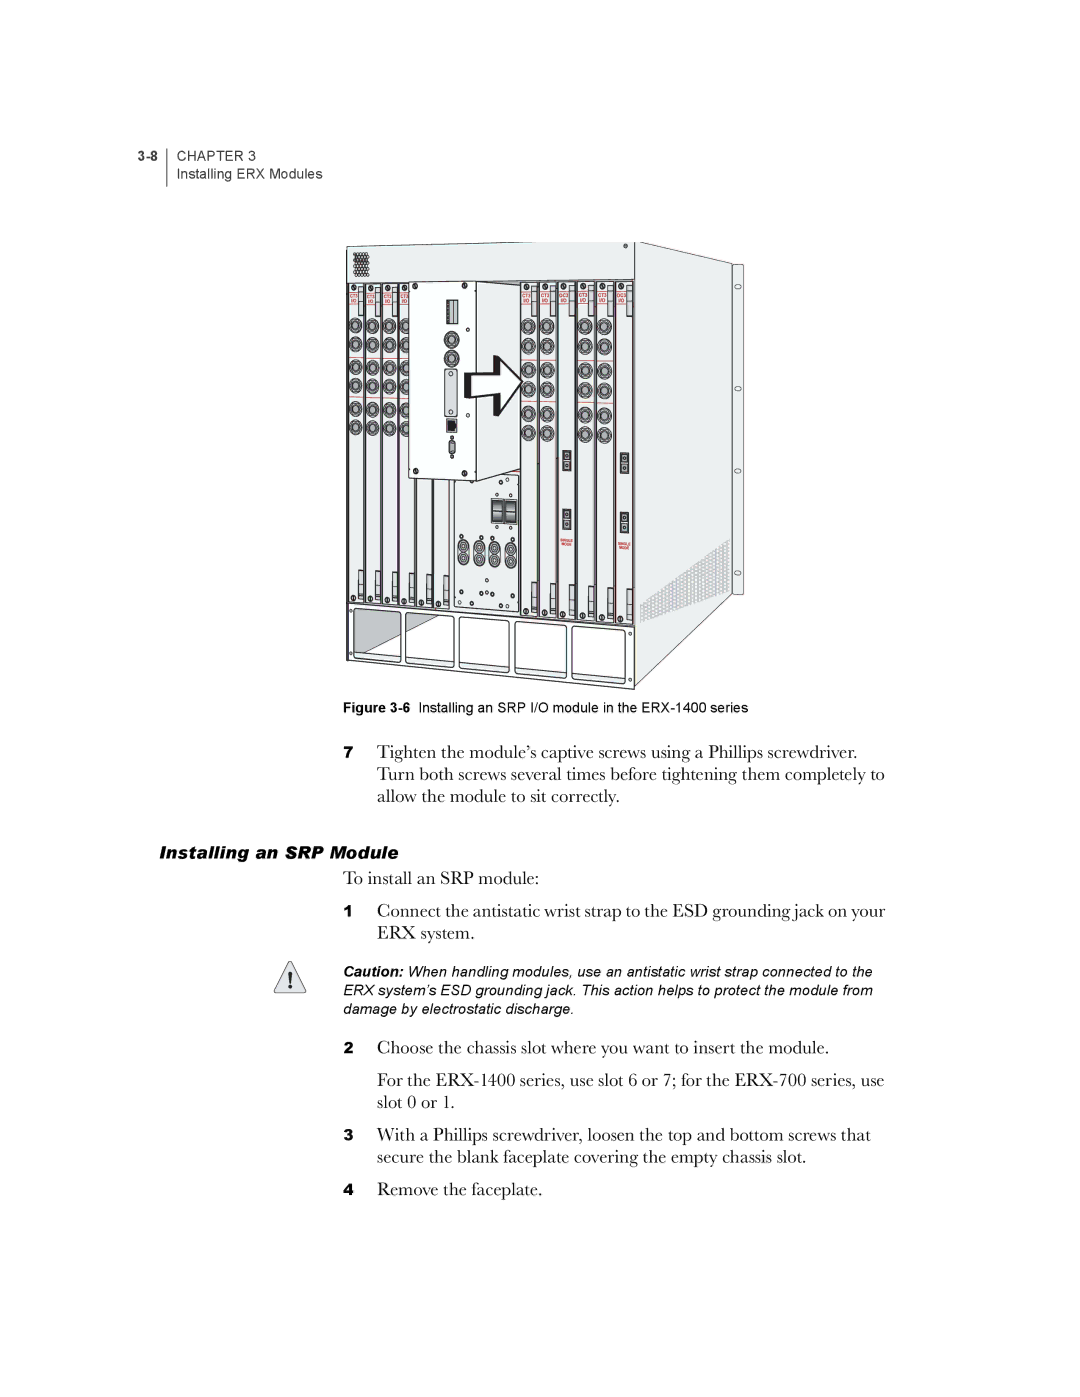
Figure 3-6 Installing an SRP I/O module in the ERX-1400 series
7Tighten the module’s captive screws using a Phillips screwdriver. Turn both screws several times before tightening them completely to allow the module to sit correctly.
Installing an SRP Module
To install an SRP module:
1Connect the antistatic wrist strap to the ESD grounding jack on your ERX system.
Caution: When handling modules, use an antistatic wrist strap connected to the ERX system’s ESD grounding jack. This action helps to protect the module from damage by electrostatic discharge.
2Choose the chassis slot where you want to insert the module.
For the
3With a Phillips screwdriver, loosen the top and bottom screws that secure the blank faceplate covering the empty chassis slot.
4Remove the faceplate.
