Complete Hardware Guide for EX2200 Ethernet Switches
WARNING: Do not leave a
3.If the port in which you want to install the transceiver is covered with a dust cover, remove the dust cover and save it in case you need to cover the port later. If you are
4.Using both hands, carefully place the transceiver in the empty port. The connectors must face the switch chassis.
CAUTION: Before you slide the transceiver into the port, ensure the transceiver is aligned correctly. Misalignment might cause the pins to bend, making the transceiver unusable.
5.Slide the transceiver in gently until it is fully seated.
6.Remove the rubber safety cap when you are ready to connect the cable to the transceiver.
WARNING: Do not look directly into a
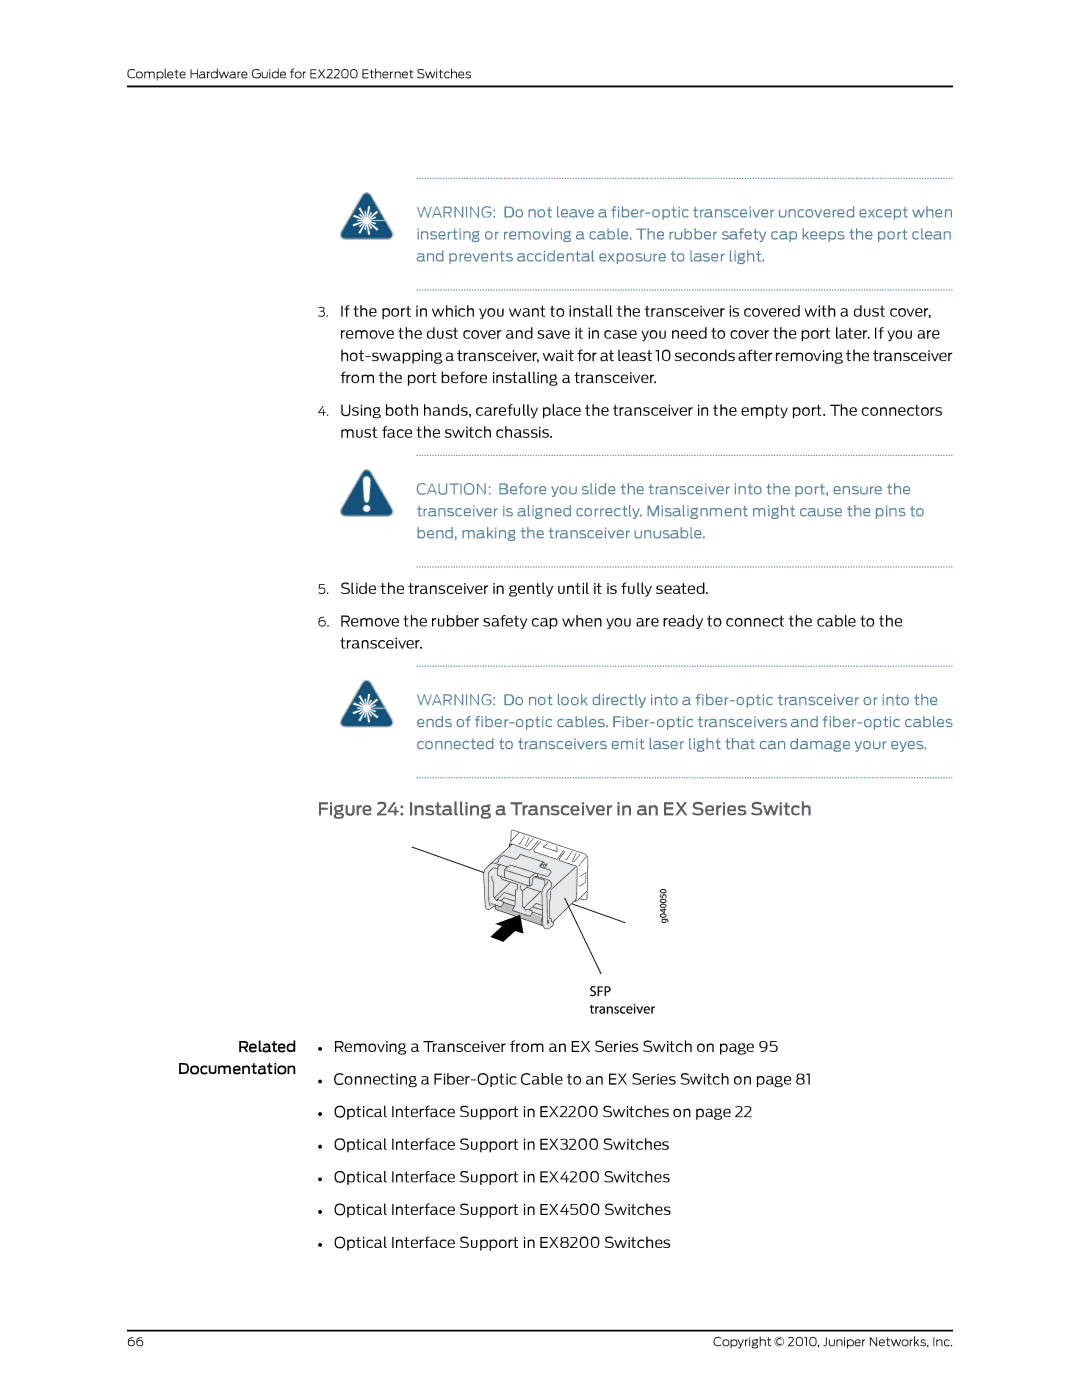
Figure 24: Installing a Transceiver in an EX Series Switch
Related • Removing a Transceiver from an EX Series Switch on page 95
Documentation
• Connecting a
• Optical Interface Support in EX2200 Switches on page 22
• Optical Interface Support in EX3200 Switches
• Optical Interface Support in EX4200 Switches
• Optical Interface Support in EX4500 Switches
• Optical Interface Support in EX8200 Switches
66 | Copyright © 2010, Juniper Networks, Inc. |