Complete Hardware Guide for EX2200 Ethernet Switches
WARNING: Do not leave a
CAUTION: Do not bend
3.Remove the cable connected to the transceiver (see “Disconnecting a
4.Using your fingers, pull the ejector lever on the transceiver to unlock the transceiver.
CAUTION: Beforeremovingthetransceiver,makesureyouopentheejector lever completely until you hear it click. This prevents damage to the transceiver.
5.Using the needlenose pliers, pull the ejector lever out from the transceiver.
6.Grasp the transceiver ejector lever and gently slide the transceiver approximately 0.5 in. (1.3 cm) straight out of the port.
CAUTION: To avoid electrostatic discharge (ESD) damage to the transceiver, do not touch the connector pins at the end of the transceiver.
7.Using your fingers, grasp the body of the transceiver and pull it straight out of the port.
8.Place the transceiver in the antistatic bag or on the antistatic mat placed on a flat, stable surface.
9.Place the dust cover over the empty port.
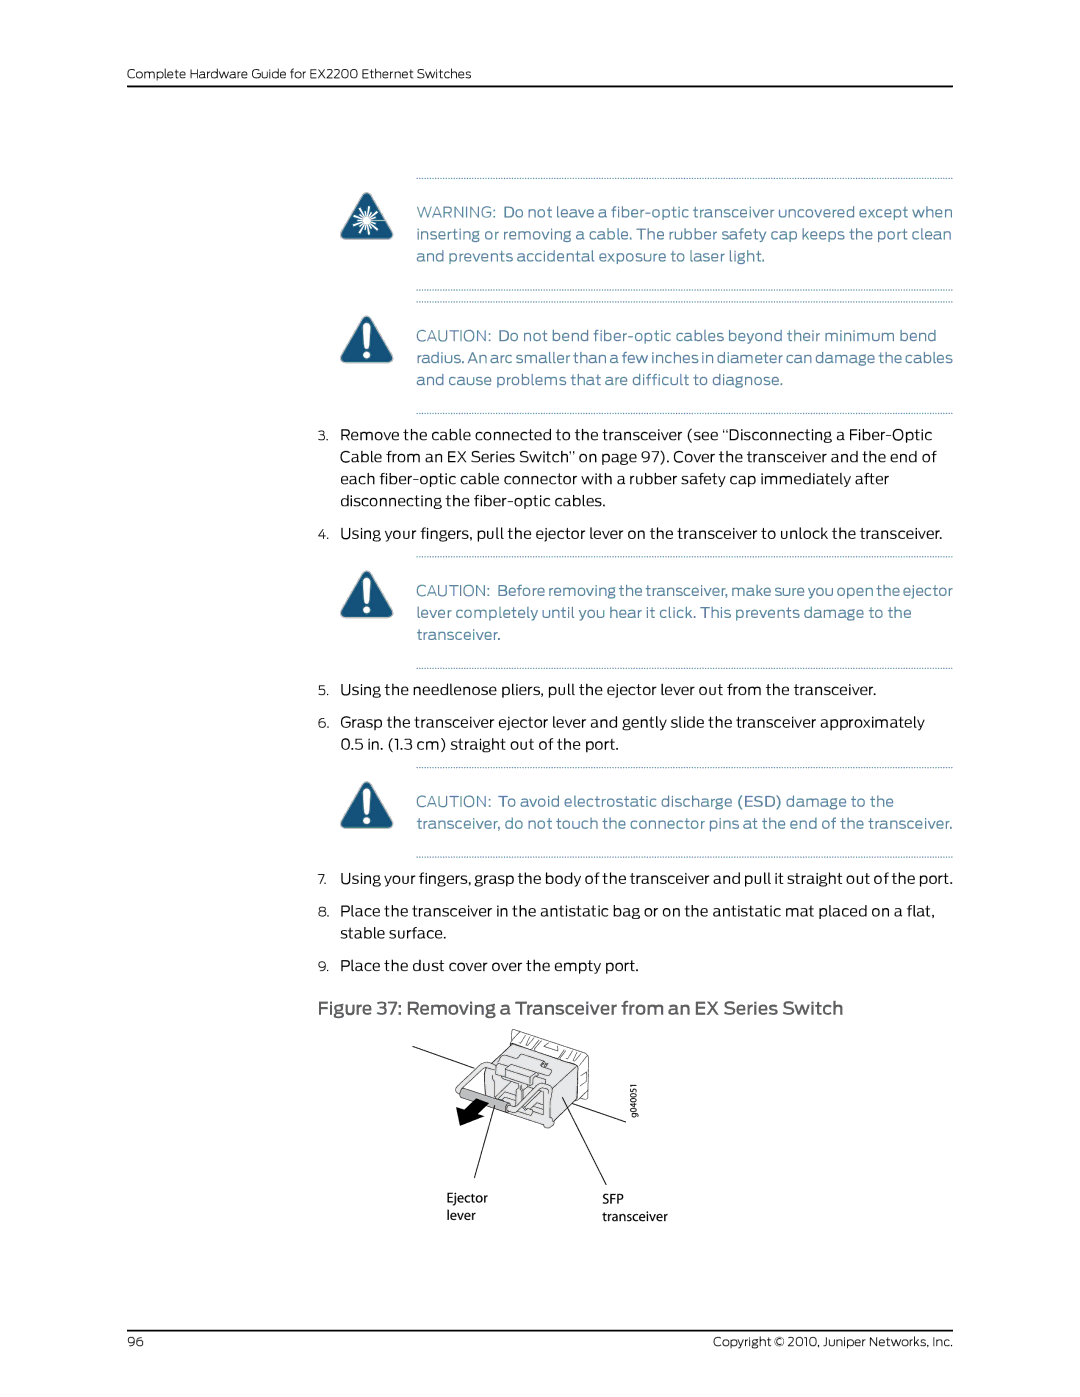
Figure 37: Removing a Transceiver from an EX Series Switch
96 | Copyright © 2010, Juniper Networks, Inc. |