MTSX RSSGETTING STARTED
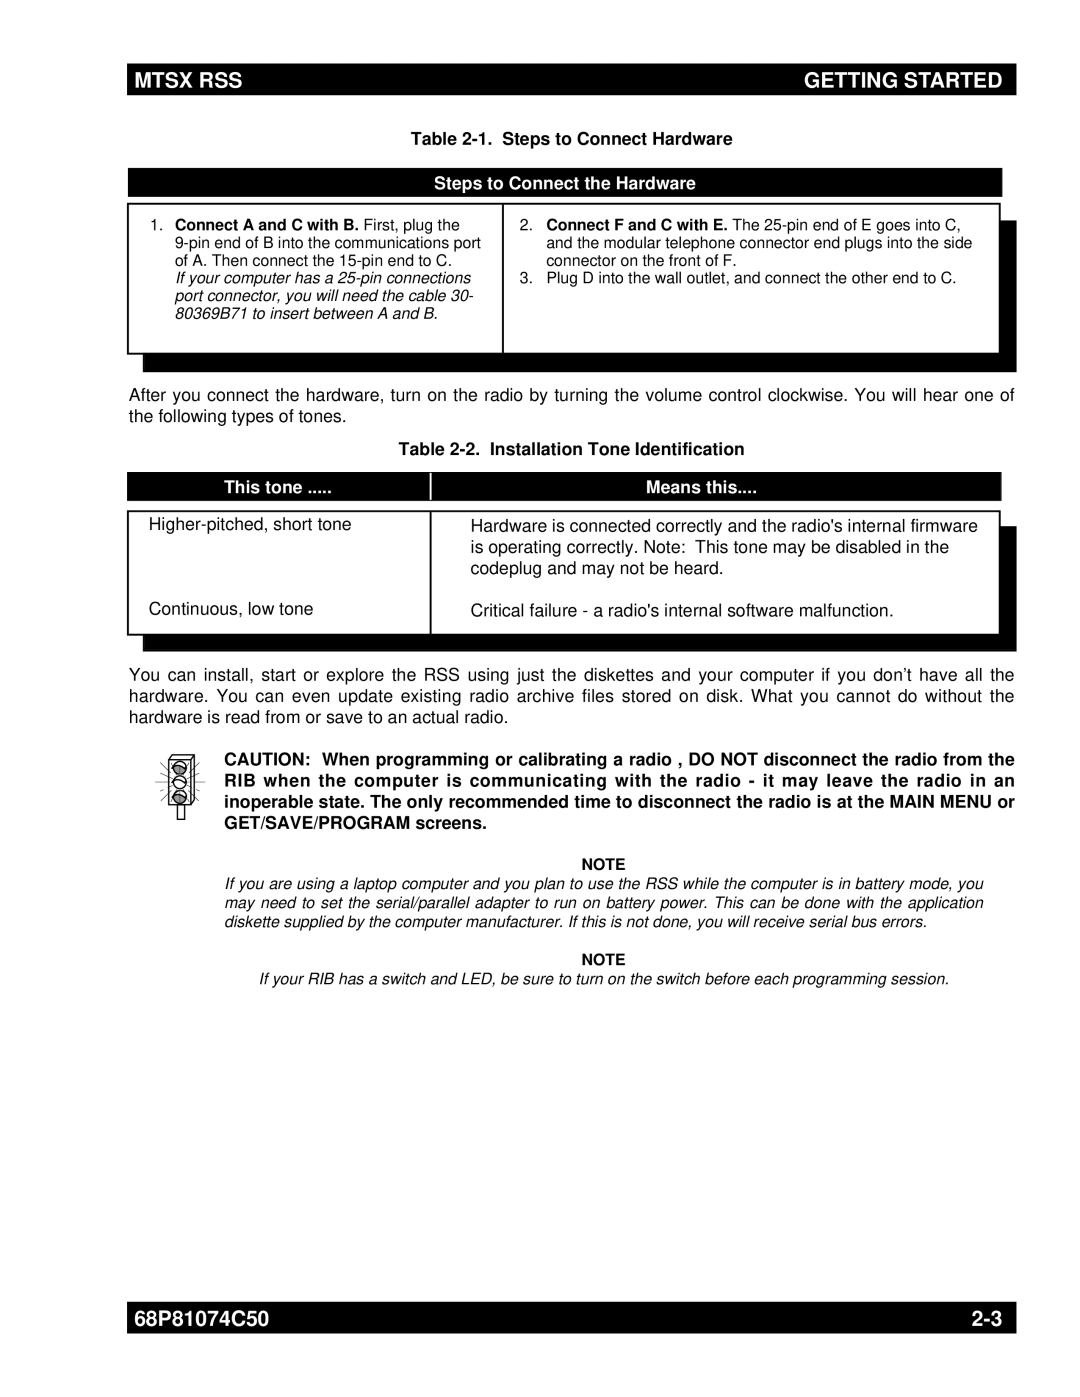
Table 2-1. Steps to Connect Hardware
Steps to Connect the Hardware
| 1. Connect A and C with B. First, plug the | 2. | Connect F and C with E. The |
|
|
| |||
|
| and the modular telephone connector end plugs into the side |
| |
| of A. Then connect the |
| connector on the front of F. |
|
| If your computer has a | 3. | Plug D into the wall outlet, and connect the other end to C. |
|
| port connector, you will need the cable 30- |
|
|
|
| 80369B71 to insert between A and B. |
|
|
|
|
|
|
|
|
|
|
|
|
|
After you connect the hardware, turn on the radio by turning the volume control clockwise. You will hear one of the following types of tones.
Table 2-2. Installation Tone Identification
This tone .....
Means this....
Continuous, low tone
Hardware is connected correctly and the radio's internal firmware is operating correctly. Note: This tone may be disabled in the codeplug and may not be heard.
Critical failure - a radio's internal software malfunction.
You can install, start or explore the RSS using just the diskettes and your computer if you don’t have all the hardware. You can even update existing radio archive files stored on disk. What you cannot do without the hardware is read from or save to an actual radio.
CAUTION: When programming or calibrating a radio , DO NOT disconnect the radio from the RIB when the computer is communicating with the radio - it may leave the radio in an inoperable state. The only recommended time to disconnect the radio is at the MAIN MENU or GET/SAVE/PROGRAM screens.
NOTE
If you are using a laptop computer and you plan to use the RSS while the computer is in battery mode, you may need to set the serial/parallel adapter to run on battery power. This can be done with the application diskette supplied by the computer manufacturer. If this is not done, you will receive serial bus errors.
NOTE
If your RIB has a switch and LED, be sure to turn on the switch before each programming session.
68P81074C50 | |
|
|
