Chapter 2: Installation
Installation Overview
Part A: Cabling – Connecting the FaxFinder to Power, Phone Lines, and Ethernet
Summary: Place the FaxFinder in a convenient location, and then connect it to your AC power outlet and Ethernet.
1.Connect FaxFinder to AC Outlet.
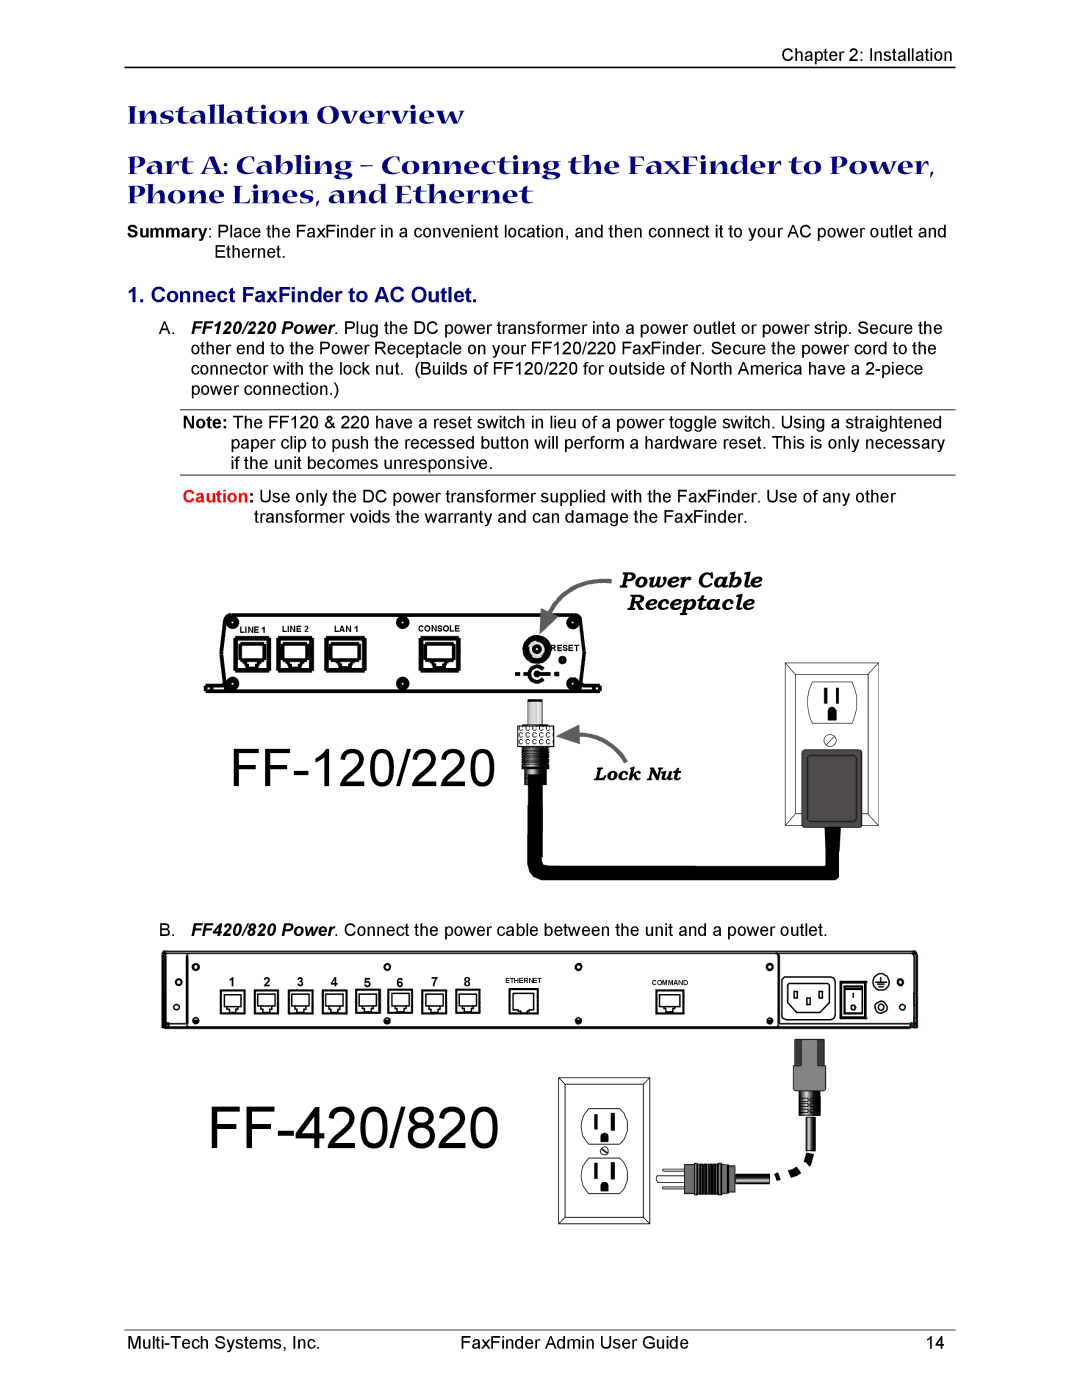
A.FF120/220 Power. Plug the DC power transformer into a power outlet or power strip. Secure the other end to the Power Receptacle on your FF120/220 FaxFinder. Secure the power cord to the connector with the lock nut. (Builds of FF120/220 for outside of North America have a
Note: The FF120 & 220 have a reset switch in lieu of a power toggle switch. Using a straightened paper clip to push the recessed button will perform a hardware reset. This is only necessary if the unit becomes unresponsive.
Caution: Use only the DC power transformer supplied with the FaxFinder. Use of any other transformer voids the warranty and can damage the FaxFinder.
Power Cable
Receptacle
LINE 1 LINE 2 | LAN 1 | CONSOLE |
RESET |
| Lock Nut |
|
B. FF420/820 Power. Connect the power cable between the unit and a power outlet.
1 | 2 | 3 | 4 | 5 | 6 | 7 | 8 | ETHERNET | COMMAND |
|
FF-420/820
FaxFinder Admin User Guide | 14 |