Chapter 5: FaxFinder Client Software Operation
Modifying Existing Cover Page Templates
Note: While all five stock cover page styles can be readily customized, the styles “PlainComplete” and “PlainShort” are especially well suited to customization. In most cases, one can start with these files and simply add one’s own company name in text or insert one’s graphical company logo.
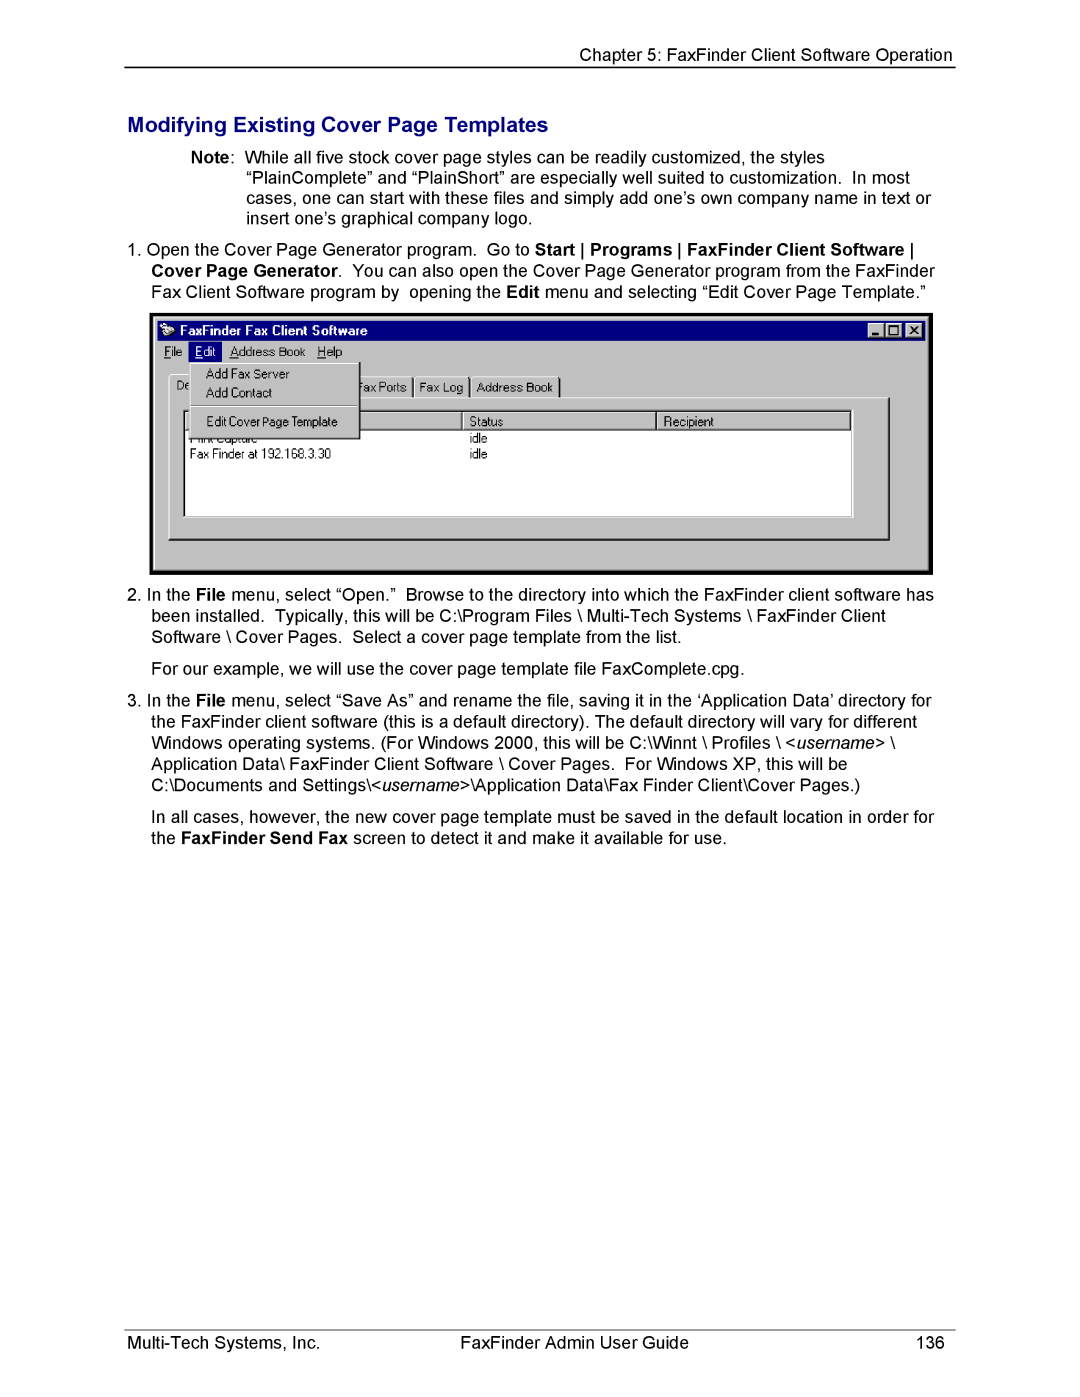
1.Open the Cover Page Generator program. Go to Start Programs FaxFinder Client Software Cover Page Generator. You can also open the Cover Page Generator program from the FaxFinder Fax Client Software program by opening the Edit menu and selecting “Edit Cover Page Template.”
2.In the File menu, select “Open.” Browse to the directory into which the FaxFinder client software has been installed. Typically, this will be C:\Program Files \
For our example, we will use the cover page template file FaxComplete.cpg.
3.In the File menu, select “Save As” and rename the file, saving it in the ‘Application Data’ directory for the FaxFinder client software (this is a default directory). The default directory will vary for different Windows operating systems. (For Windows 2000, this will be C:\Winnt \ Profiles \ <username> \ Application Data\ FaxFinder Client Software \ Cover Pages. For Windows XP, this will be C:\Documents and Settings\<username>\Application Data\Fax Finder Client\Cover Pages.)
In all cases, however, the new cover page template must be saved in the default location in order for the FaxFinder Send Fax screen to detect it and make it available for use.
FaxFinder Admin User Guide | 136 |