ProSafe 802.11g Wireless VPN Firewall FVG318 Reference Manual
The gateway contains a client that can connect to a dynamic DNS service provider. To use this feature, you must select a service provider and obtain an account with them. After you have configured your account information in the gateway, whenever your
To configure Dynamic DNS:
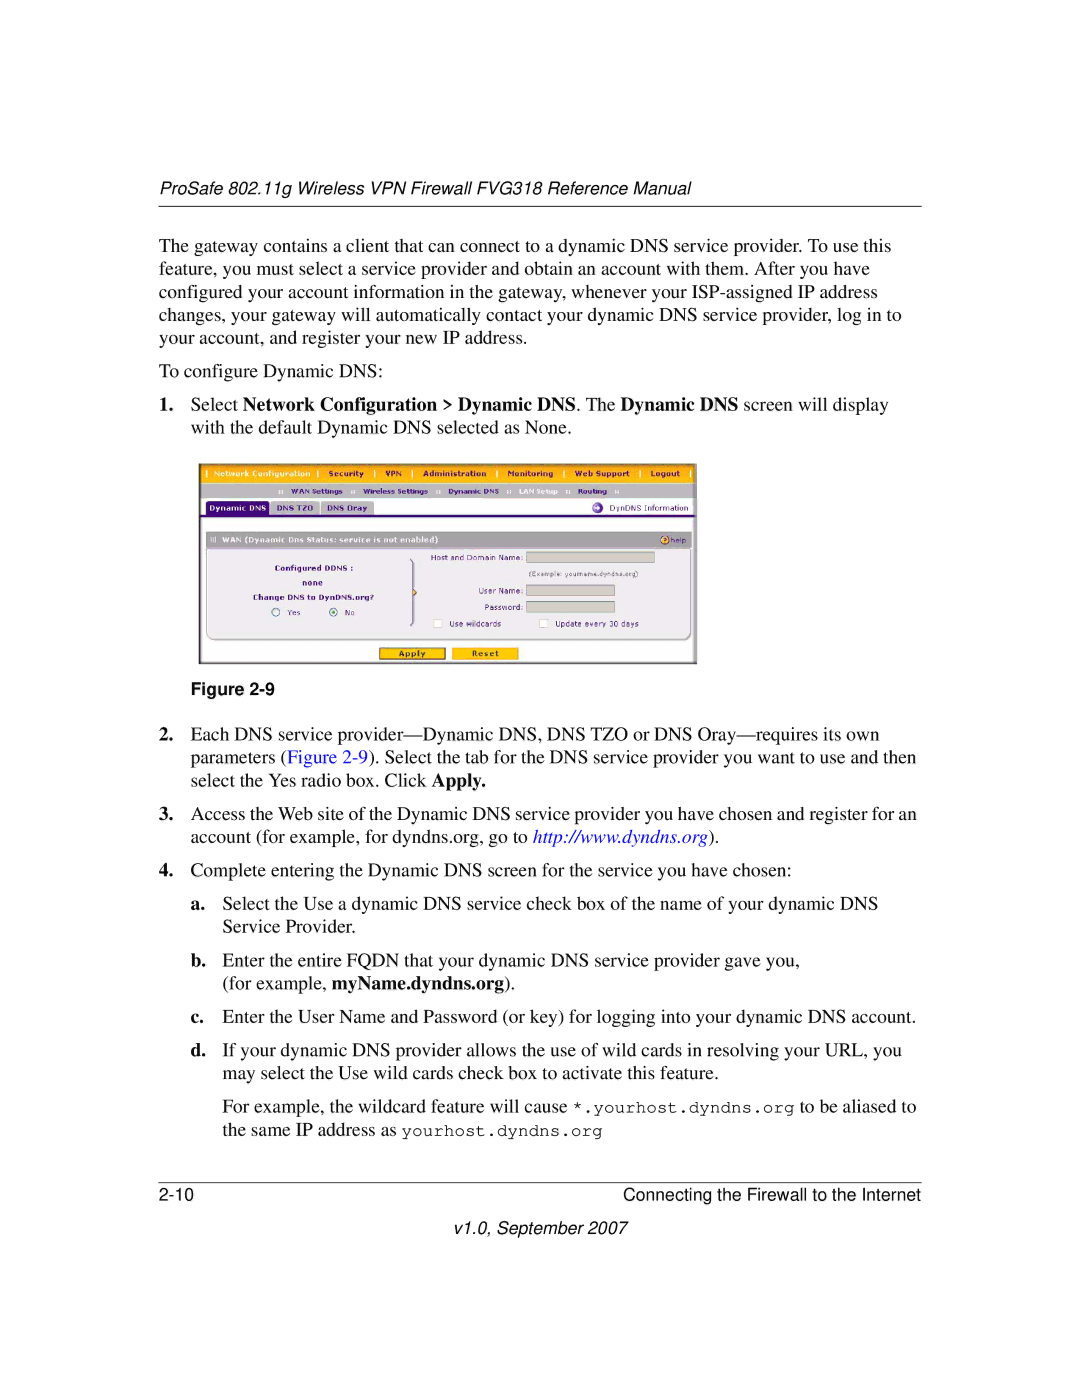
1.Select Network Configuration > Dynamic DNS. The Dynamic DNS screen will display with the default Dynamic DNS selected as None.
Figure
2.Each DNS service
3.Access the Web site of the Dynamic DNS service provider you have chosen and register for an account (for example, for dyndns.org, go to http://www.dyndns.org).
4.Complete entering the Dynamic DNS screen for the service you have chosen:
a.Select the Use a dynamic DNS service check box of the name of your dynamic DNS Service Provider.
b.Enter the entire FQDN that your dynamic DNS service provider gave you, (for example, myName.dyndns.org).
c.Enter the User Name and Password (or key) for logging into your dynamic DNS account.
d.If your dynamic DNS provider allows the use of wild cards in resolving your URL, you may select the Use wild cards check box to activate this feature.
For example, the wildcard feature will cause *.yourhost.dyndns.org to be aliased to the same IP address as yourhost.dyndns.org
Connecting the Firewall to the Internet |