Printing a Cleaning Page from the Product
1Press Setup. The display shows “1.SYSTEM SETUP” on the bottom line.
2Press the Scroll buttons ( ![]() or
or ![]() ) until you see “8.MAINTENANCE” and then press Enter.
) until you see “8.MAINTENANCE” and then press Enter.
The first maintenance option “CLEAN CARTRIDGE” appears on the bottom line of the display.
3Press Enter to start the cleaning process. Your product prints a cartridge clean page.
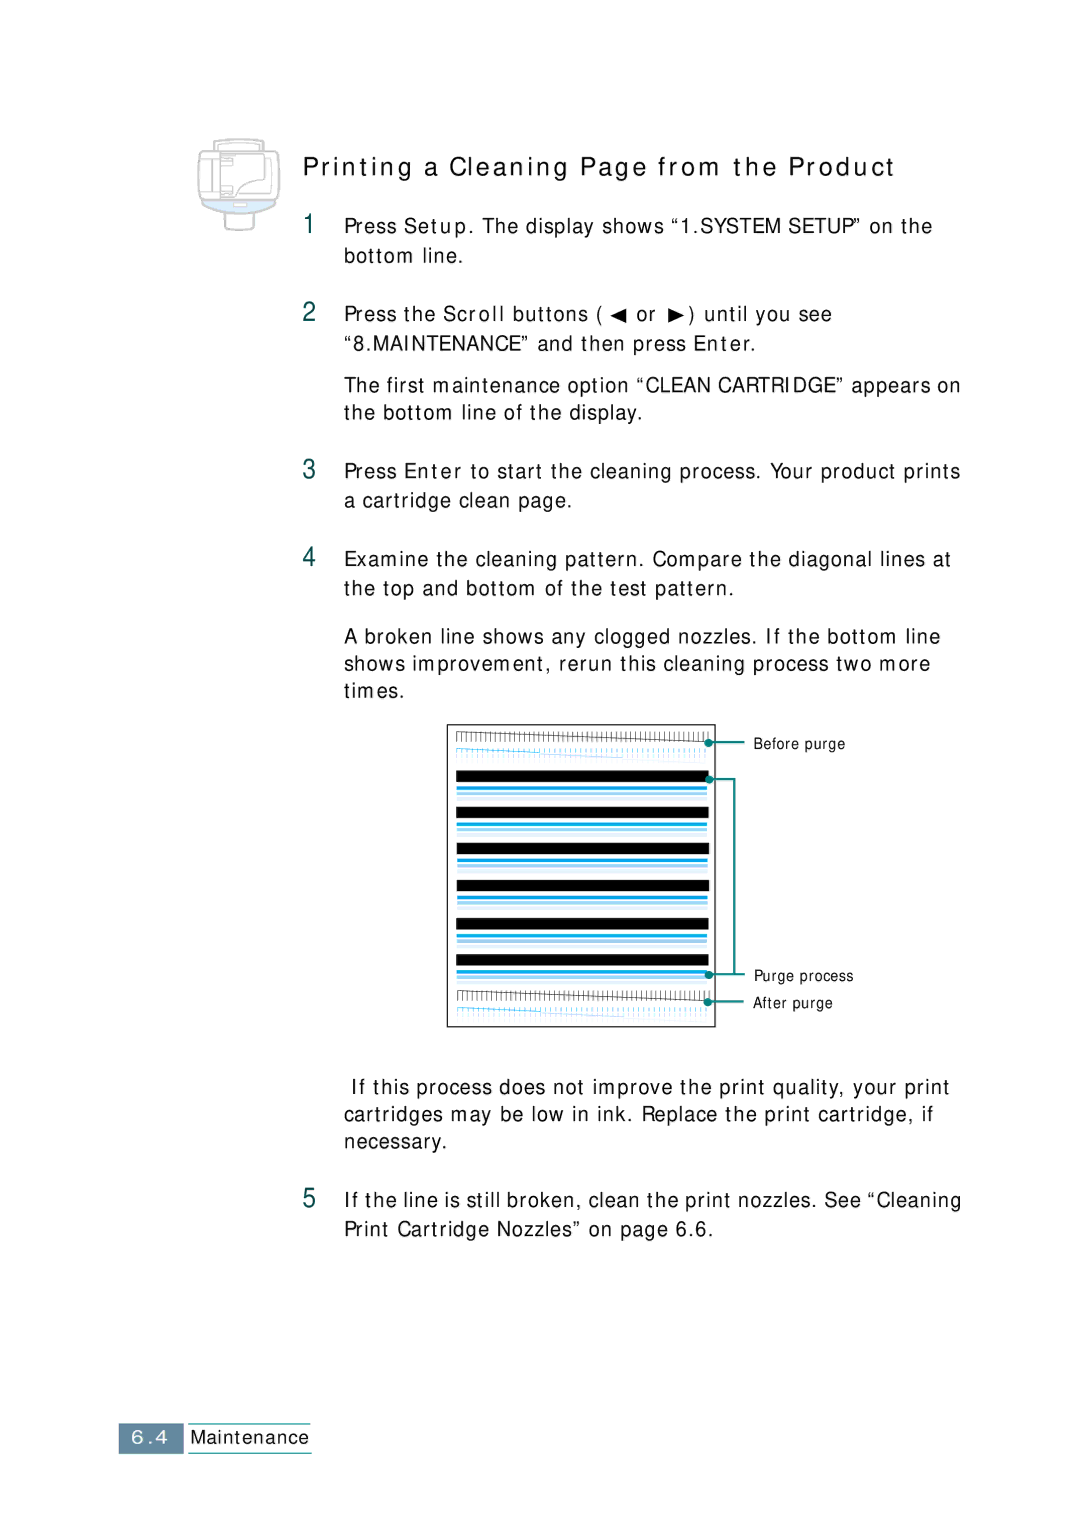
4Examine the cleaning pattern. Compare the diagonal lines at the top and bottom of the test pattern.
A broken line shows any clogged nozzles. If the bottom line shows improvement, rerun this cleaning process two more times.
Before purge
Purge process
After purge
If this process does not improve the print quality, your print cartridges may be low in ink. Replace the print cartridge, if necessary.
5If the line is still broken, clean the print nozzles. See “Cleaning Print Cartridge Nozzles” on page 6.6.
6.4Maintenance