15 Looking at the Cartridge Alignment form, identify the straightest line in Alignment A. Using the number keypad, enter the two digit number of the straightest line and then press Enter.
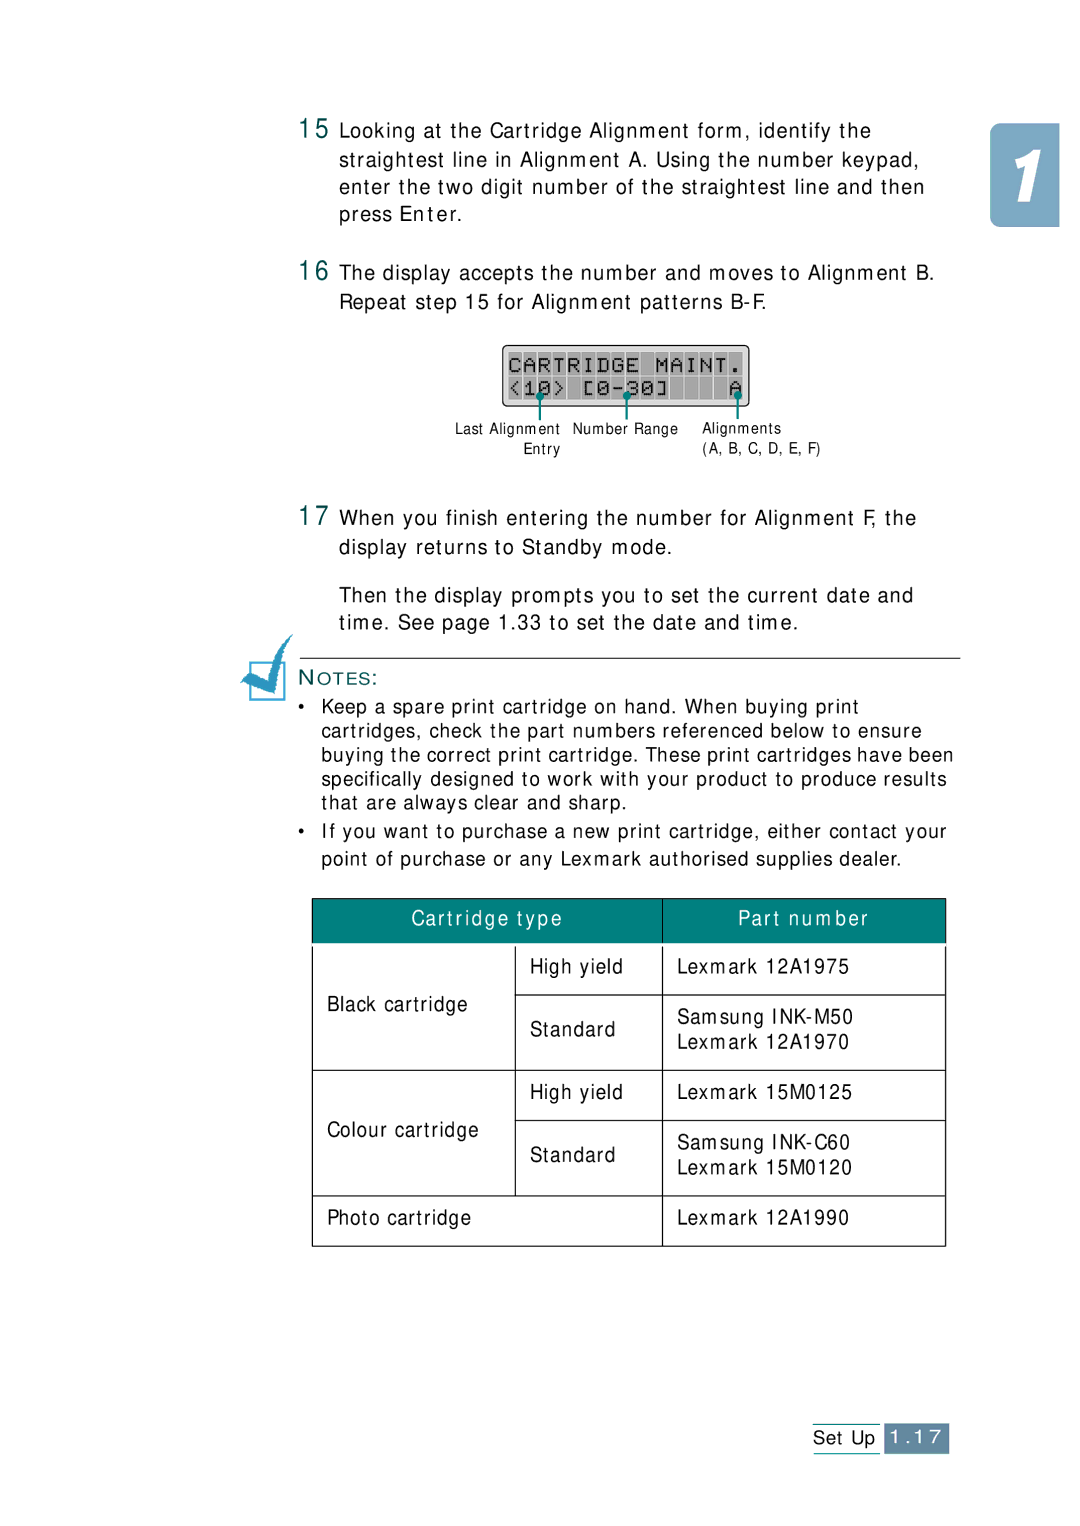
16 The display accepts the number and moves to Alignment B. Repeat step 15 for Alignment patterns
|
|
|
|
|
|
|
|
|
|
|
|
|
|
|
|
|
|
Last Alignment | Number Range |
| Alignments | |||||
|
| Entry |
|
|
| (A, B, C, D, E, F) | ||
17 When you finish entering the number for Alignment F, the display returns to Standby mode.
Then the display prompts you to set the current date and time. See page 1.33 to set the date and time.
NOTES:
•Keep a spare print cartridge on hand. When buying print cartridges, check the part numbers referenced below to ensure buying the correct print cartridge. These print cartridges have been specifically designed to work with your product to produce results that are always clear and sharp.
•If you want to purchase a new print cartridge, either contact your point of purchase or any Lexmark authorised supplies dealer.
Cartridge type | Part number | ||
|
|
| |
| High yield | Lexmark 12A1975 | |
Black cartridge |
|
| |
Standard | Samsung | ||
| |||
| Lexmark 12A1970 | ||
|
| ||
|
|
| |
| High yield | Lexmark 15M0125 | |
Colour cartridge |
|
| |
Standard | Samsung | ||
| |||
| Lexmark 15M0120 | ||
|
| ||
|
|
| |
Photo cartridge | Lexmark 12A1990 | ||
|
|
| |