Virtual Media
The Virtual Media feature allows a drive, folder, image file, or removable disk on a user's system to appear and act as if it were installed on the remote server.
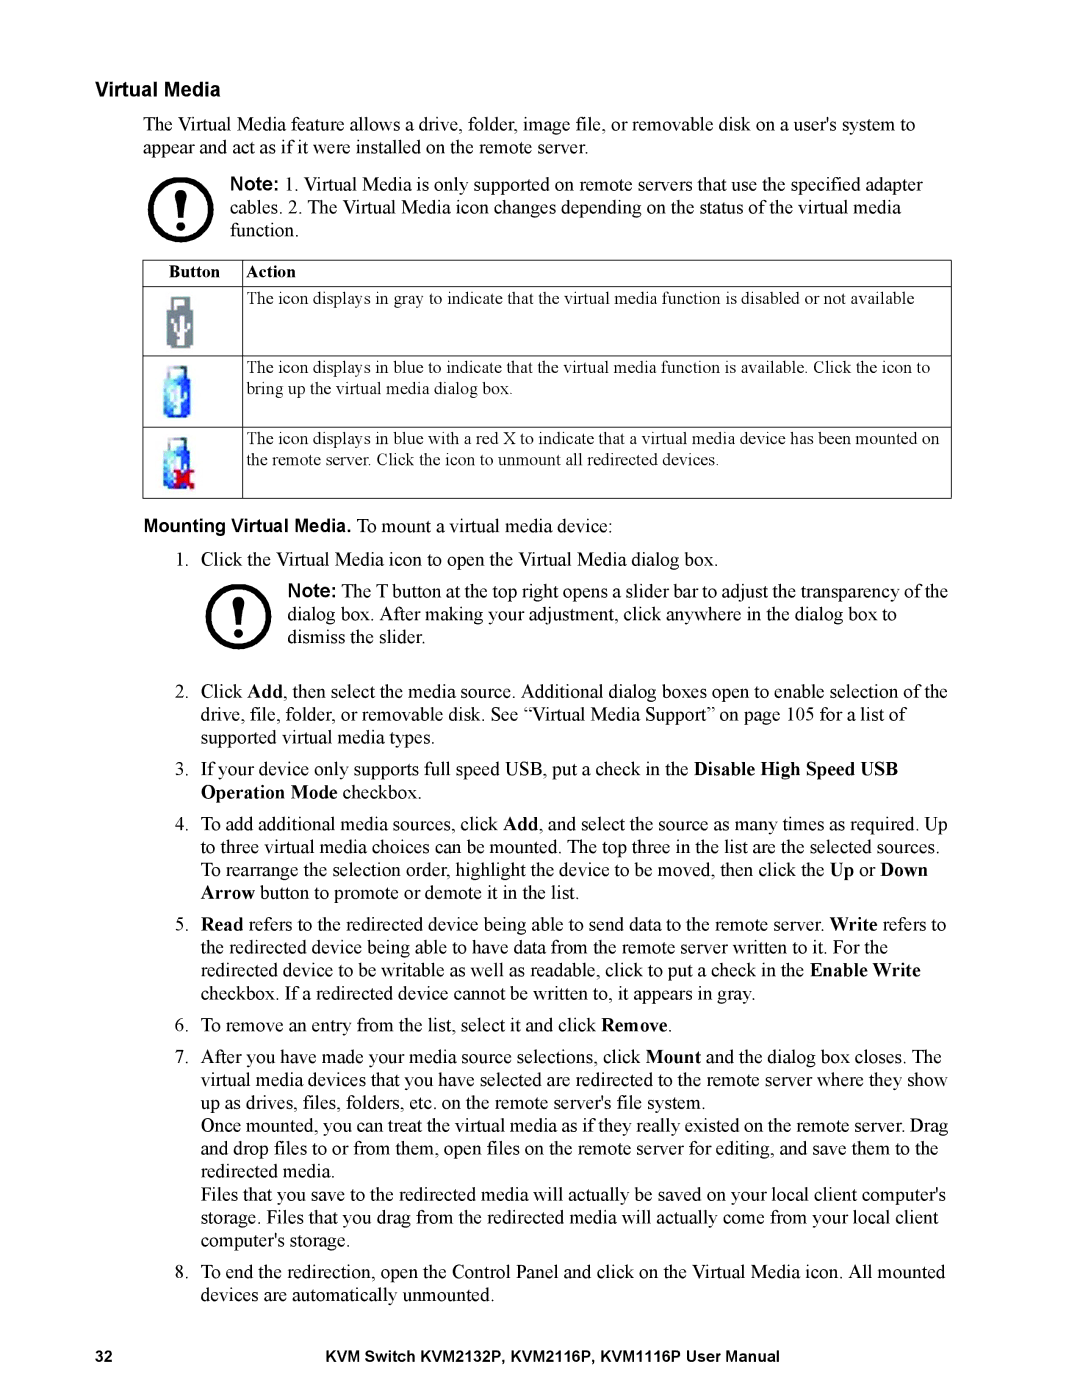
Note: 1. Virtual Media is only supported on remote servers that use the specified adapter cables. 2. The Virtual Media icon changes depending on the status of the virtual media function.
Button Action
The icon displays in gray to indicate that the virtual media function is disabled or not available
The icon displays in blue to indicate that the virtual media function is available. Click the icon to bring up the virtual media dialog box.
The icon displays in blue with a red X to indicate that a virtual media device has been mounted on the remote server. Click the icon to unmount all redirected devices.
Mounting Virtual Media. To mount a virtual media device:
1. Click the Virtual Media icon to open the Virtual Media dialog box.
Note: The T button at the top right opens a slider bar to adjust the transparency of the dialog box. After making your adjustment, click anywhere in the dialog box to dismiss the slider.
2.Click Add, then select the media source. Additional dialog boxes open to enable selection of the drive, file, folder, or removable disk. See “Virtual Media Support” on page 105 for a list of supported virtual media types.
3.If your device only supports full speed USB, put a check in the Disable High Speed USB Operation Mode checkbox.
4.To add additional media sources, click Add, and select the source as many times as required. Up to three virtual media choices can be mounted. The top three in the list are the selected sources. To rearrange the selection order, highlight the device to be moved, then click the Up or Down Arrow button to promote or demote it in the list.
5.Read refers to the redirected device being able to send data to the remote server. Write refers to the redirected device being able to have data from the remote server written to it. For the redirected device to be writable as well as readable, click to put a check in the Enable Write checkbox. If a redirected device cannot be written to, it appears in gray.
6.To remove an entry from the list, select it and click Remove.
7.After you have made your media source selections, click Mount and the dialog box closes. The virtual media devices that you have selected are redirected to the remote server where they show up as drives, files, folders, etc. on the remote server's file system.
Once mounted, you can treat the virtual media as if they really existed on the remote server. Drag and drop files to or from them, open files on the remote server for editing, and save them to the redirected media.
Files that you save to the redirected media will actually be saved on your local client computer's storage. Files that you drag from the redirected media will actually come from your local client computer's storage.
8.To end the redirection, open the Control Panel and click on the Virtual Media icon. All mounted devices are automatically unmounted.
32 | KVM Switch KVM2132P, KVM2116P, KVM1116P User Manual |
