SCAN AND BURN TO A CD 101
6.Start scanning a page.
When scanning is finished, a bubble message on the screen tells you that files are waiting to be burned to the CD.
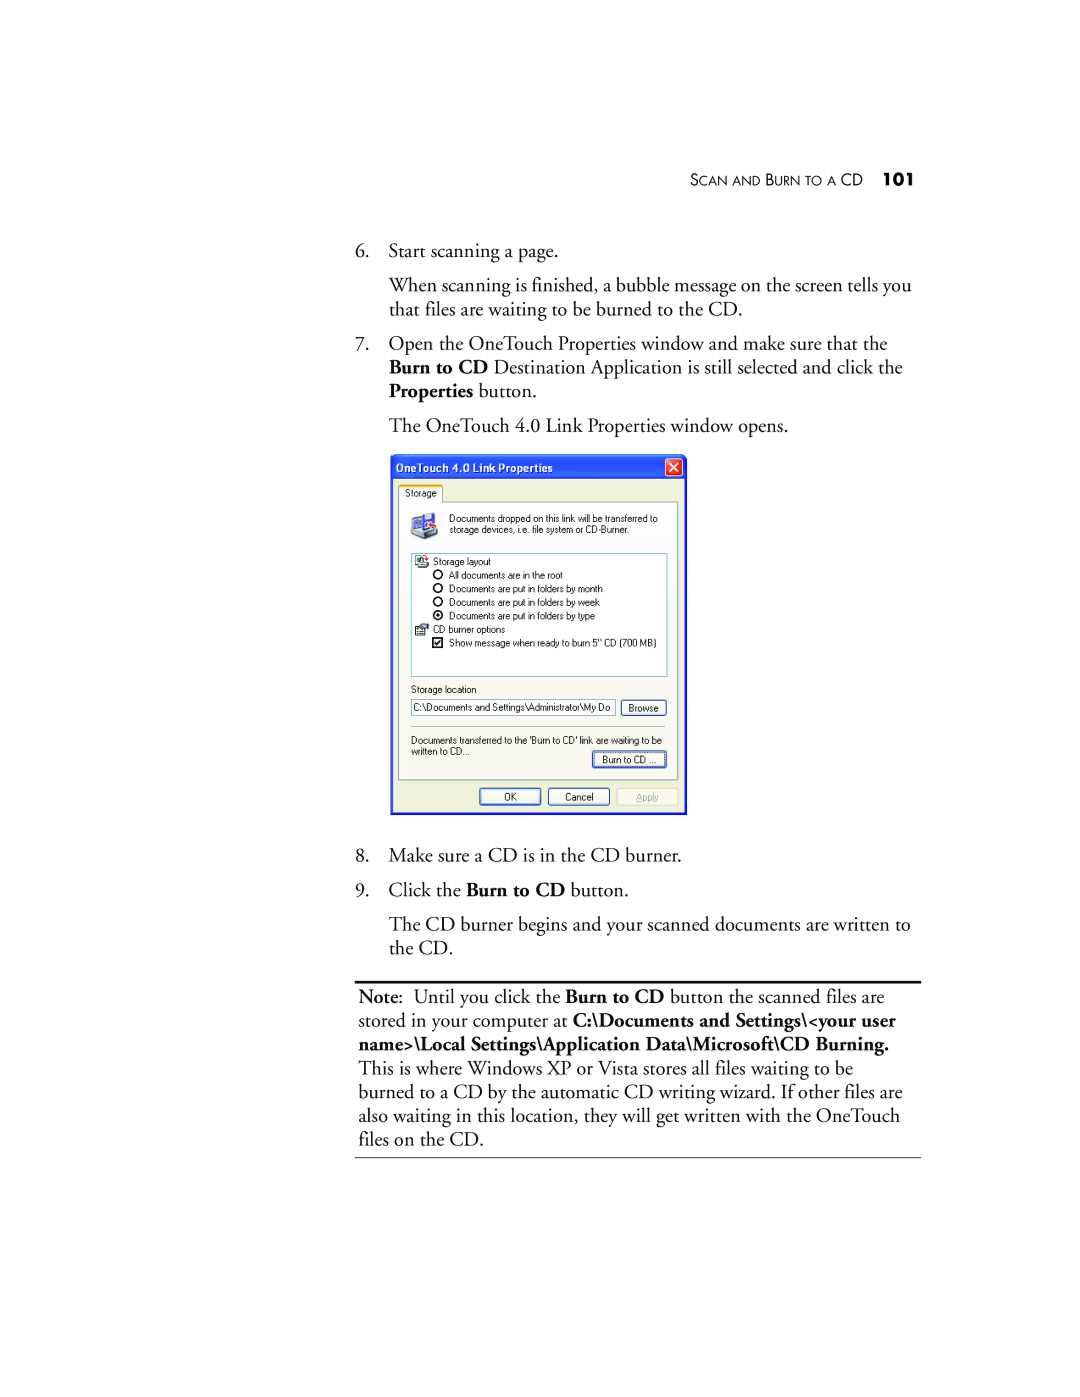
7.Open the OneTouch Properties window and make sure that the Burn to CD Destination Application is still selected and click the Properties button.
The OneTouch 4.0 Link Properties window opens.
8.Make sure a CD is in the CD burner.
9.Click the Burn to CD button.
The CD burner begins and your scanned documents are written to the CD.
Note: Until you click the Burn to CD button the scanned files are stored in your computer at C:\Documents and Settings\<your user name>\Local Settings\Application Data\Microsoft\CD Burning. This is where Windows XP or Vista stores all files waiting to be burned to a CD by the automatic CD writing wizard. If other files are also waiting in this location, they will get written with the OneTouch files on the CD.
