130VISIONEER STROBE XP 220 SCANNER USER’S GUIDE
To set up your scanner to work with PaperPort:
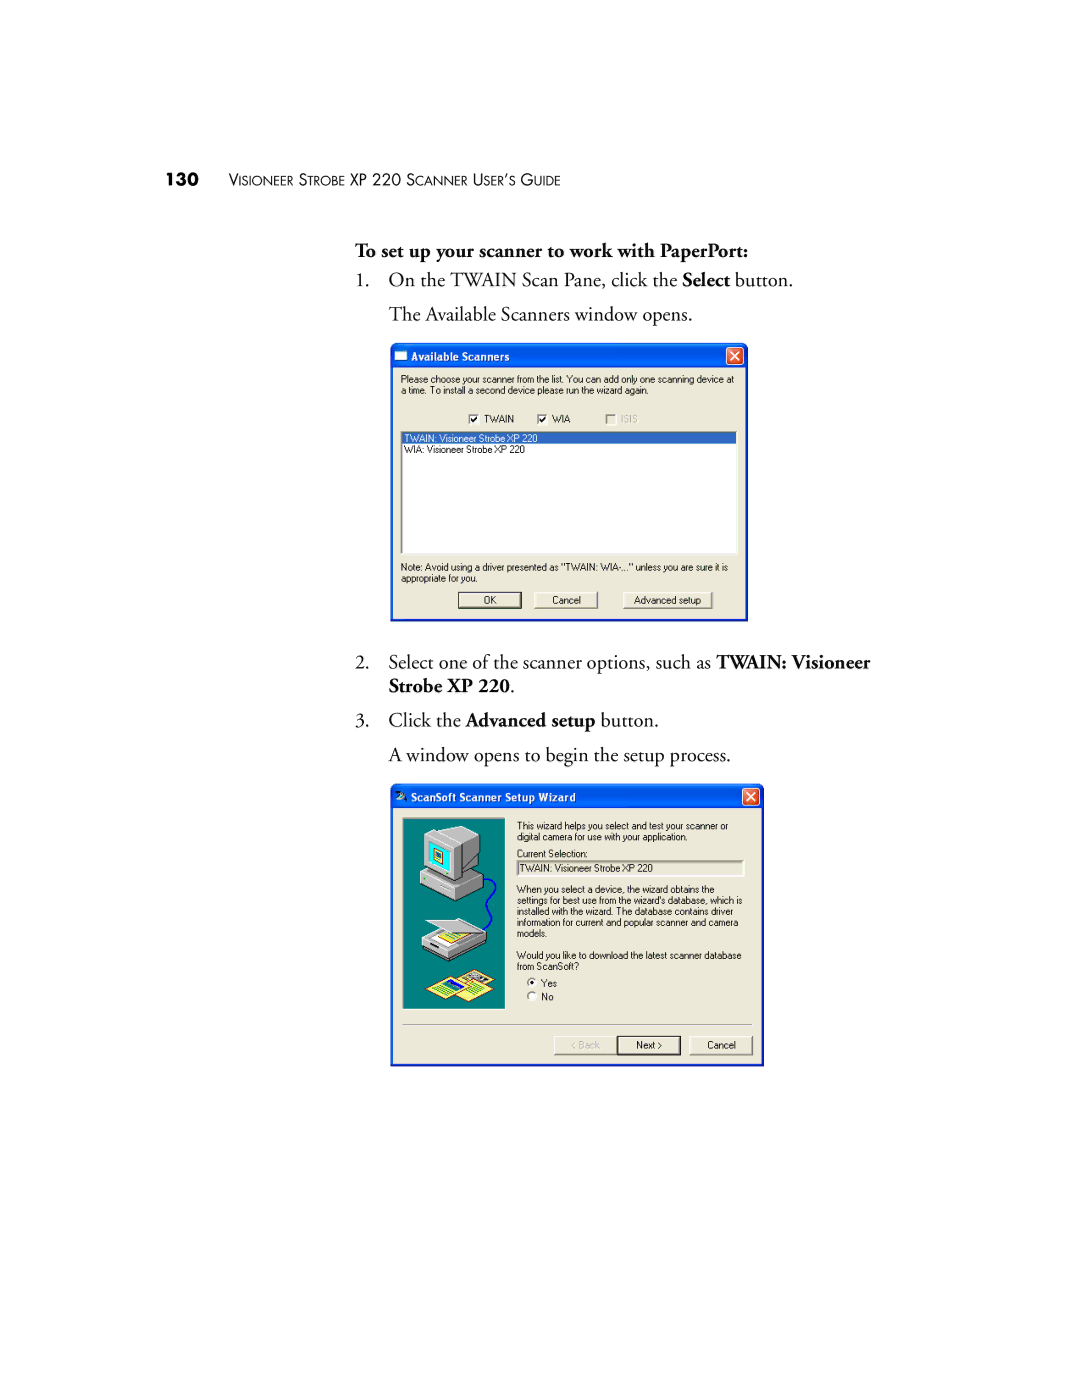
1.On the TWAIN Scan Pane, click the Select button. The Available Scanners window opens.
2.Select one of the scanner options, such as TWAIN: Visioneer Strobe XP 220.
3.Click the Advanced setup button.
A window opens to begin the setup process.