Modifying
SNMPv3 View
Table Entries
Deleting SNMPv3
View Table
Entries
AT-GS950/16PS Switch Web Interface User’s Guide
Included: This selection allows the specified MIB object to be included in the view.
Excluded: This selection blocks the view of the specified MIB object.
7.Click the Add button.
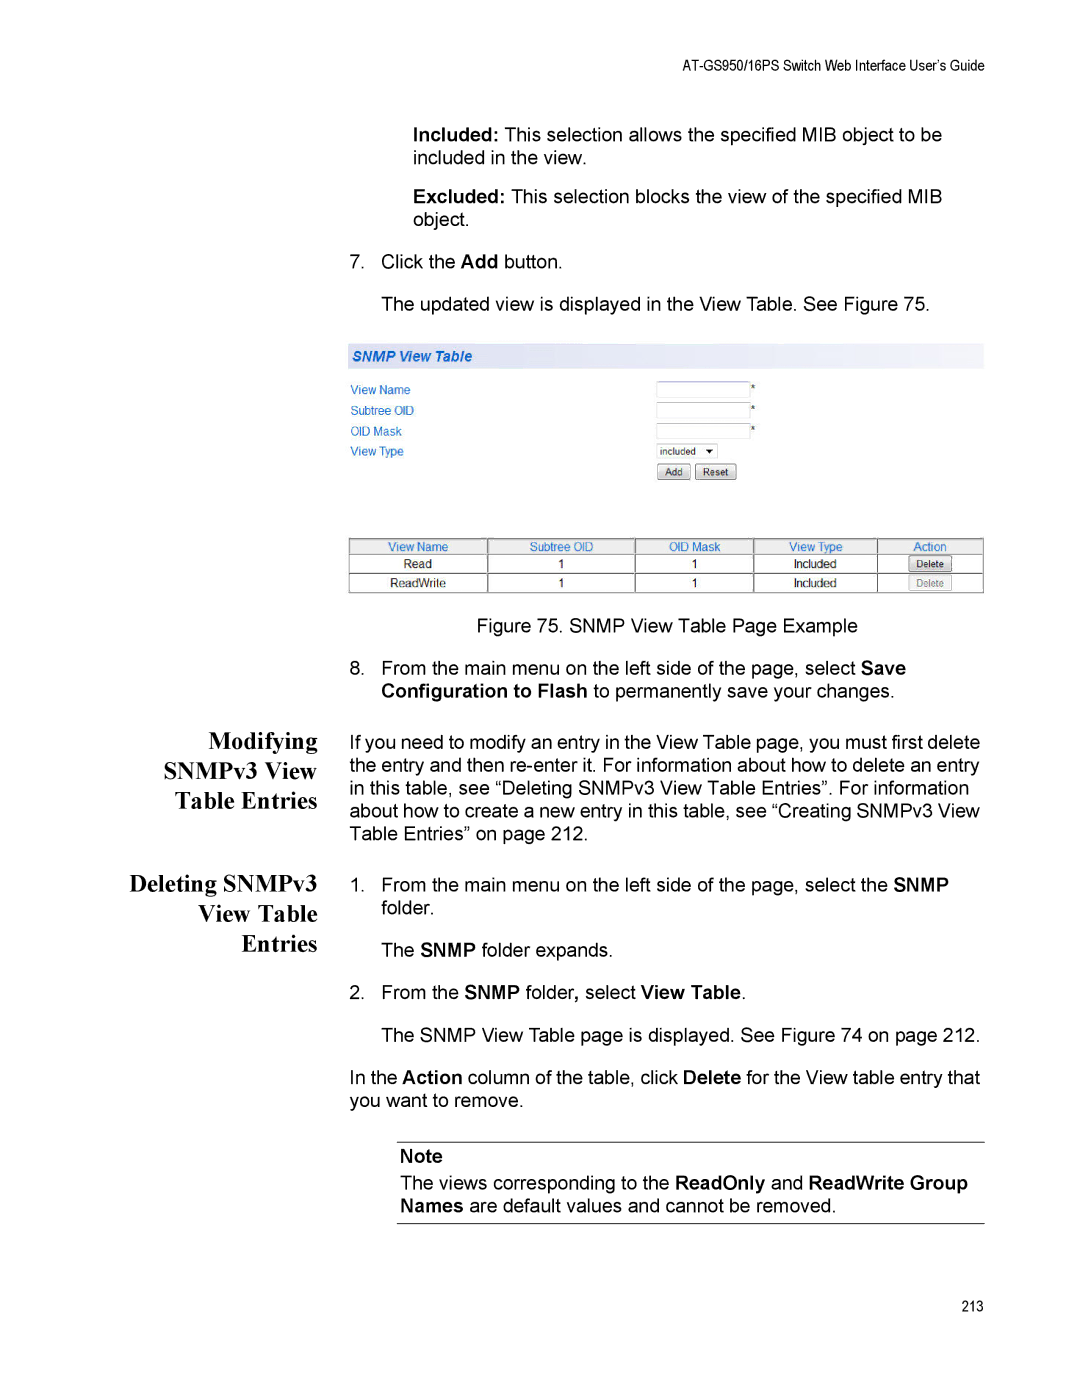
The updated view is displayed in the View Table. See Figure 75.
Figure 75. SNMP View Table Page Example
8.From the main menu on the left side of the page, select Save Configuration to Flash to permanently save your changes.
If you need to modify an entry in the View Table page, you must first delete the entry and then re-enter it. For information about how to delete an entry in this table, see “Deleting SNMPv3 View Table Entries”. For information about how to create a new entry in this table, see “Creating SNMPv3 View Table Entries” on page 212.
1.From the main menu on the left side of the page, select the SNMP folder.
The SNMP folder expands.
2.From the SNMP folder, select View Table.
The SNMP View Table page is displayed. See Figure 74 on page 212.
In the Action column of the table, click Delete for the View table entry that you want to remove.
Note
The views corresponding to the ReadOnly and ReadWrite Group Names are default values and cannot be removed.
213