6.Click Open.
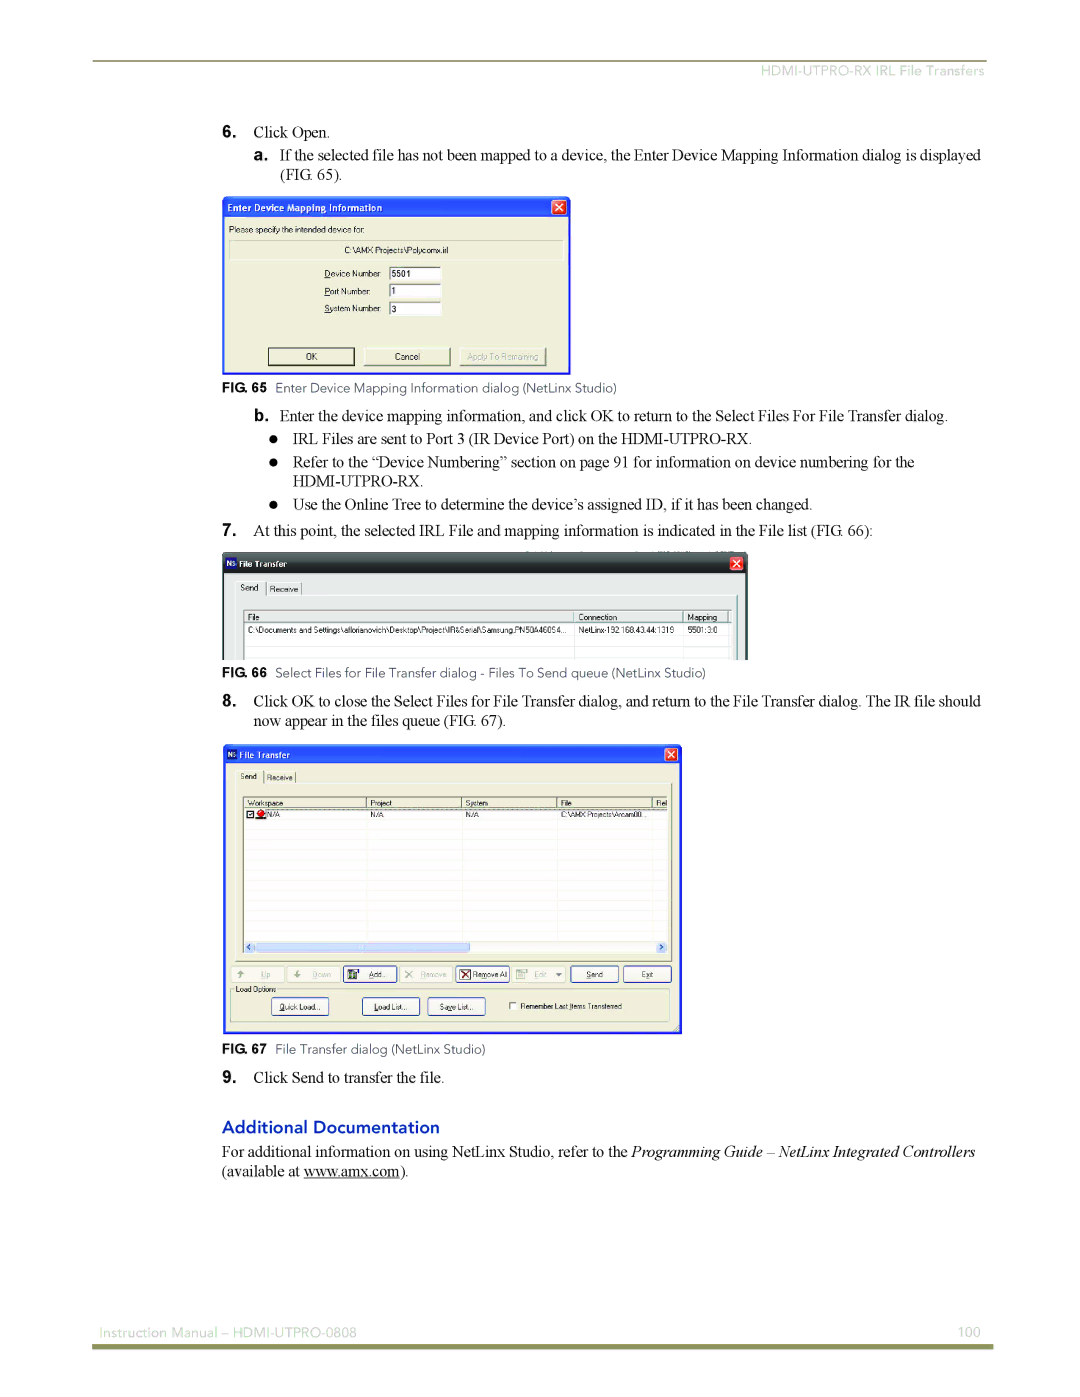
a.If the selected file has not been mapped to a device, the Enter Device Mapping Information dialog is displayed (FIG. 65).
5501
3
FIG. 65 Enter Device Mapping Information dialog (NetLinx Studio)
b.Enter the device mapping information, and click OK to return to the Select Files For File Transfer dialog. IRL Files are sent to Port 3 (IR Device Port) on the
Refer to the “Device Numbering” section on page 91 for information on device numbering for the
Use the Online Tree to determine the device’s assigned ID, if it has been changed.
7.At this point, the selected IRL File and mapping information is indicated in the File list (FIG. 66):
FIG. 66 Select Files for File Transfer dialog - Files To Send queue (NetLinx Studio)
8.Click OK to close the Select Files for File Transfer dialog, and return to the File Transfer dialog. The IR file should now appear in the files queue (FIG. 67).
FIG. 67 File Transfer dialog (NetLinx Studio)
9.Click Send to transfer the file.
Additional Documentation
For additional information on using NetLinx Studio, refer to the Programming Guide – NetLinx Integrated Controllers (available at www.amx.com).
Instruction Manual – | 100 |
|
|
