Appendix C – Managing Configuration Files
Installing and Launching XNConnect
Use XNConnect software only if you need to customize or change the configuration information from the original specification.
Important: Even if XNConnect is already on your PC, install the newest version from www.amx.com. We strongly recommend uninstalling the old version of XNConnect before installing a new version.
System Requirements
Windows XP Professional® 233 MHz processor Minimum of 128 MB of RAM 20 MB of available hard drive space
800x600 screen resolution (1024x768 is recommended) Serial port and
To install XNConnect from www.amx.com:
1.Close all other applications currently running on your PC.
2.Go to www.amx.com and login as a Dealer to download XNConnect.
3.Optional – Select the Release Notes to read about the software before installation.
4.Select Install.
5.Follow the directions in the subsequent dialog boxes.
Note: If your AMX account has the required permissions, the newest version of XNConnect can be downloaded from www.amx.com. An AutoPatch INI Updater file can also be found on the AMX website under Tech Center \ AutoPatch Tools for updating XNConnect with information for new support devices (an account is not required).
To launch XNConnect:
1.From the Start menu, select Programs.
2.Select AutoPatch Applications (or other file group you specified during the installation).
3.Select the XNConnect folder.
4.Select XNConnect.
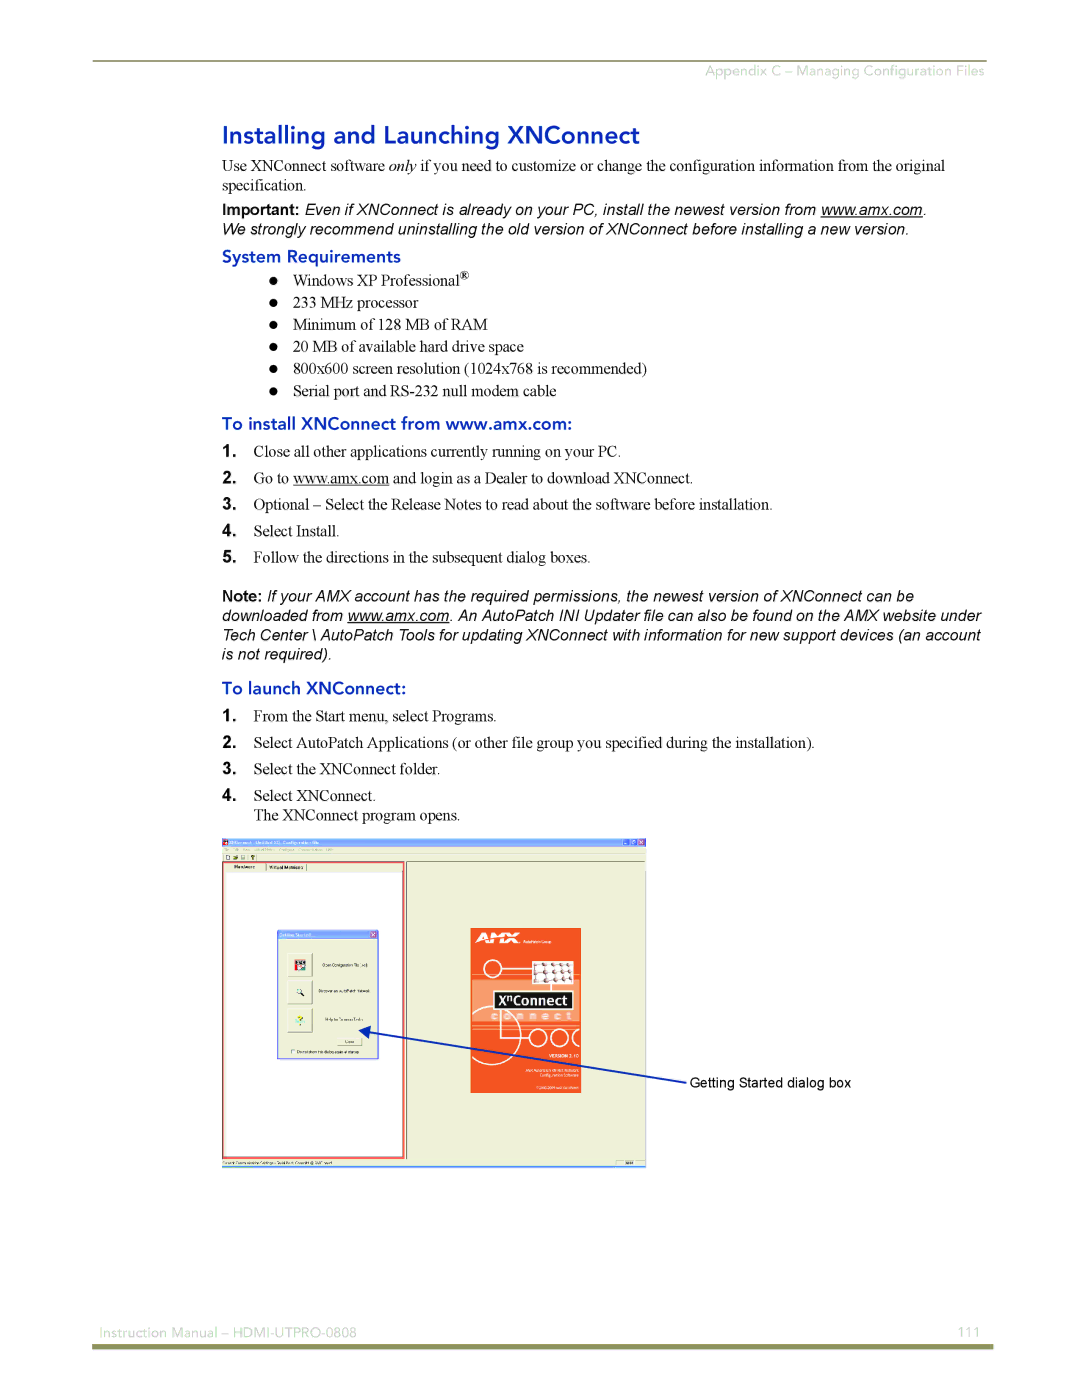
The XNConnect program opens.
Getting Started dialog box
Instruction Manual – | 111 |
|
|