65
Stacker Link Module
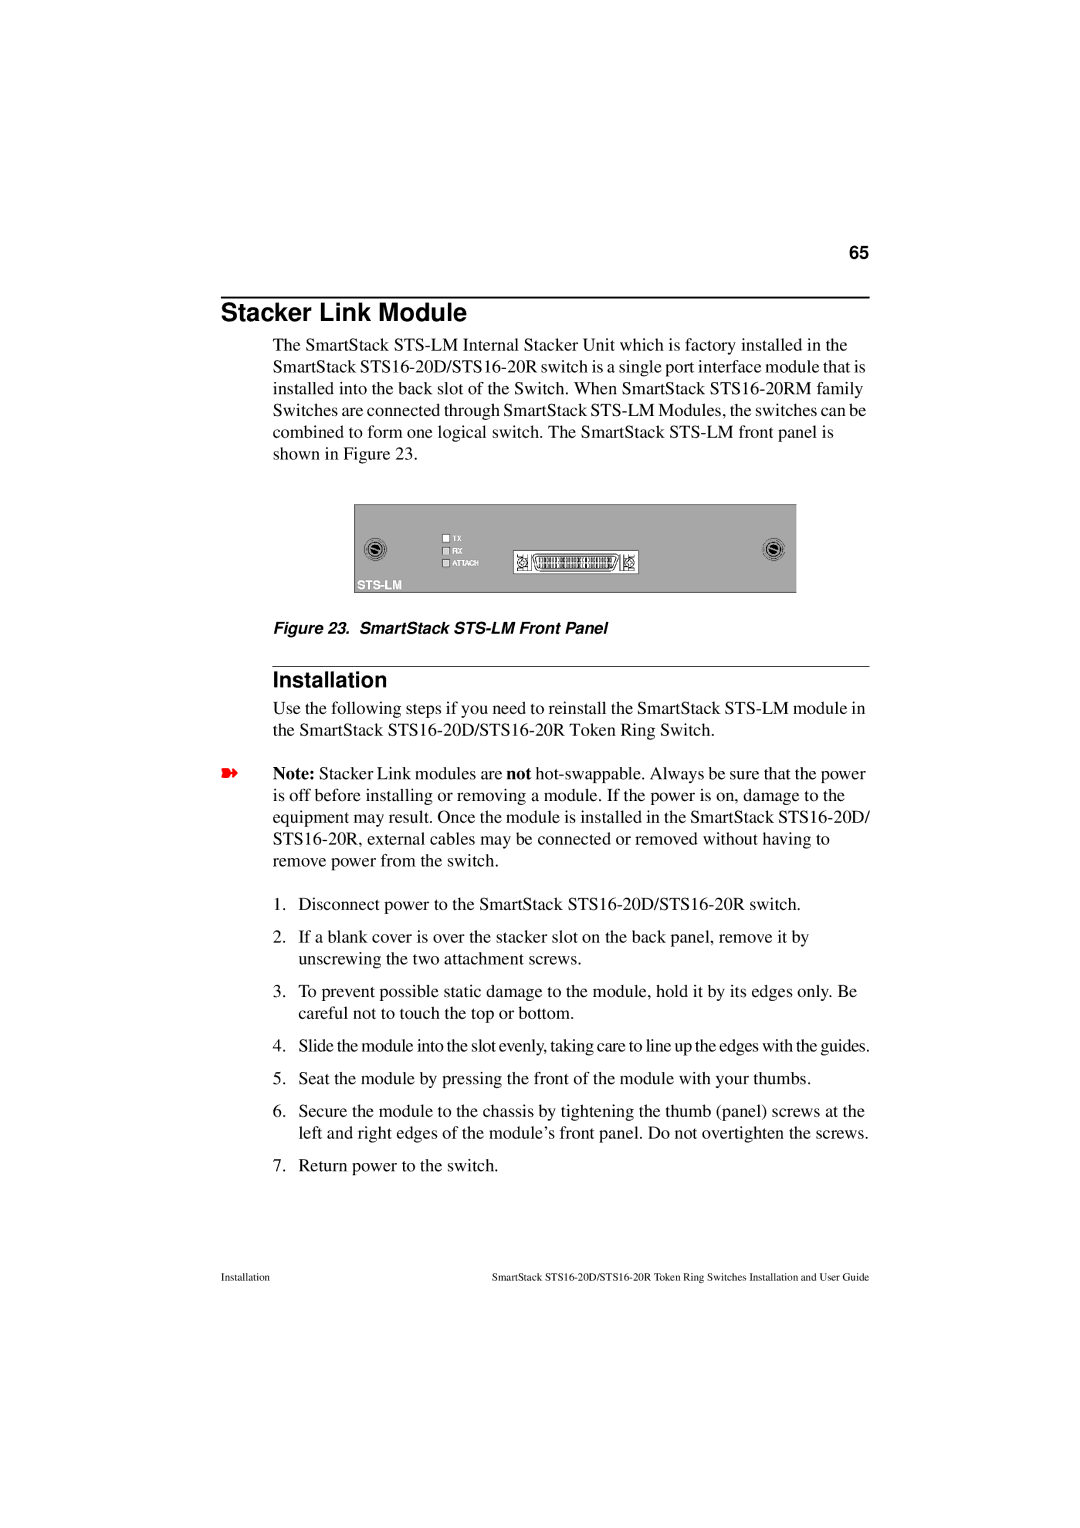
The SmartStack
Figure 23. SmartStack STS-LM Front Panel
Installation
Use the following steps if you need to reinstall the SmartStack
➽Note: Stacker Link modules are not
1.Disconnect power to the SmartStack
2.If a blank cover is over the stacker slot on the back panel, remove it by unscrewing the two attachment screws.
3.To prevent possible static damage to the module, hold it by its edges only. Be careful not to touch the top or bottom.
4.Slide the module into the slot evenly, taking care to line up the edges with the guides.
5.Seat the module by pressing the front of the module with your thumbs.
6.Secure the module to the chassis by tightening the thumb (panel) screws at the left and right edges of the module’s front panel. Do not overtighten the screws.
7.Return power to the switch.
Installation | SmartStack |