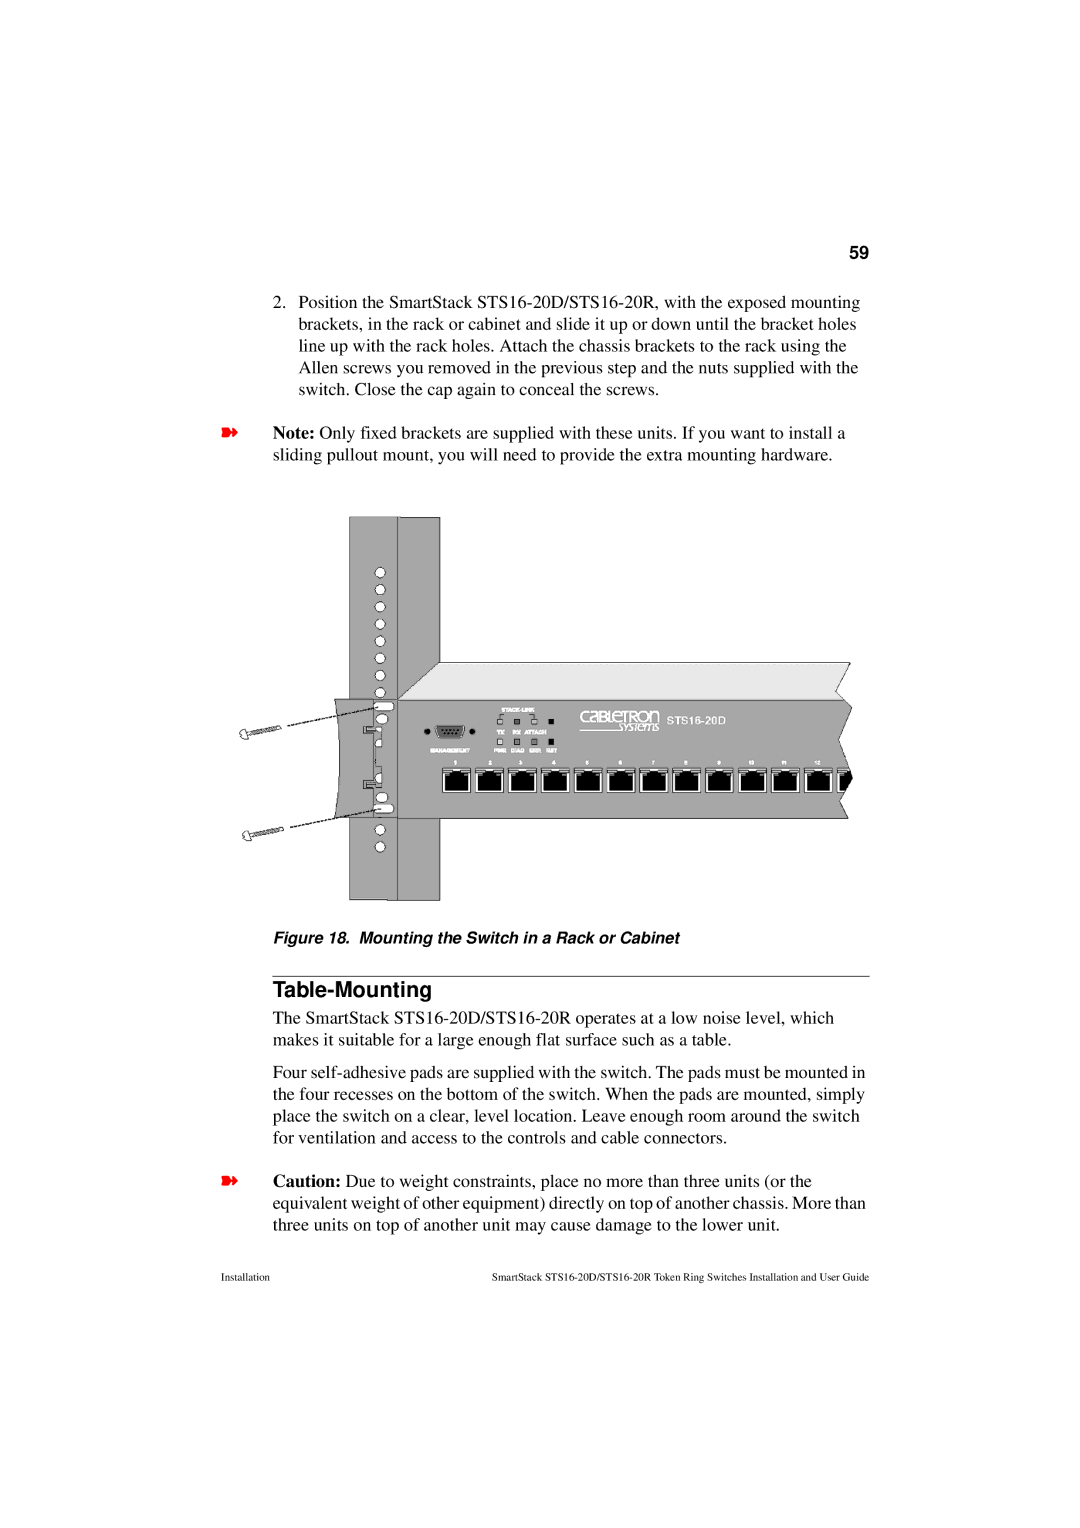
59
Installation SmartStack STS16-20D/STS16-20R Token Ring Switches Installation and User Guide
2. Position the SmartStack STS16-20D/STS16-20R, with the exposed mounting
brackets, in the rack or cabinet and slide it up or down until the bracket holes
line up with the rack holes. Attach the chassis brackets to the rack using the
Allen screws you removed in the previous step and the nuts supplied with the
switch. Close the cap again to conceal the screws.
Note: Only fixed brackets are supplied with these units. If you want to install a
sliding pullout mount, you will need to provide the extra mounting hardware.
Figure 18. Mounting the Switch in a Rack or Cabinet
Table-Mounting
The SmartStack STS16-20D/STS16-20R operates at a low noise level, which
makes it suitable for a large enough flat surface such as a table.
Four self-adhesive pads are supplied with the switch. The pads must be mounted in
the four recesses on the bottom of the switch. When the pads are mounted, simply
place the switch on a clear, level location. Leave enough room around the switch
for ventilation and access to the controls and cable connectors.
Caution: Due to weight constraints, place no more than three units (or the
equivalent weight of other equipment) directly on top of another chassis. More than
three units on top of another unit may cause d amage to the lower unit.