Load and Print on Rigid Media
1.If loaded, unload any
2.If necessary, slide the
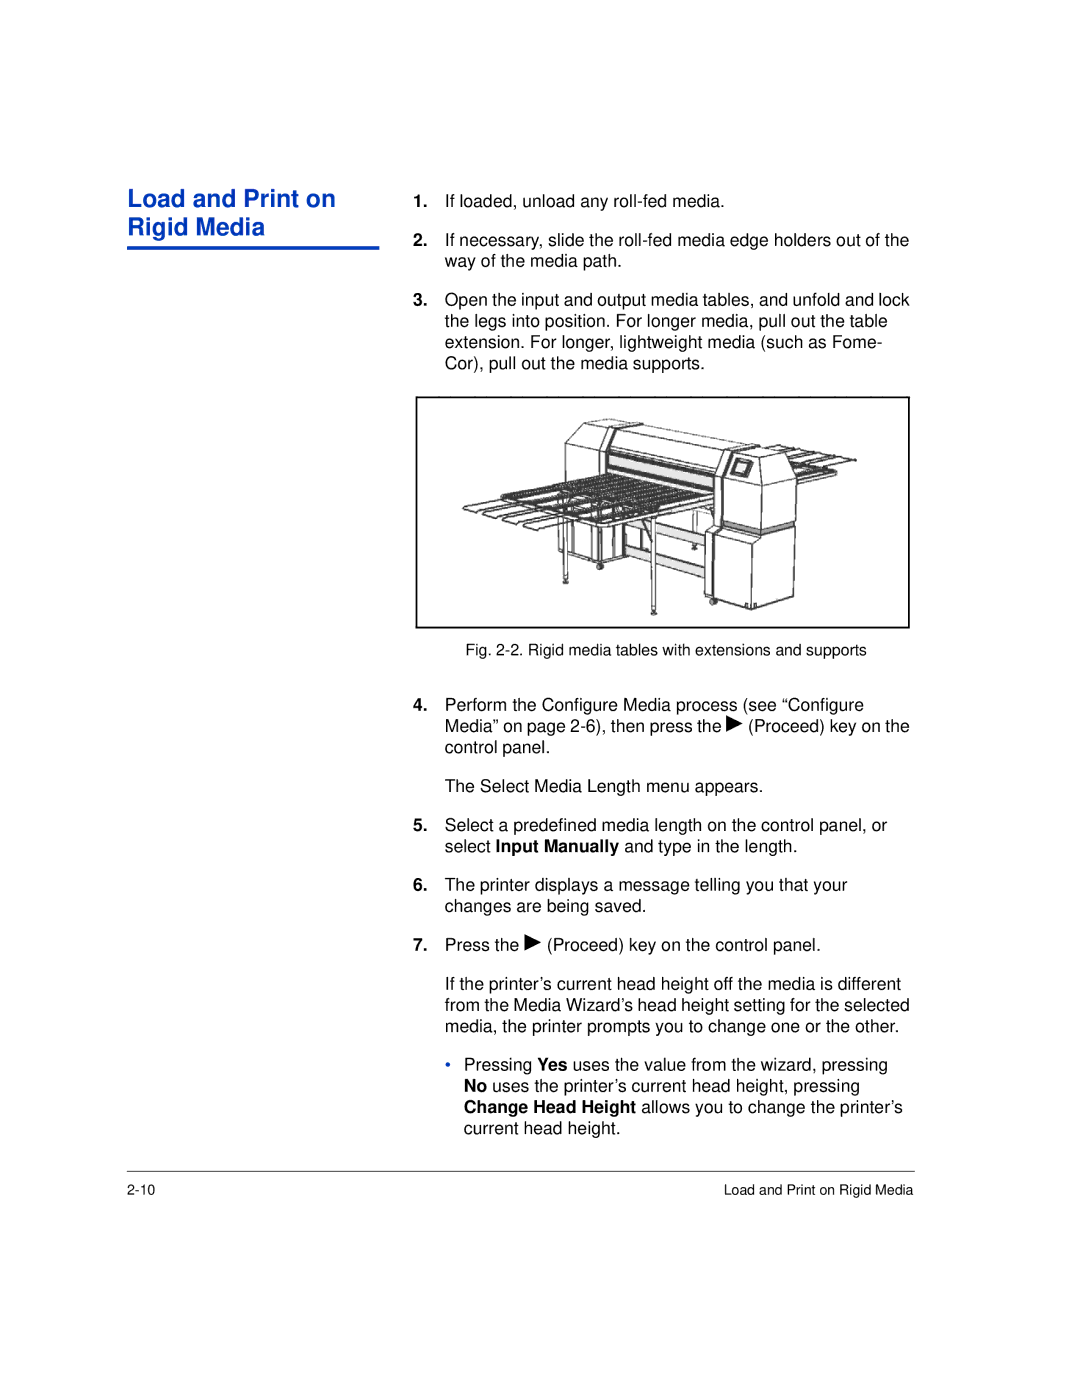
3.Open the input and output media tables, and unfold and lock the legs into position. For longer media, pull out the table extension. For longer, lightweight media (such as Fome- Cor), pull out the media supports.
Fig. 2-2. Rigid media tables with extensions and supports
4.Perform the Configure Media process (see “Configure Media” on page
The Select Media Length menu appears.
5.Select a predefined media length on the control panel, or select Input Manually and type in the length.
6.The printer displays a message telling you that your changes are being saved.
7.Press the ! (Proceed) key on the control panel.
If the printer’s current head height off the media is different from the Media Wizard’s head height setting for the selected media, the printer prompts you to change one or the other.
•Pressing Yes uses the value from the wizard, pressing No uses the printer’s current head height, pressing Change Head Height allows you to change the printer’s current head height.
Load and Print on Rigid Media |