Section 8 - Chapter 1 - OkiLAN 6100e Setup for Windows NT 4.0
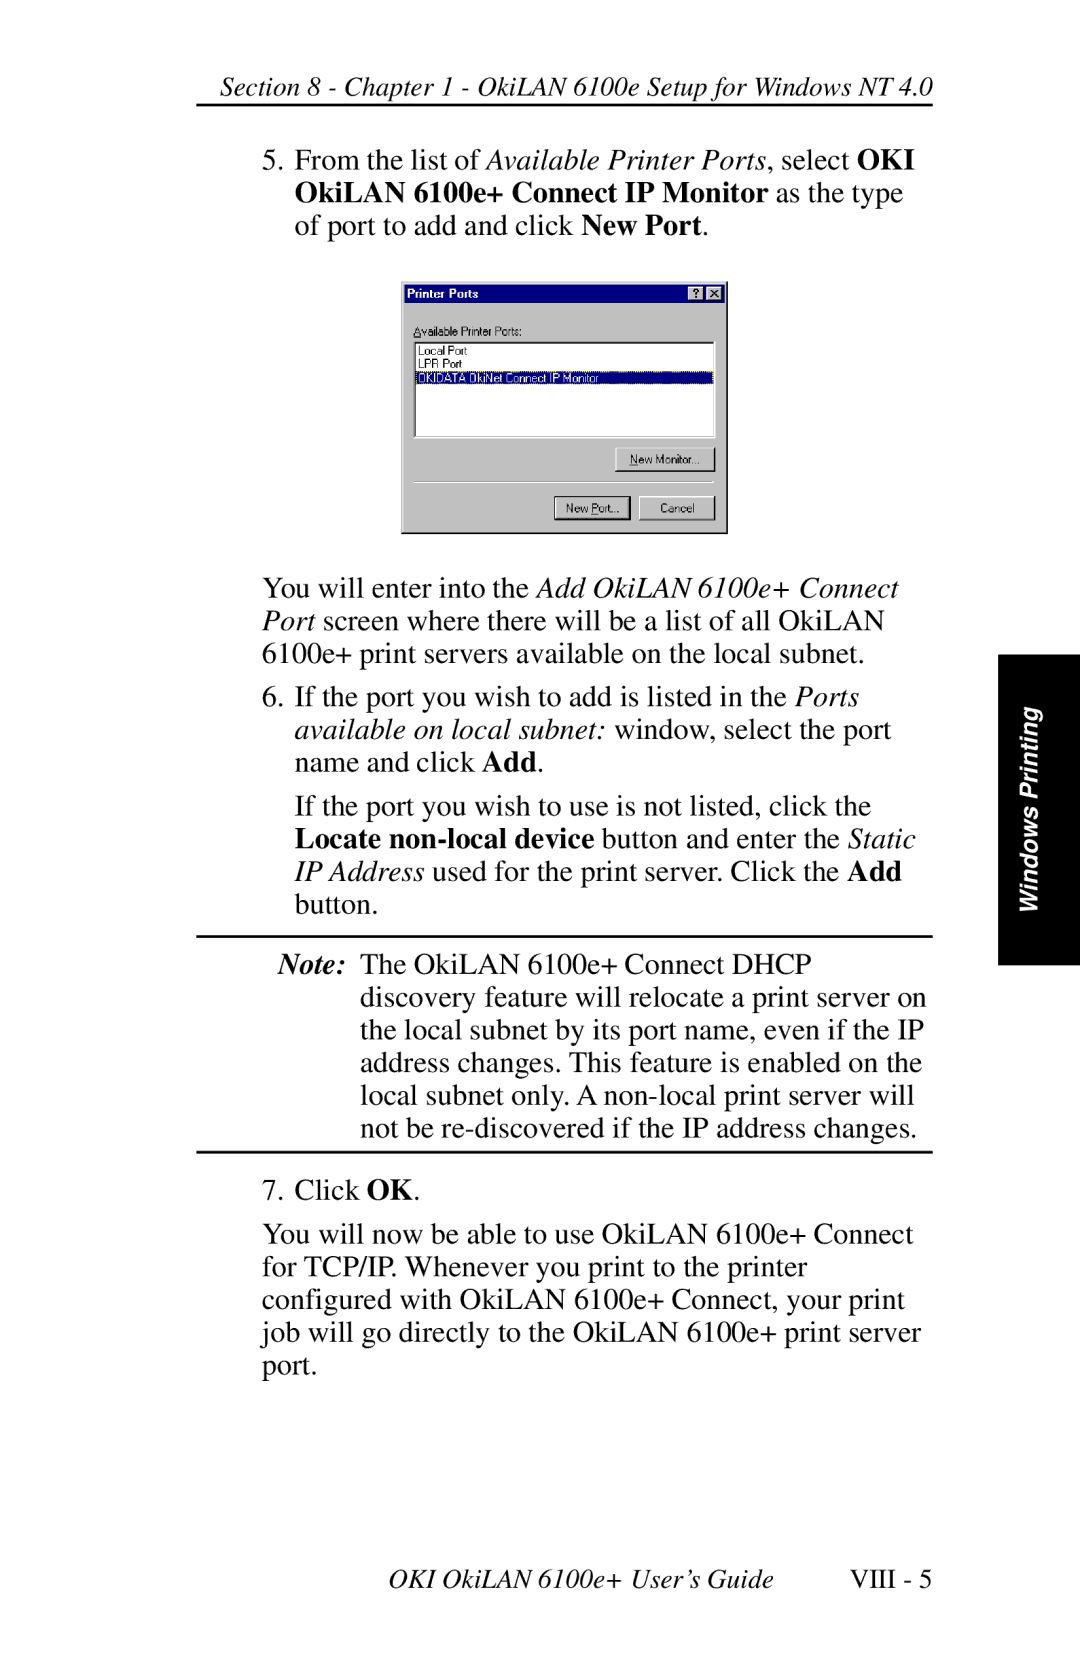
5.From the list of Available Printer Ports, select OKI OkiLAN 6100e+ Connect IP Monitor as the type of port to add and click New Port.
You will enter into the Add OkiLAN 6100e+ Connect Port screen where there will be a list of all OkiLAN 6100e+ print servers available on the local subnet.
6.If the port you wish to add is listed in the Ports available on local subnet: window, select the port name and click Add.
If the port you wish to use is not listed, click the Locate
Note: The OkiLAN 6100e+ Connect DHCP discovery feature will relocate a print server on the local subnet by its port name, even if the IP address changes. This feature is enabled on the local subnet only. A
7. Click OK.
You will now be able to use OkiLAN 6100e+ Connect for TCP/IP. Whenever you print to the printer configured with OkiLAN 6100e+ Connect, your print job will go directly to the OkiLAN 6100e+ print server port.
Windows Printing
OKI OkiLAN 6100e+ User’s Guide | VIII - 5 |
