Powerware 9315s manual Ssbm Setup Configuration, Save

Models: 9315s

1 205
Download 205 pages 30.84 Kb
Page 147
Image 147

14.6SSBM Setup Configuration

Connect the modem to the SSBM by connecting one end of the serial cable to the UPS Port 2 DB---25F connector and the other to the modem (refer to Chapter 13, “Serial Communications”). If using a standard serial cable, a null modem adapter is required for the connection to the modem.

The Powerware 9315 SSBM can only use serial Port 2, DB---25F, for the Remote Notification option. This connection is located on the Customer interface Panel at the top right of the SSBM cabinet.

The remote modem operates at only 2400 baud.

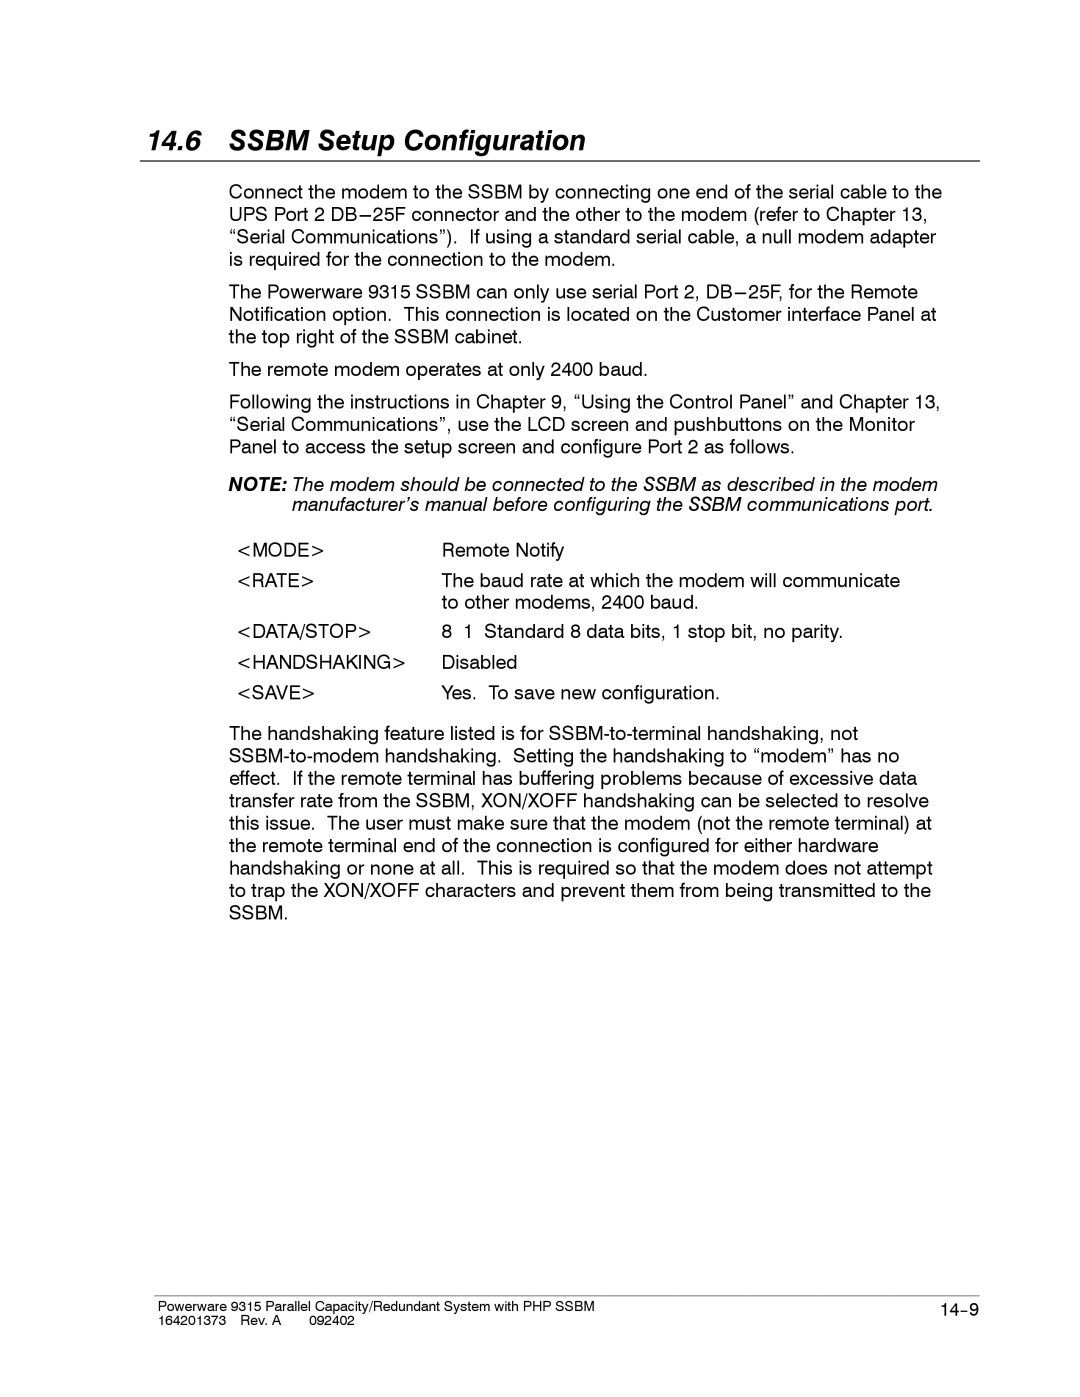
Following the instructions in Chapter 9, “Using the Control Panel” and Chapter 13, “Serial Communications”, use the LCD screen and pushbuttons on the Monitor Panel to access the setup screen and configure Port 2 as follows.

NOTE: The modem should be connected to the SSBM as described in the modem manufacturer’s manual before configuring the SSBM communications port.

<MODE>

Remote Notify

<RATE>

The baud rate at which the modem will communicate


to other modems, 2400 baud.

<DATA/STOP>

8 1 Standard 8 data bits, 1 stop bit, no parity.

<HANDSHAKING>

Disabled

<SAVE>

Yes. To save new configuration.

The handshaking feature listed is for SSBM-to-terminal handshaking, not SSBM-to-modem handshaking. Setting the handshaking to “modem” has no effect. If the remote terminal has buffering problems because of excessive data transfer rate from the SSBM, XON/XOFF handshaking can be selected to resolve this issue. The user must make sure that the modem (not the remote terminal) at the remote terminal end of the connection is configured for either hardware handshaking or none at all. This is required so that the modem does not attempt to trap the XON/XOFF characters and prevent them from being transmitted to the SSBM.

Powerware 9315 Parallel Capacity/Redundant System with PHP SSBM

14--9

164201373 Rev. A 092402


Page 147
Image 147
Powerware 9315s manual Ssbm Setup Configuration, Save