Chapter 4 Configuration | Installation and Operation Manual |
|
|
2.From the Date/Time menu, select Set time, and enter the current time in the hh:mm:ss format.
3.Select Set date, and enter the current date in the yyyy:mm:dd format.
Configuration>System>Date/time |
|
| |
1. | Set time <HH:MM:SS> | ... (09:12:06) |
|
2. | Set date | ... |
|
> |
|
|
|
Please select item <1 to 2> |
| 1 Mngr/s | |
|
|
|
|
Figure 4-28. Date/Time Menu
Displaying the IPmux-11 Status
The
The status information is available via the Status menu.
To access the Status menu:
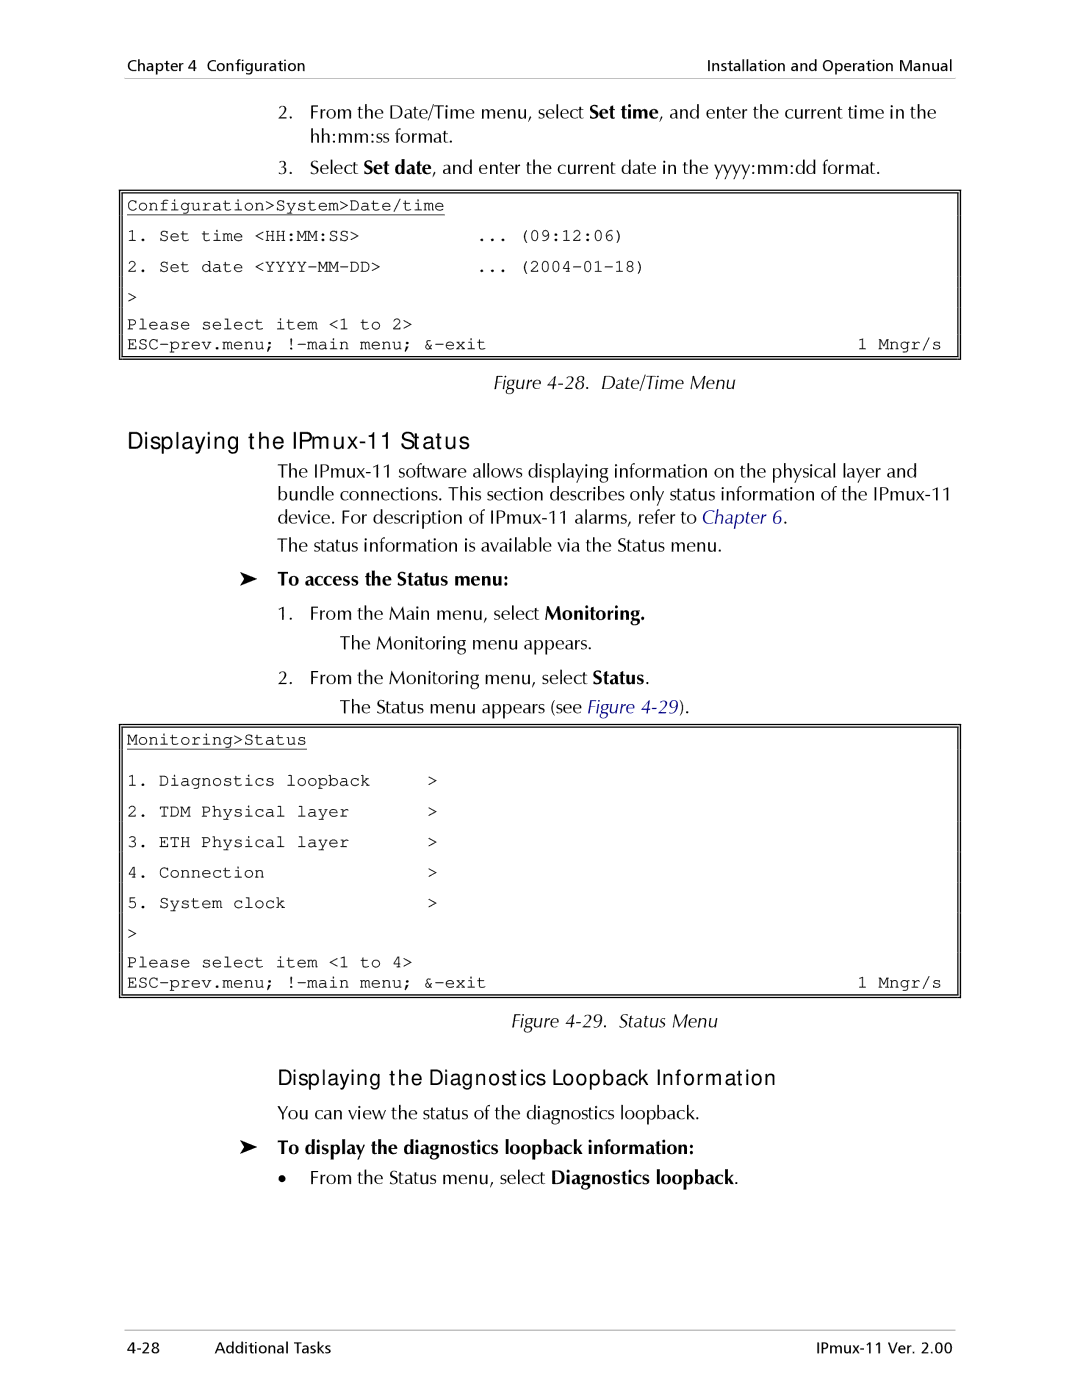
1.From the Main menu, select Monitoring. The Monitoring menu appears.
2.From the Monitoring menu, select Status. The Status menu appears (see Figure
Monitoring>Status |
| |
1. | Diagnostics loopback | > |
2. | TDM Physical layer | > |
3. | ETH Physical layer | > |
4. | Connection | > |
5. | System clock | > |
> |
|
Please select item <1 to 4> | 1 Mngr/s |
Figure 4-29. Status Menu
Displaying the Diagnostics Loopback Information
You can view the status of the diagnostics loopback.
To display the diagnostics loopback information:
•From the Status menu, select Diagnostics loopback.
Additional Tasks |
