Chapter 4 Configuration | Installation and Operation Manual |
|
|
To acquire a new IP address from the DHCP server:
1.From the Host IP menu, set all host IP parameters (host IP, IP mask and default gateway) to 0.0.0.0.
2.Enable the DHCP client.
Configuring Management Parameters
You can configure the following management parameters:
•Define system name and location
•Define read, write and trap communities
•Specify network managers
•Enable or disable management access via Telnet or Web browser
•Define alarm masks.
Assigning a Name to IPmux-11 and Its Location
The
To assign a name to IPmux-11 and its location:
1.From the System menu (Figure
2.From the Management menu, select Device info.
The Device Info menu appears (see Figure
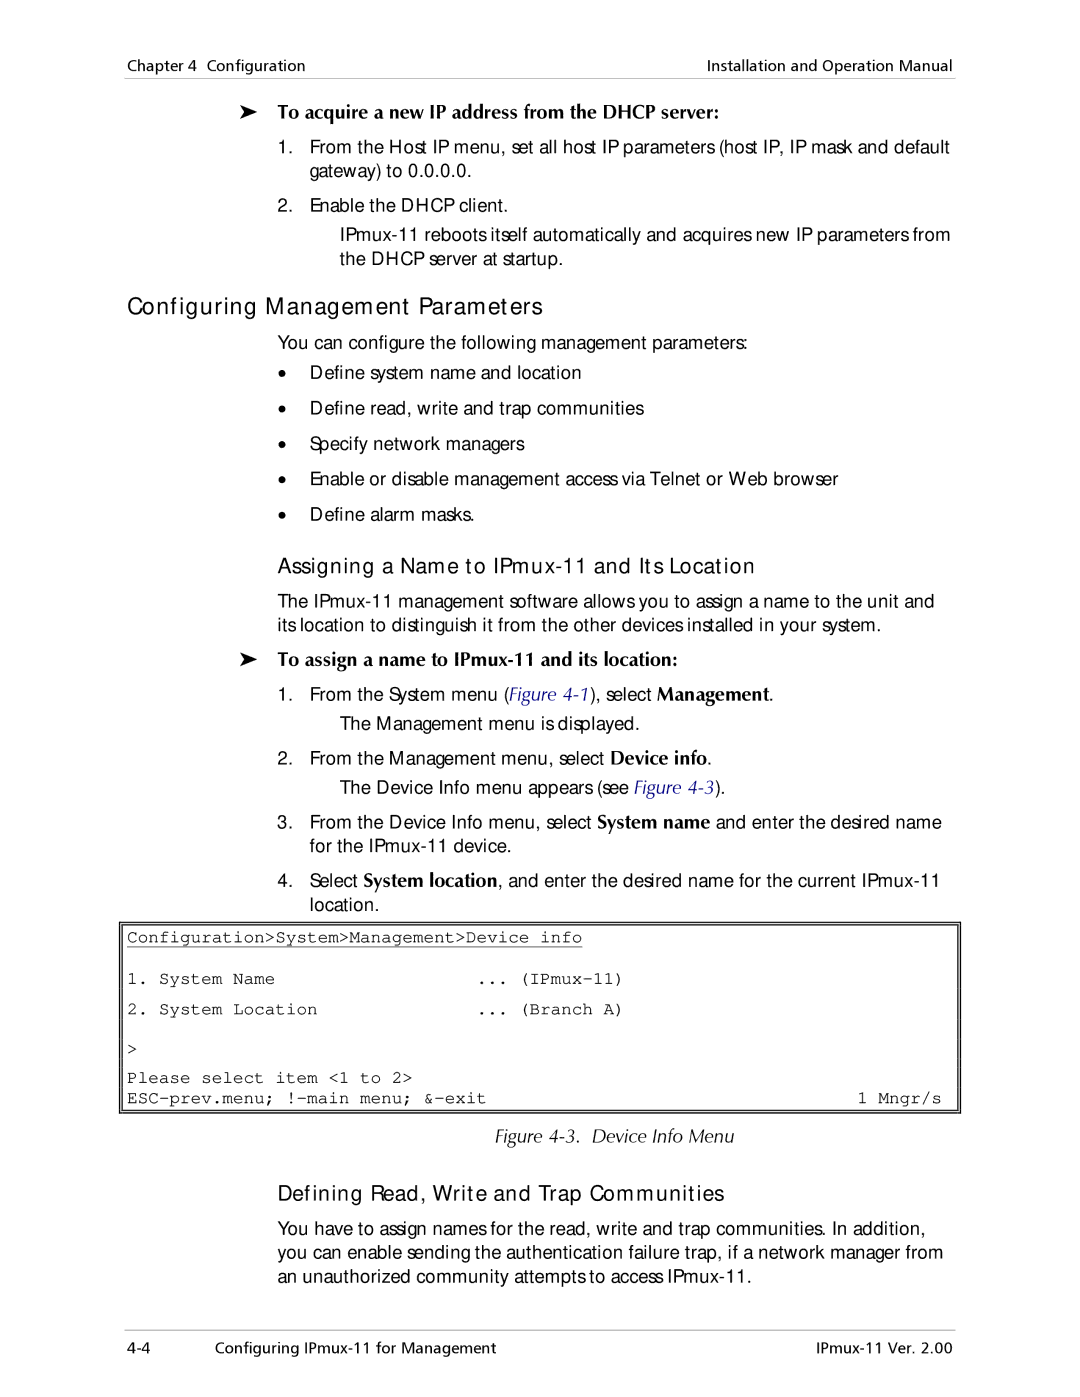
3.From the Device Info menu, select System name and enter the desired name for the
4.Select System location, and enter the desired name for the current
Configuration>System>Management>Device info
1. | System Name | ... |
|
2. | System Location | ... (Branch A) |
|
> |
|
|
|
Please select item <1 to 2> |
| 1 Mngr/s | |
Figure 4-3. Device Info Menu
Defining Read, Write and Trap Communities
You have to assign names for the read, write and trap communities. In addition, you can enable sending the authentication failure trap, if a network manager from an unauthorized community attempts to access
Configuring |