Installation and Operation Manual | Chapter 4 Configuration |
|
|
To enable DHCP client:
1. From the System menu, select Host IP.
The Host IP menu appears (see Figure
2. From the Host IP menu, select DHCP, and choose Enable.
3.From the Host IP menu, select DHCP Status to view the current status of the
Server ID (IP address of the DHCP server)
Lease expiration time (Time when the IP address lease expires)
|
|
| Current status – (Current status of the DHCP client: Locating Available | |
|
|
| Server, Waiting for Confirmation of Lease, etc) | |
|
|
|
| |
| Note | When the IP address lease is going to expire, DHCP client automatically requests | ||
| lease extension. |
| ||
|
|
|
| |
|
| |||
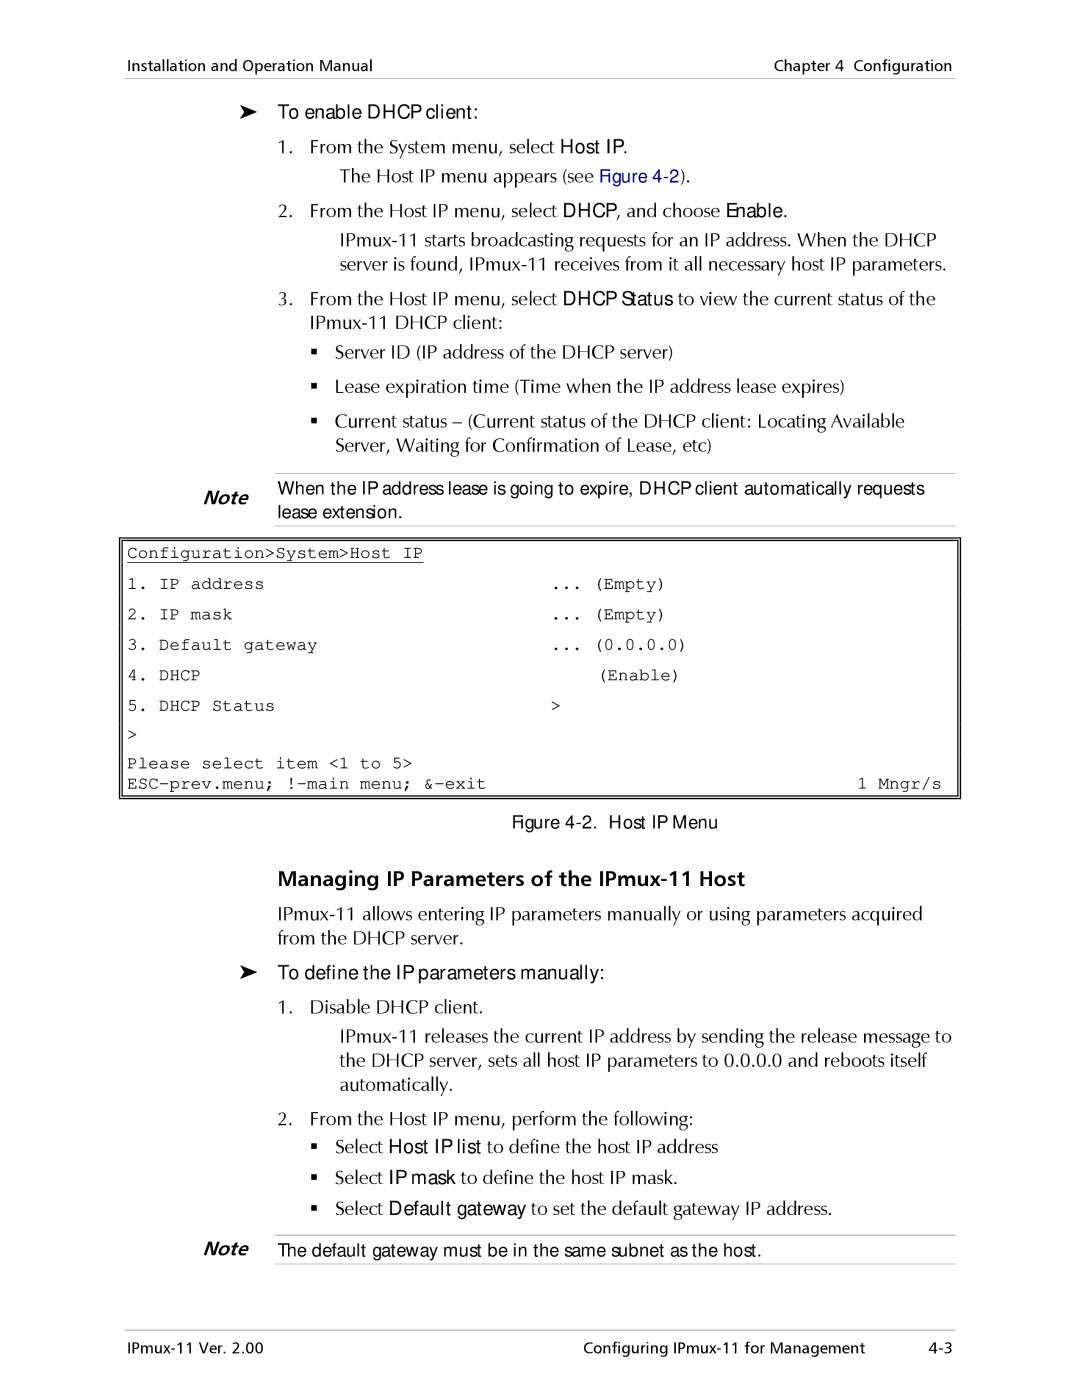
Configuration>System>Host IP |
| |||
1. | IP address |
| ... (Empty) | |
2. | IP mask |
| ... (Empty) | |
3. | Default gateway | ... (0.0.0.0) | ||
4. | DHCP |
| (Enable) | |
5. | DHCP Status |
| > | |
> |
|
|
|
|
Please select item <1 to 5> | 1 Mngr/s | |||
|
|
|
|
|
Figure 4-2. Host IP Menu
Managing IP Parameters of the IPmux-11 Host
To define the IP parameters manually:
1. Disable DHCP client.
2.From the Host IP menu, perform the following: Select Host IP list to define the host IP address Select IP mask to define the host IP mask.
Select Default gateway to set the default gateway IP address.
Note The default gateway must be in the same subnet as the host.
Configuring |