machine’s fusing temperature for 0.1 second. Check your machine’s specification to view the fusing temperature about 170°C(338 °F).
•Used paper ink must be
•Before you load used paper, verify that the ink on the paper is dry. During the fusing process, wet ink can come off used paper, reducing print quality.
Photo
•Make sure not to use the inkjet photo paper with this machine. It could cause damage to the machine.
Glossy photo
Load one paper to the
•Recommended media: Glossy paper (Letter) for this machine by HP
Brochure Paper (Product: Q6611A) only.
•Recommended media: Glossy paper (A4) for this machine by HP
Superior Paper 160 glossy (Product: Q6616A).
Matte photo
Load one paper to the
Setting the paper size and type
After loading paper in the paper tray, set the paper size and type using the control panel. These settings will apply to copy and fax modes. For computer printing, select the paper size and type in the application program you use on your computer (See "Opening printing preferences" on page 2).
The settings made from the machine driver override the settings on the control panel.
Setting the paper size
1.Press Menu on the control panel.
2.Press the up/down arrow to highlight System Setup and press OK.
3.Press the up/down arrow to highlight Paper Setup and press OK.
4.Press the up/down arrow to highlight Paper Size and press OK.
5.Press the up/down arrow to select the paper tray you want and press OK.
6.Press the up/down arrow to select the paper size you want.
7.Press OK to save the selection.
8.Press Stop/Clear to return to ready mode.
If you want to use
Setting the paper type
1.Press Menu on the control panel.
2.Press the up/down arrow to highlight System Setup and press OK.
3.Press the up/down arrow to highlight Paper Setup and press OK.
4.Press the up/down arrow to highlight Paper Type and press OK.
5.Press the up/down arrow to select the paper tray you want and press OK.
6.Press the up/down arrow to select the paper type you want.
7.Press OK to save the selection.
8.Press Stop/Clear to return to ready mode.
Setting the paper source
1.Press Menu on the control panel.
2.Press the up/down arrow to highlight System Setup and press OK.
3.Press the up/down arrow to highlight Paper Setup and press OK.
4.Press the up/down arrow to highlight Paper Source and press OK.
5.Press the up/down arrow to highlight Copy Tray or Fax Tray and press OK.
6.Press the up/down arrow to select the paper tray you want.
7.Press OK to save the selection.
8.Press Stop/Clear to return to ready mode.
If you want to use
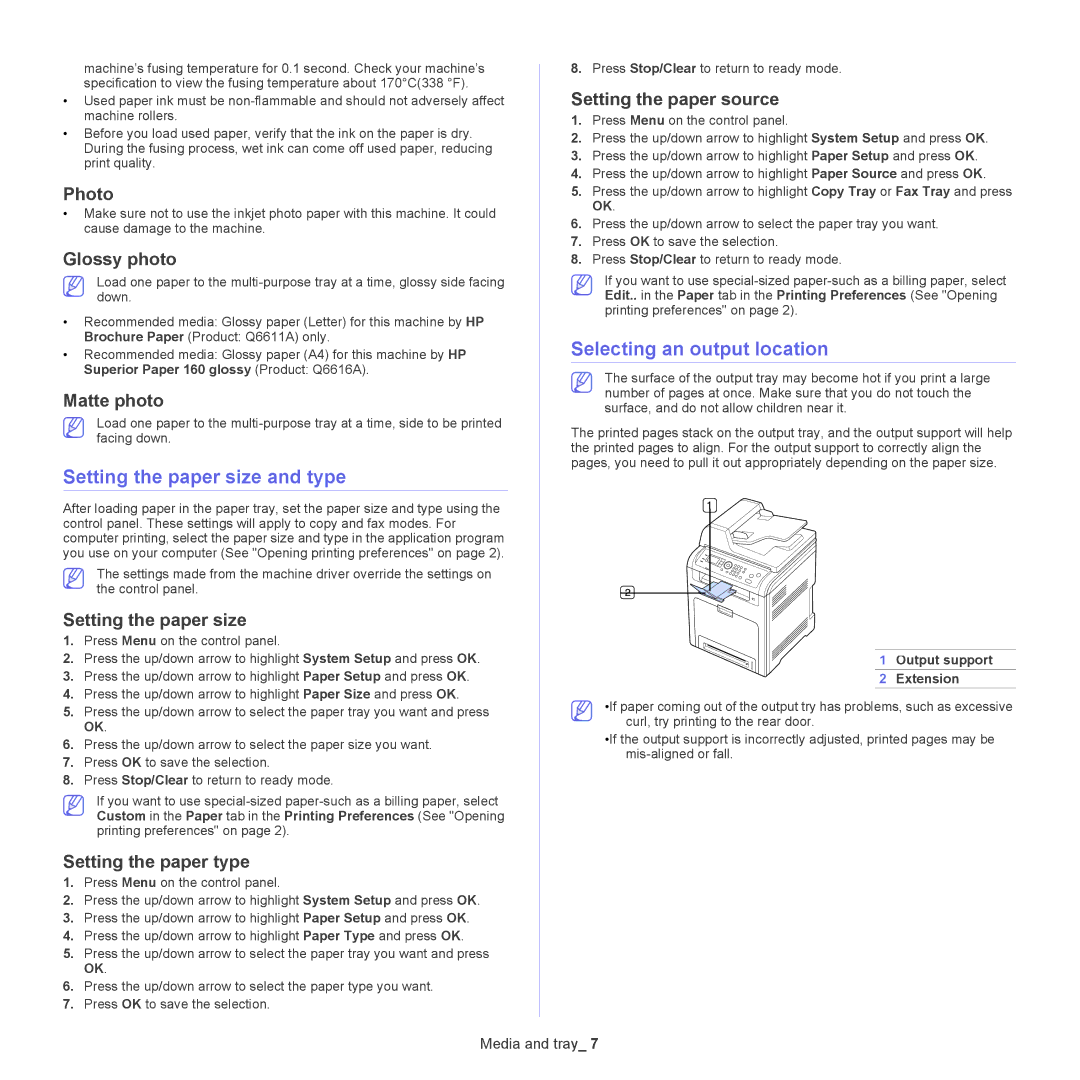
Selecting an output location
The surface of the output tray may become hot if you print a large number of pages at once. Make sure that you do not touch the surface, and do not allow children near it.
The printed pages stack on the output tray, and the output support will help the printed pages to align. For the output support to correctly align the pages, you need to pull it out appropriately depending on the paper size.
1 Output support
2 Extension
•If paper coming out of the output try has problems, such as excessive curl, try printing to the rear door.
•If the output support is incorrectly adjusted, printed pages may be