Restoring Server Applications
Step 8 For a single user mailbox restoration, select Restore to application from the Options
When restoring all mailboxes in a Revision, select one of the following from the Options
•Restore to original location – This option restores the files to the Microsoft Exchange application location.
•Restore to alternate location – This option restores the files to the disk of the agent machine.
Step 9 Under Components, select the checkboxes for the user mailbox databases you want to restore. Select all databases to maintain consistency.
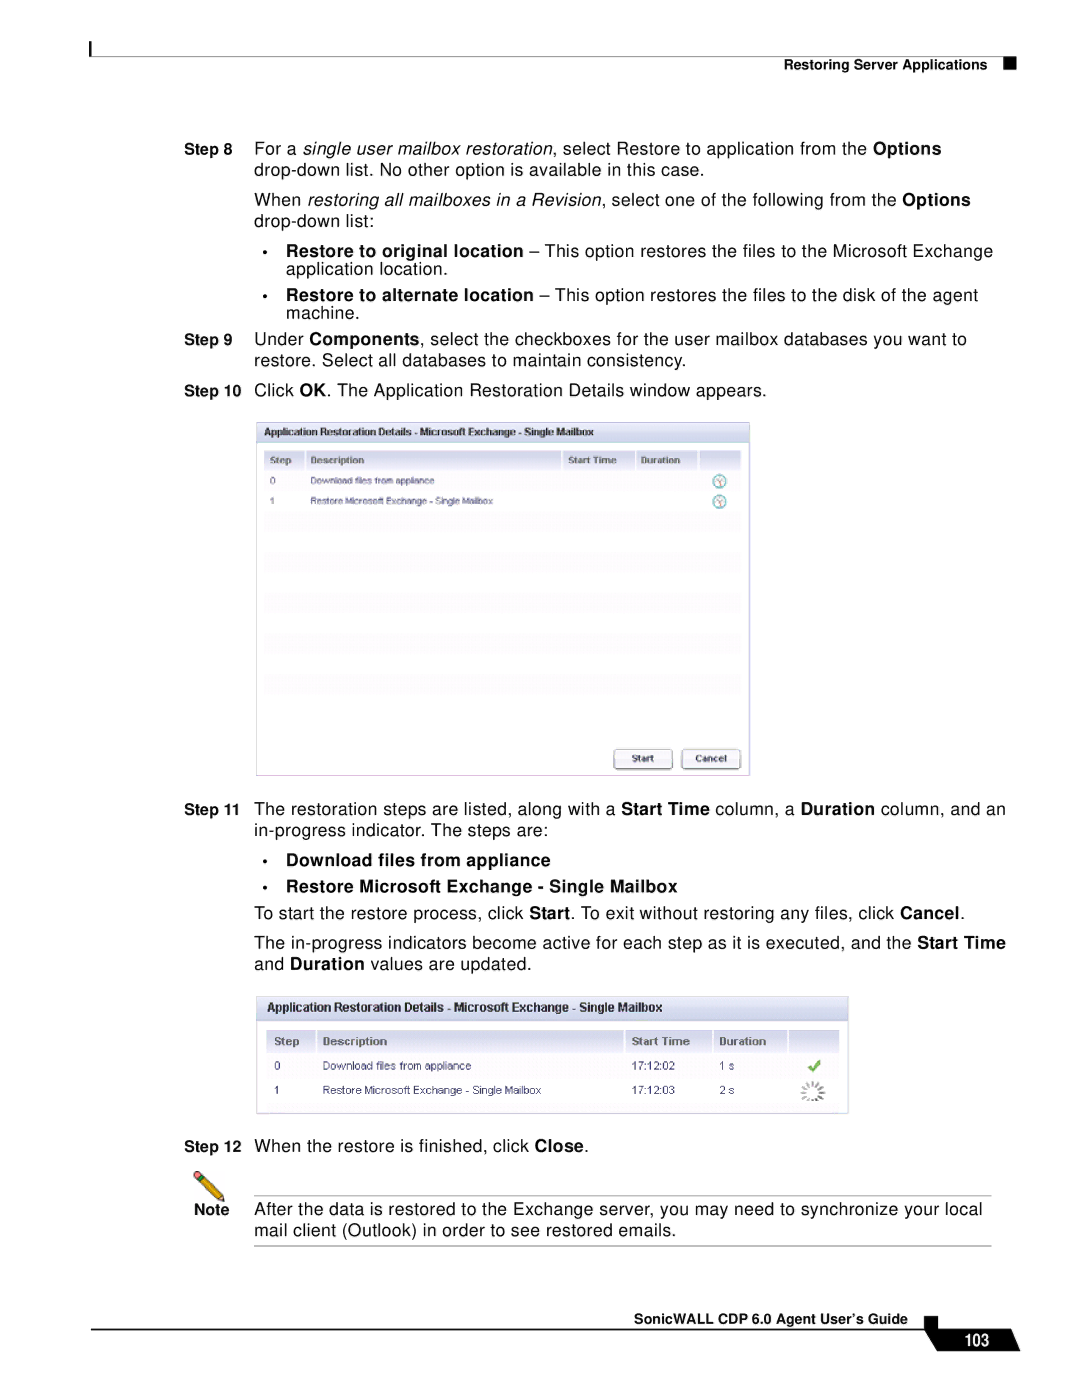
Step 10 Click OK. The Application Restoration Details window appears.
Step 11 The restoration steps are listed, along with a Start Time column, a Duration column, and an
•Download files from appliance
•Restore Microsoft Exchange - Single Mailbox
To start the restore process, click Start. To exit without restoring any files, click Cancel.
The
Step 12 When the restore is finished, click Close.
Note After the data is restored to the Exchange server, you may need to synchronize your local mail client (Outlook) in order to see restored emails.
