Step #1 — Check current version
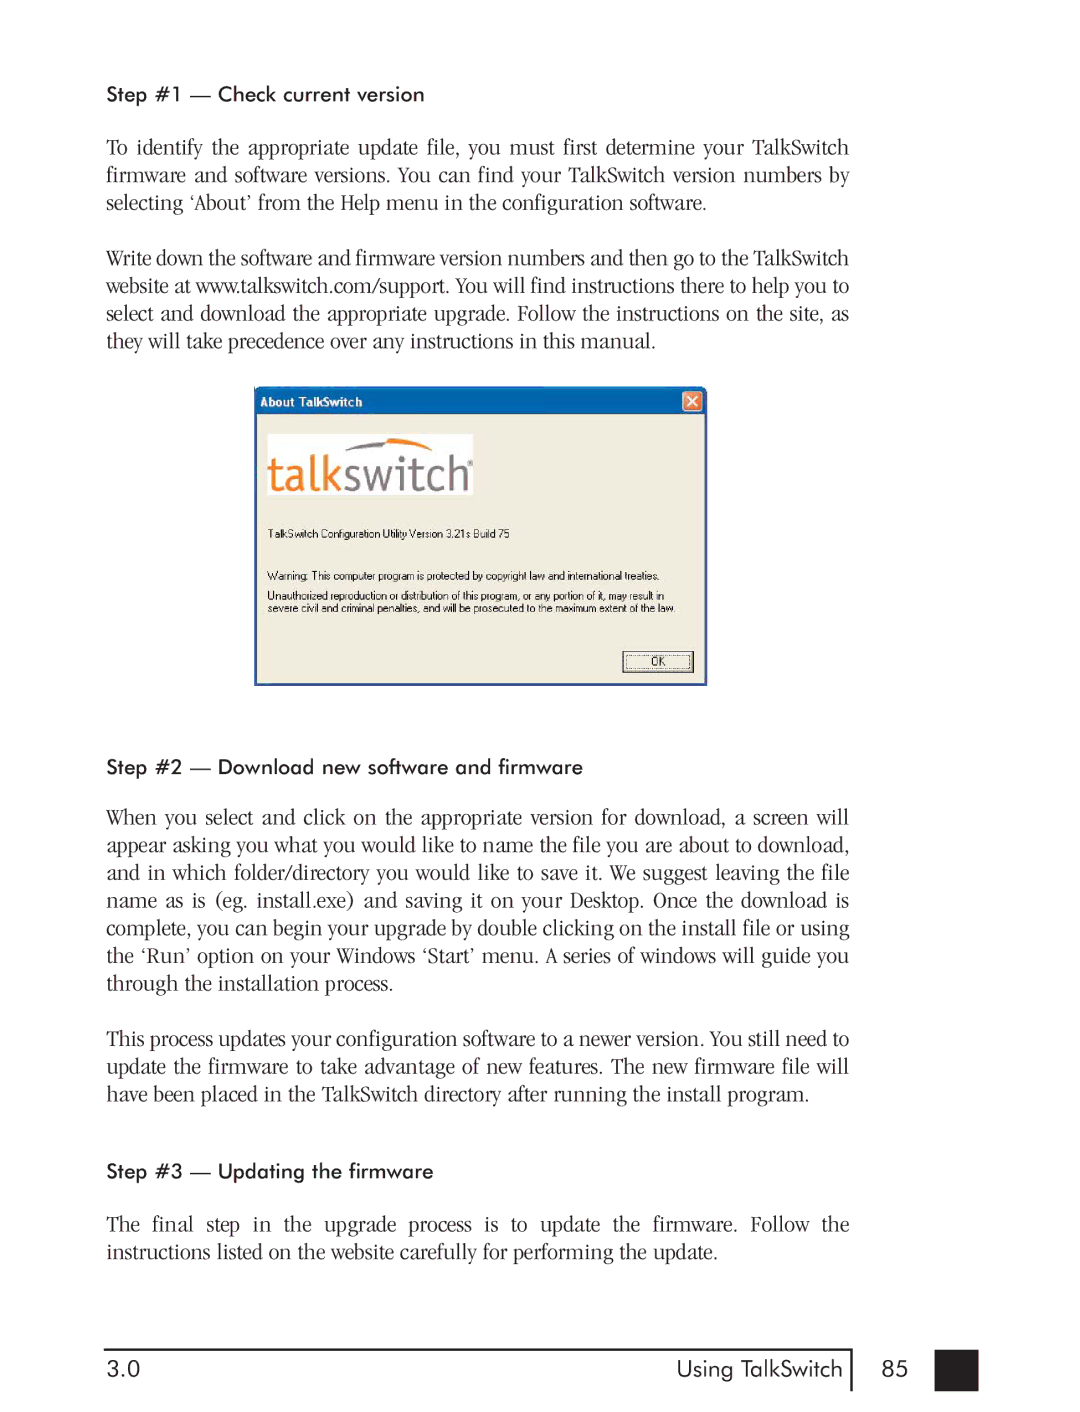
To identify the appropriate update file, you must first determine your TalkSwitch firmware and software versions. You can find your TalkSwitch version numbers by selecting ‘About’ from the Help menu in the configuration software.
Write down the software and firmware version numbers and then go to the TalkSwitch website at www.talkswitch.com/support. You will find instructions there to help you to select and download the appropriate upgrade. Follow the instructions on the site, as they will take precedence over any instructions in this manual.
Step #2 — Download new software and firmware
When you select and click on the appropriate version for download, a screen will appear asking you what you would like to name the file you are about to download, and in which folder/directory you would like to save it. We suggest leaving the file name as is (eg. install.exe) and saving it on your Desktop. Once the download is complete, you can begin your upgrade by double clicking on the install file or using the ‘Run’ option on your Windows ‘Start’ menu. A series of windows will guide you through the installation process.
This process updates your configuration software to a newer version. You still need to update the firmware to take advantage of new features. The new firmware file will have been placed in the TalkSwitch directory after running the install program.
Step #3 — Updating the firmware
The final step in the upgrade process is to update the firmware. Follow the instructions listed on the website carefully for performing the update.
3.0 | Using TalkSwitch |
85
