Part VIII | Sound Edit | |
4. Select HIGH and use the ∧ and ∨ buttons and | TONE DYNAMICS | |
select | You can adjust the settings so that a different | |
define the area of the higher range of tone out- | ||
sound (tone) is output for each tone depending | ||
put. | ||
on the velocity (how hard the keys are played). | ||
• By entering different values for the | ||
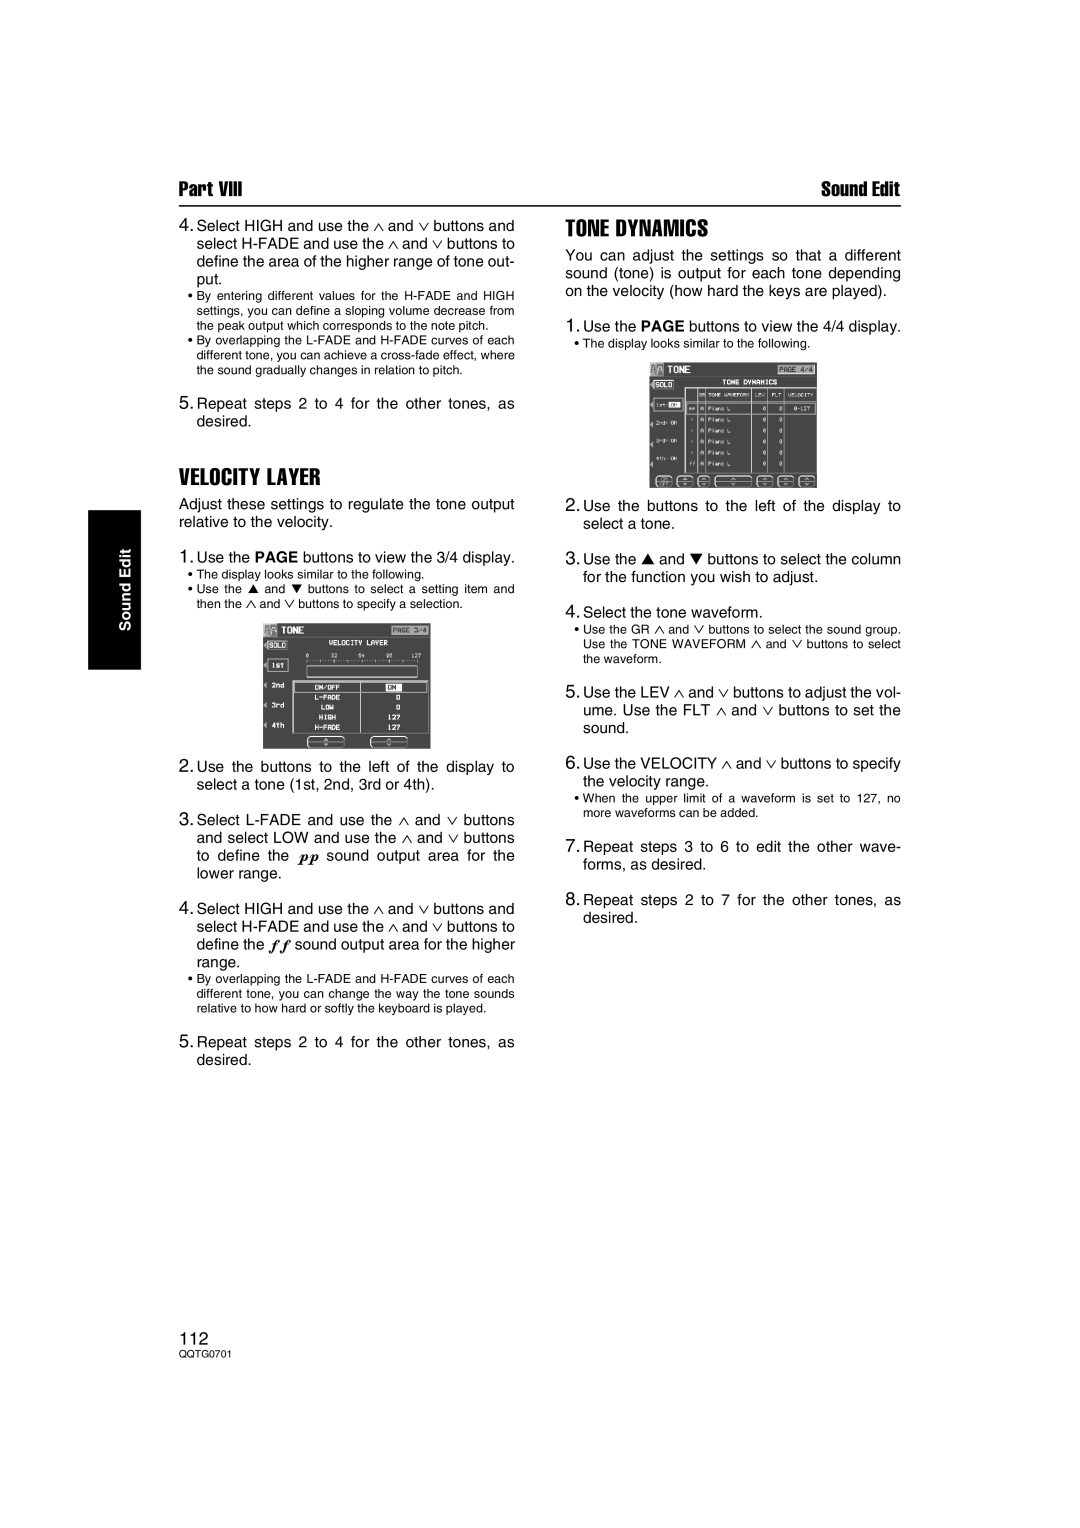
settings, you can define a sloping volume decrease from | 1. Use the PAGE buttons to view the 4/4 display. | |
the peak output which corresponds to the note pitch. | ||
• By overlapping the | • The display looks similar to the following. | |
different tone, you can achieve a |
| |
the sound gradually changes in relation to pitch. |
| |
5. Repeat steps 2 to 4 for the other tones, as |
| |
desired. |
| |
VELOCITY LAYER |
|
Sound Edit
Adjust these settings to regulate the tone output relative to the velocity.
1.Use the PAGE buttons to view the 3/4 display.
•The display looks similar to the following.
•Use the ▲ and ▼ buttons to select a setting item and then the ∧ and ∨ buttons to specify a selection.
2.Use the buttons to the left of the display to select a tone (1st, 2nd, 3rd or 4th).
3.Select
4.Select HIGH and use the ∧ and ∨ buttons and select
range.
•By overlapping the
2. Use the buttons to the left of the display to select a tone.
3. Use the ▲ and ▼ buttons to select the column for the function you wish to adjust.
4. Select the tone waveform.
• Use the GR ∧ and ∨ buttons to select the sound group. Use the TONE WAVEFORM ∧ and ∨ buttons to select the waveform.
5.Use the LEV ∧ and ∨ buttons to adjust the vol- ume. Use the FLT ∧ and ∨ buttons to set the sound.
6.Use the VELOCITY ∧ and ∨ buttons to specify
the velocity range.
•When the upper limit of a waveform is set to 127, no more waveforms can be added.
7.Repeat steps 3 to 6 to edit the other wave- forms, as desired.
8.Repeat steps 2 to 7 for the other tones, as desired.
5.Repeat steps 2 to 4 for the other tones, as desired.
112