Part III | Sequencer |
10.Play the keyboard.
•Recording begins.
•You can also press the START/STOP button to start the rhythm and begin recording.
•If the metronome is on, when you press the START/STOP button, a
•The recording status is continuously updated on the dis- play:
MEASURE= indicates the current measure. TIME SIG.= indicates the current time signature. MEMORY= indicates the remaining memory (%) avail-
able for recording.
•If you wish to redo the recording, press the REC STOP button and then record again. To change the sounds and effects, etc. please set them again.
•If you make a mistake in recording, you can correct a specific portion of your performance without having to redo the whole part. (Refer to page 64.)
11.When you have finished recording, press the REC STOP button on the display, or turn off
the PROGRAM MENUS button.
•When the PROGRAM MENUS button is turned off, the ending command (END) is recorded. Note that, as long as the ending command is not recorded, blank recording continues even if you stop playing.
•The SEQUENCER PLAY button turns on.
CYCLE RECORD
This mode allows you to have specified record- ing measures continuously repeated. Thus you can record measures by adding notes during any cycle.
1.On the REALTIME RECORD display, specify “REC” for a track number you are going to record, and “PLAY” for track numbers you wish to have played back.
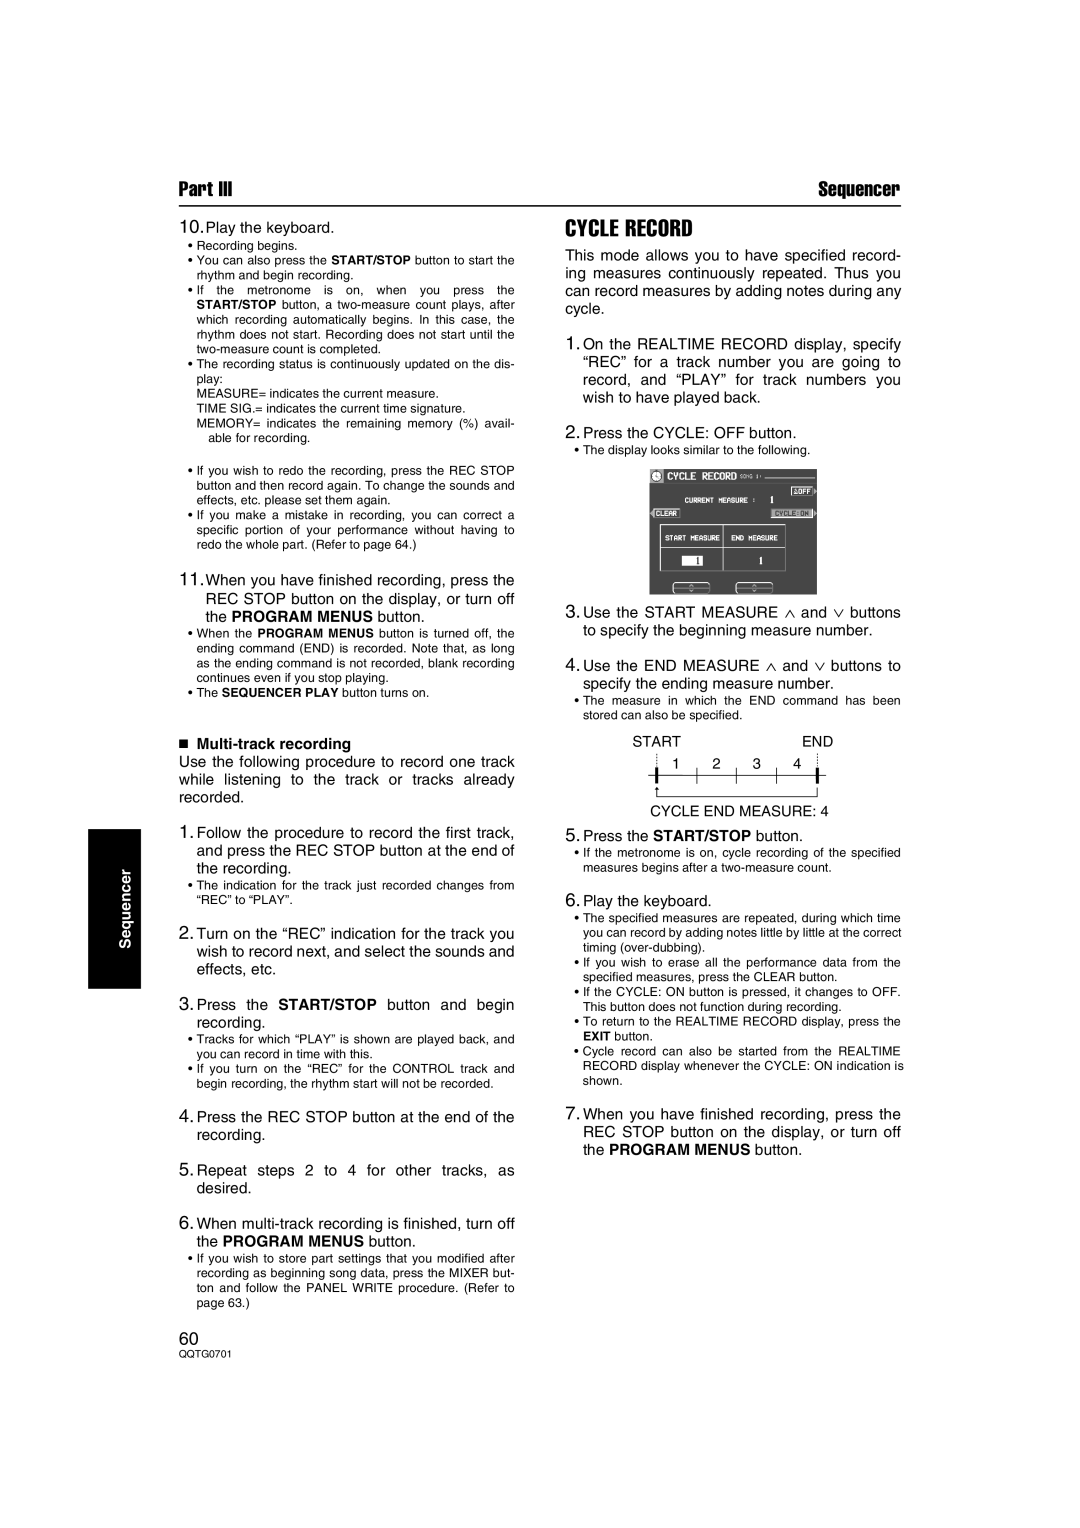
2.Press the CYCLE: OFF button.
•The display looks similar to the following.
3.Use the START MEASURE ∧ and ∨ buttons to specify the beginning measure number.
4.Use the END MEASURE ∧ and ∨ buttons to
specify the ending measure number.
•The measure in which the END command has been stored can also be specified.
Sequencer
Multi-track recording
Use the following procedure to record one track while listening to the track or tracks already recorded.
1.Follow the procedure to record the first track, and press the REC STOP button at the end of
the recording.
•The indication for the track just recorded changes from “REC” to “PLAY”.
2.Turn on the “REC” indication for the track you wish to record next, and select the sounds and effects, etc.
3.Press the START/STOP button and begin
recording.
•Tracks for which “PLAY” is shown are played back, and you can record in time with this.
•If you turn on the “REC” for the CONTROL track and begin recording, the rhythm start will not be recorded.
START |
|
| END |
1 | 2 | 3 | 4 |
CYCLE END MEASURE: 4
5.Press the START/STOP button.
•If the metronome is on, cycle recording of the specified measures begins after a
6.Play the keyboard.
•The specified measures are repeated, during which time you can record by adding notes little by little at the correct timing
•If you wish to erase all the performance data from the specified measures, press the CLEAR button.
•If the CYCLE: ON button is pressed, it changes to OFF. This button does not function during recording.
•To return to the REALTIME RECORD display, press the EXIT button.
•Cycle record can also be started from the REALTIME RECORD display whenever the CYCLE: ON indication is shown.
4.Press the REC STOP button at the end of the recording.
5.Repeat steps 2 to 4 for other tracks, as desired.
6.When
the PROGRAM MENUS button.
•If you wish to store part settings that you modified after recording as beginning song data, press the MIXER but- ton and follow the PANEL WRITE procedure. (Refer to page 63.)
60
7.When you have finished recording, press the REC STOP button on the display, or turn off the PROGRAM MENUS button.
