Part II | Playing the rhythm |
•Use this control to lower the automatic accompaniment volume when it is too loud relative to your manual perfor- mance.
•At the MAX position, the volumes of the automatic accompaniment parts correspond to their current set- tings; at the OFF position, the volume is 0. The volume should normally be set to MAX.
•The set values are shown in the APC column of the vol- ume balance display. (Refer to page 27.)
•The volume can be adjusted for each part. (Refer to page 27.)
•When the position of the slide control coincides with the actual volume, the indicator is lit. When the volume is changed by of the PANEL MEMORY or SEQUENCER playback, the actual volume differs from that indicated by the position of the slide control. In this case, the indicator is not lit.
•During SEQUENCER playback or disk DIRECT PLAY, operation of this slide control affects the total volume of all the playback parts.
CHORD FINDER
The CHORD FINDER can help, for example, when you do not know which keys to press to specify a given chord. When you input the chord name, the CHORD FINDER shows you which keys to press and even lets you hear the notes that make up.
1.Press the AUTO PLAY CHORD’s MODE but- ton to turn it on.
AUTO PLAY CHORD
MODE OFF/ON
CHORD FINDER
•The display changes to the following.
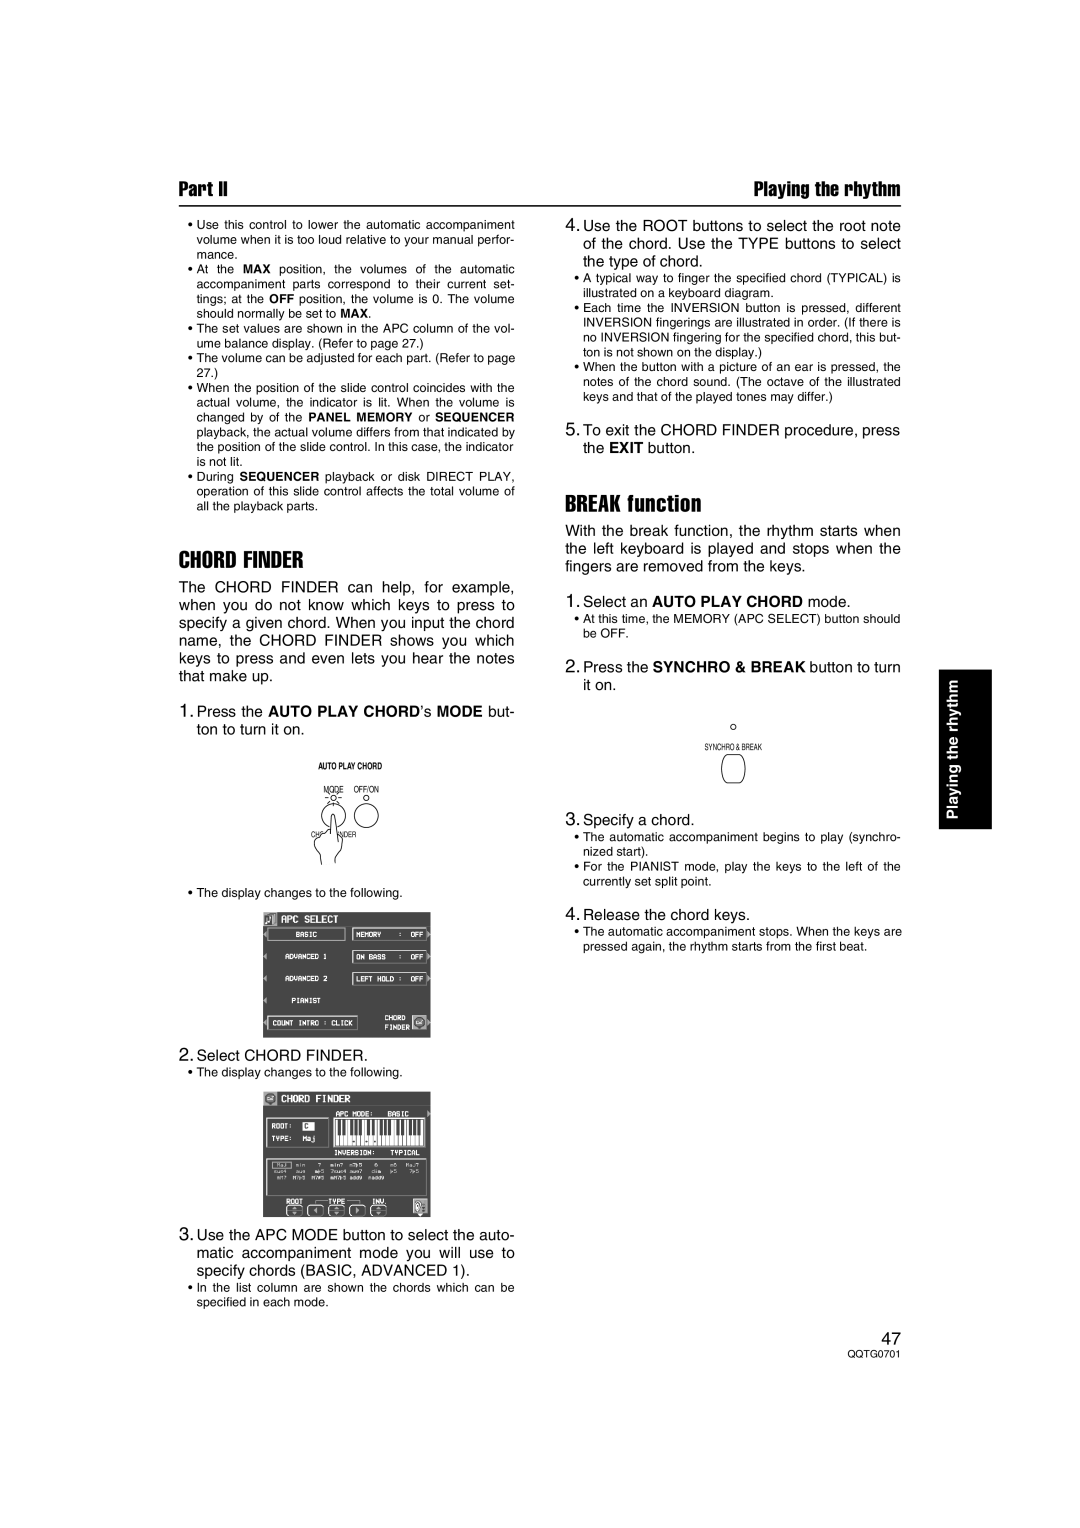
4.Use the ROOT buttons to select the root note of the chord. Use the TYPE buttons to select
the type of chord.
•A typical way to finger the specified chord (TYPICAL) is illustrated on a keyboard diagram.
•Each time the INVERSION button is pressed, different INVERSION fingerings are illustrated in order. (If there is no INVERSION fingering for the specified chord, this but- ton is not shown on the display.)
•When the button with a picture of an ear is pressed, the notes of the chord sound. (The octave of the illustrated keys and that of the played tones may differ.)
5.To exit the CHORD FINDER procedure, press the EXIT button.
BREAK function
With the break function, the rhythm starts when the left keyboard is played and stops when the fingers are removed from the keys.
1.Select an AUTO PLAY CHORD mode.
•At this time, the MEMORY (APC SELECT) button should be OFF.
2.Press the SYNCHRO & BREAK button to turn it on.
SYNCHRO & BREAK
3.Specify a chord.
•The automatic accompaniment begins to play (synchro- nized start).
•For the PIANIST mode, play the keys to the left of the currently set split point.
Playing the rhythm
4. Release the chord keys.
• The automatic accompaniment stops. When the keys are pressed again, the rhythm starts from the first beat.
2.Select CHORD FINDER.
•The display changes to the following.
3.Use the APC MODE button to select the auto- matic accompaniment mode you will use to
specify chords (BASIC, ADVANCED 1).
•In the list column are shown the chords which can be specified in each mode.
47