Part VIII | Sound Edit |
6.Repeat steps 2 to 5 for the other controllers, as desired.
7.Use the GLIDE ∧ and ∨ buttons to select whether or not the glide effect is active.
ENABLE:
The glide effect is enabled.
DISABLE:
The glide effect is disabled.
Store the new sound
The MEMORY button in the SOUND GROUP section accesses memory banks reserved for the sounds you create with the SOUND EDIT. You can store up to 40 original sounds then select the sounds just like the other sounds in the SOUND GROUP.
Sound Edit
Procedure
1.When you have edited the sound to just the way you like it, on the SOUND EDIT menu dis-
play press the WRITE button.
•The display changes to the MEMORY WRITE display.
2.To assign a name to your new sound, press
the SOUND NAMING button.
•If you do not assign a name to your sound, the name becomes the same as the original sound from which you started. In this case, skip to step 5.
•The display changes to the SOUND NAMING display.
4.When you have finished typing the name,
press the OK button.
•The display returns to the MEMORY WRITE display.
5.Use the ∧ and ∨ buttons to select the MEM- ORY number in which to store the new sound
6.Press the OK button.
•The new sound is stored, and “COMPLETED!” is shown on the display.
•The SOUND EDIT mode is turned off.
•The stored sound memories can be saved on a disk for recall at a later time. (Refer to page 97.)
Select a new sound
You can select your original sound just like the other sounds in the SOUND GROUP.
1.In the SOUND GROUP section, press the MEMORY button.
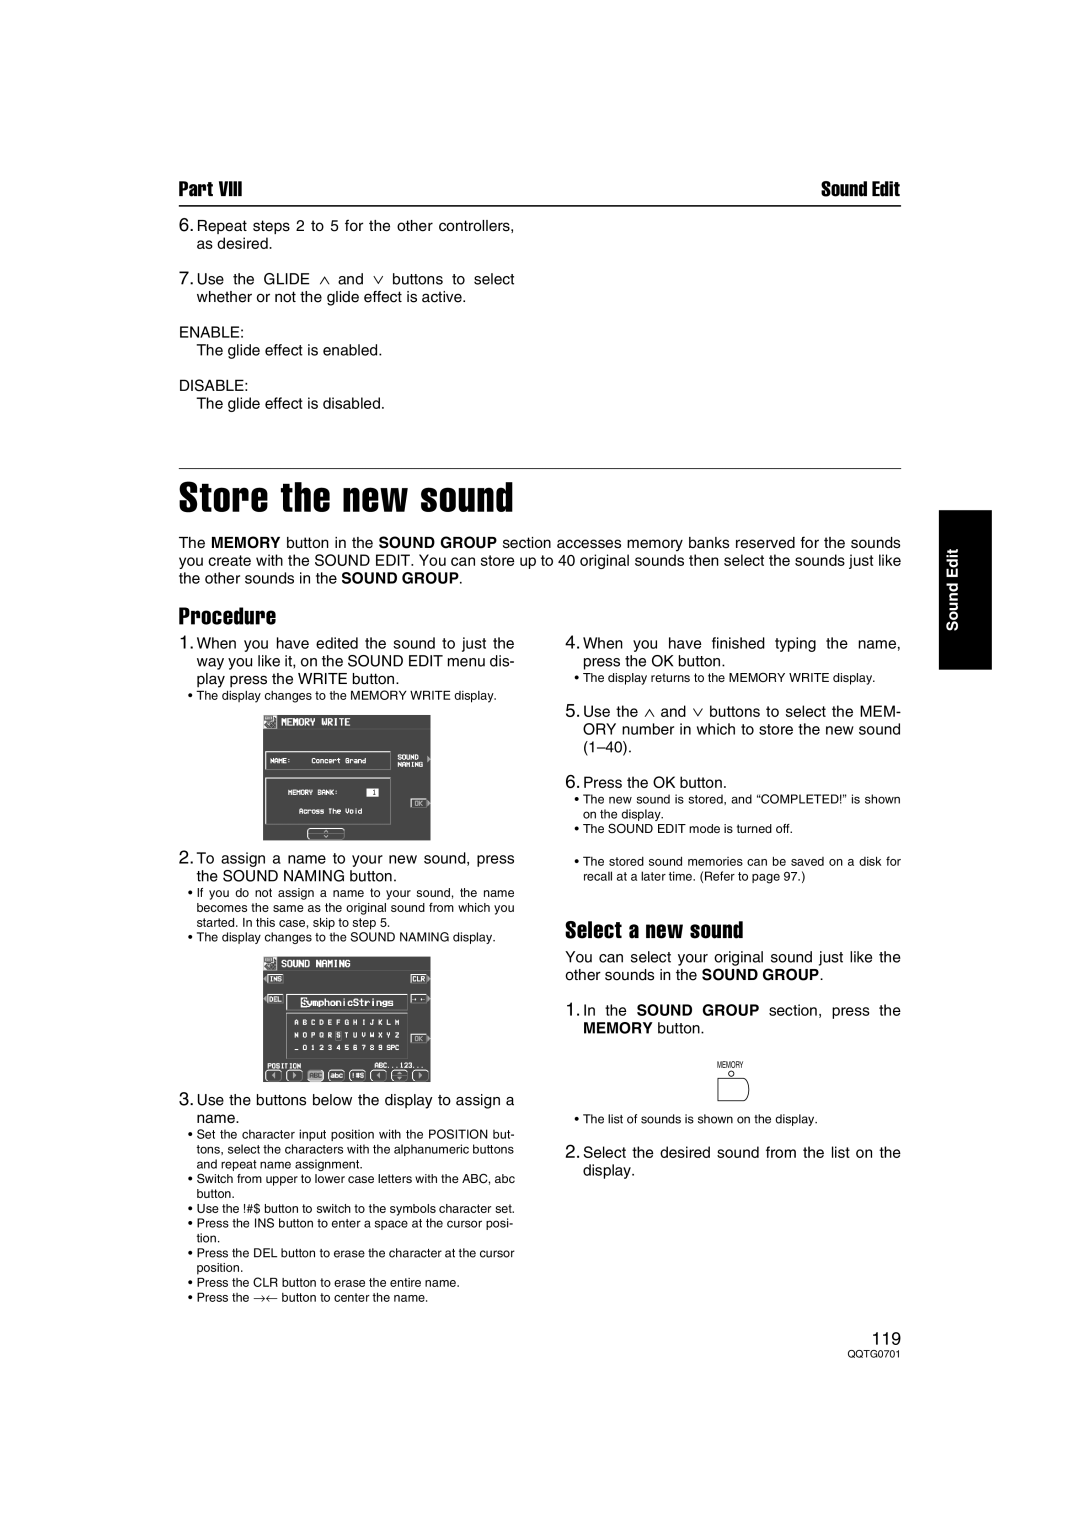
MEMORY
3.Use the buttons below the display to assign a
name.
•Set the character input position with the POSITION but- tons, select the characters with the alphanumeric buttons and repeat name assignment.
•Switch from upper to lower case letters with the ABC, abc button.
•Use the !#$ button to switch to the symbols character set.
•Press the INS button to enter a space at the cursor posi- tion.
•Press the DEL button to erase the character at the cursor position.
•Press the CLR button to erase the entire name.
•Press the →← button to center the name.
•The list of sounds is shown on the display.
2.Select the desired sound from the list on the display.
119