Part XI | MIDI |
AUTO OCTAVE SHIFT OUTPUT
ON: If the octave has been automatically changed, the data of the transposed notes is transmitted, depending on the sound.
OFF: The note data of the played keys is transmitted.
3.Use the ∧ and ∨ buttons to select the setting.
4.Repeat steps 2 and 3 for each item as desired.
MIDI Presets
Establish the optimum settings depending on how this instrument is connected to other equipment, and on whether this instrument is used as the master or the slave.
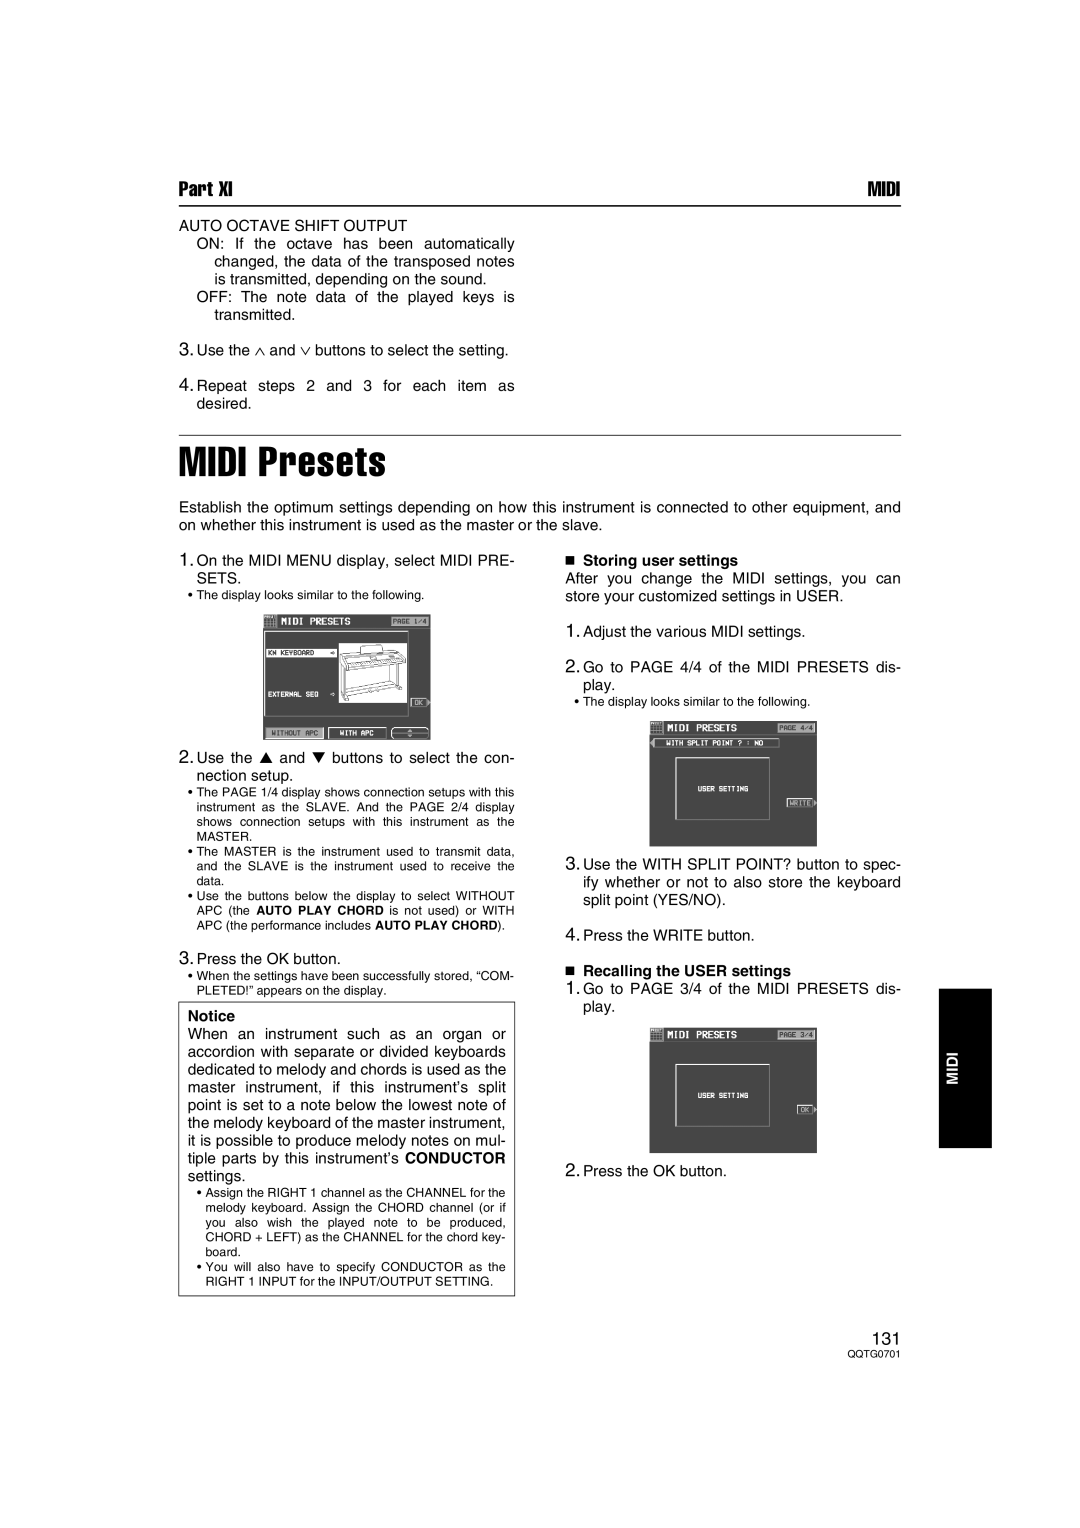
1.On the MIDI MENU display, select MIDI PRE-
SETS.
•The display looks similar to the following.
2.Use the ▲ and ▼ buttons to select the con-
nection setup.
•The PAGE 1/4 display shows connection setups with this instrument as the SLAVE. And the PAGE 2/4 display shows connection setups with this instrument as the
MASTER.
•The MASTER is the instrument used to transmit data, and the SLAVE is the instrument used to receive the data.
•Use the buttons below the display to select WITHOUT APC (the AUTO PLAY CHORD is not used) or WITH APC (the performance includes AUTO PLAY CHORD).
3.Press the OK button.
•When the settings have been successfully stored, “COM- PLETED!” appears on the display.
Notice
When an instrument such as an organ or accordion with separate or divided keyboards dedicated to melody and chords is used as the master instrument, if this instrument’s split point is set to a note below the lowest note of the melody keyboard of the master instrument, it is possible to produce melody notes on mul- tiple parts by this instrument’s CONDUCTOR settings.
•Assign the RIGHT 1 channel as the CHANNEL for the melody keyboard. Assign the CHORD channel (or if you also wish the played note to be produced, CHORD + LEFT) as the CHANNEL for the chord key- board.
•You will also have to specify CONDUCTOR as the RIGHT 1 INPUT for the INPUT/OUTPUT SETTING.
■Storing user settings
After you change the MIDI settings, you can store your customized settings in USER.
1.Adjust the various MIDI settings.
2.Go to PAGE 4/4 of the MIDI PRESETS dis-
play.
•The display looks similar to the following.
3.Use the WITH SPLIT POINT? button to spec- ify whether or not to also store the keyboard split point (YES/NO).
4.Press the WRITE button.
■Recalling the USER settings
1.Go to PAGE 3/4 of the MIDI PRESETS dis- play.
2.Press the OK button.
MIDI
131