Part V | Disk Drive |
•When set to ON, a space is added each time a file is saved. Therefore, if you have already saved a file once with the 1 MEASURE SPACE set to ON, please set it to OFF each time the file is subsequently saved.
8.Use the SAVE AS button to select the sound generator mode (GM/GM2/NX).
9.Press the SAVE button.
•The SAVE operation begins.
•When the operation has been successfully completed, “COMPLETED!” is shown on the display.
•If you attempt to save data to a file name in which data is currently saved, the display changes to the confirmation display. Press the YES button to continue the SAVE pro- cedure, or press the NO button if you wish to cancel it.
Disk management
Various disk management procedures, such as file delete, file copy, and disk format, are available from the DISK TOOLS menu.
DISK TOOLS
1.Insert the disk into the Disk Drive slot.
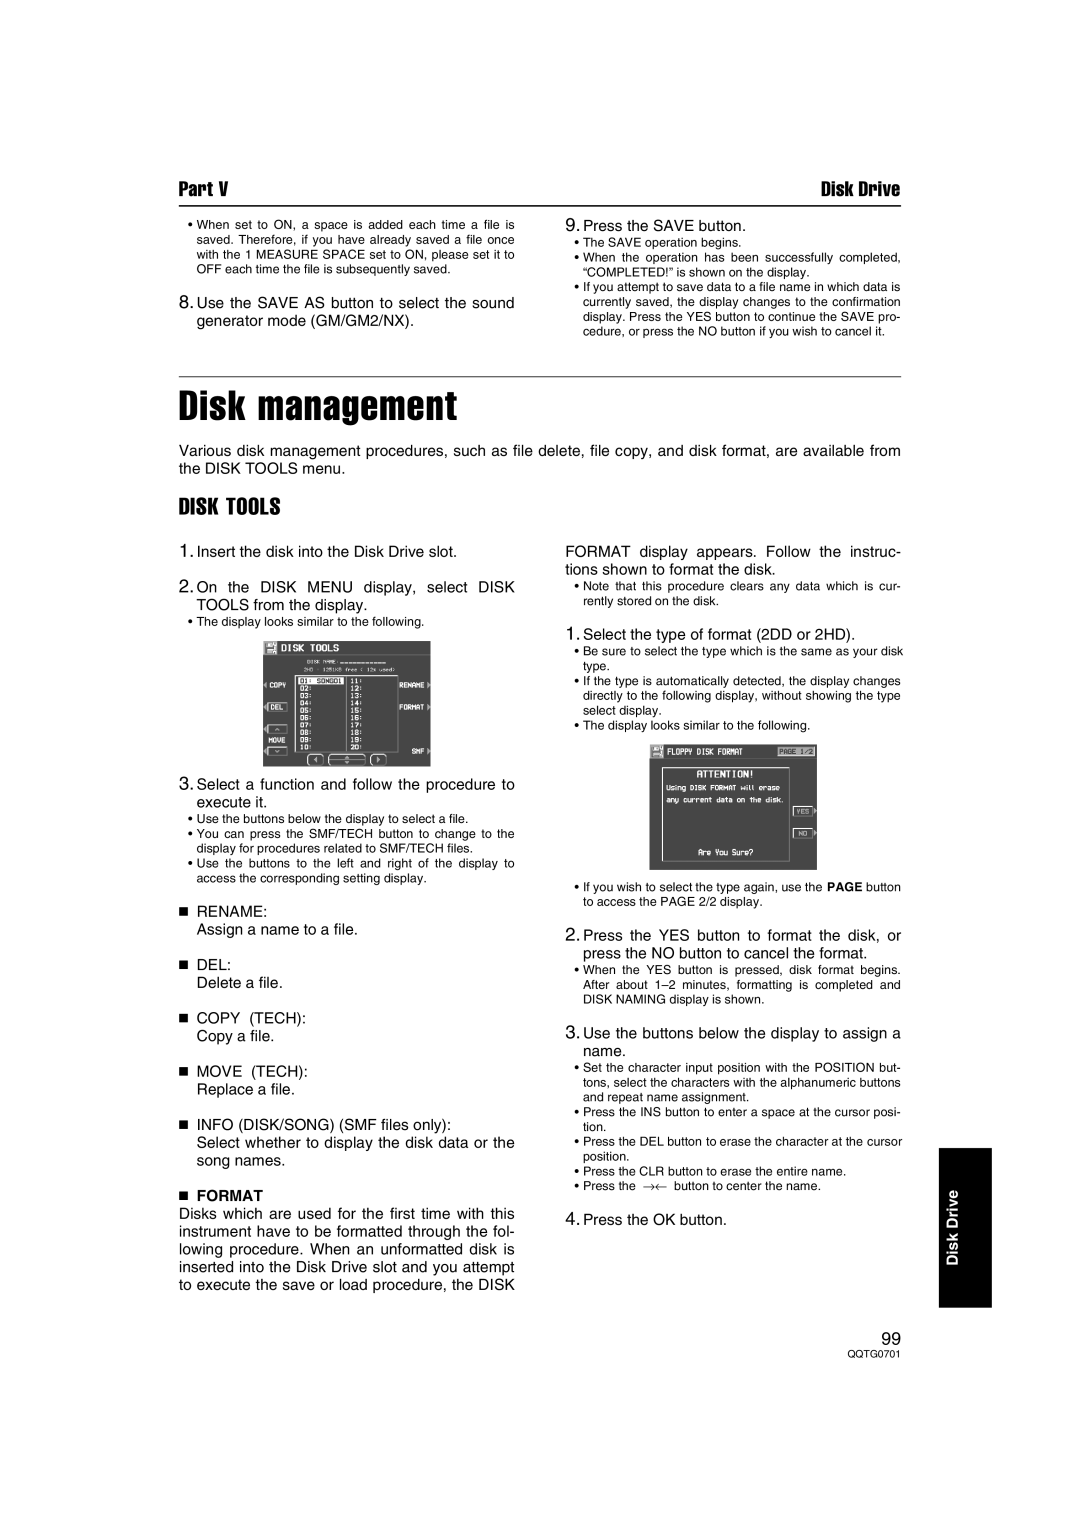
2.On the DISK MENU display, select DISK
TOOLS from the display.
•The display looks similar to the following.
FORMAT display appears. Follow the instruc- tions shown to format the disk.
•Note that this procedure clears any data which is cur- rently stored on the disk.
1.Select the type of format (2DD or 2HD).
•Be sure to select the type which is the same as your disk type.
•If the type is automatically detected, the display changes directly to the following display, without showing the type select display.
•The display looks similar to the following.
3.Select a function and follow the procedure to
execute it.
•Use the buttons below the display to select a file.
•You can press the SMF/TECH button to change to the display for procedures related to SMF/TECH files.
•Use the buttons to the left and right of the display to access the corresponding setting display.
■RENAME:
Assign a name to a file.
■DEL:
Delete a file.
■COPY (TECH): Copy a file.
■MOVE (TECH): Replace a file.
■INFO (DISK/SONG) (SMF files only):
Select whether to display the disk data or the song names.
■FORMAT
Disks which are used for the first time with this instrument have to be formatted through the fol- lowing procedure. When an unformatted disk is inserted into the Disk Drive slot and you attempt to execute the save or load procedure, the DISK
•If you wish to select the type again, use the PAGE button to access the PAGE 2/2 display.
2.Press the YES button to format the disk, or
press the NO button to cancel the format.
•When the YES button is pressed, disk format begins. After about
3.Use the buttons below the display to assign a
name.
•Set the character input position with the POSITION but- tons, select the characters with the alphanumeric buttons and repeat name assignment.
•Press the INS button to enter a space at the cursor posi- tion.
•Press the DEL button to erase the character at the cursor position.
•Press the CLR button to erase the entire name.
•Press the →← button to center the name.
4.Press the OK button.
99
Disk Drive