Part III | Sequencer |
Naming
Here is the way to assign a name to your recorded song.
1.On the SEQ MENU display use the SONG SELECT ∧ and ∨ buttons to select a song.
2.Press the NAMING button.
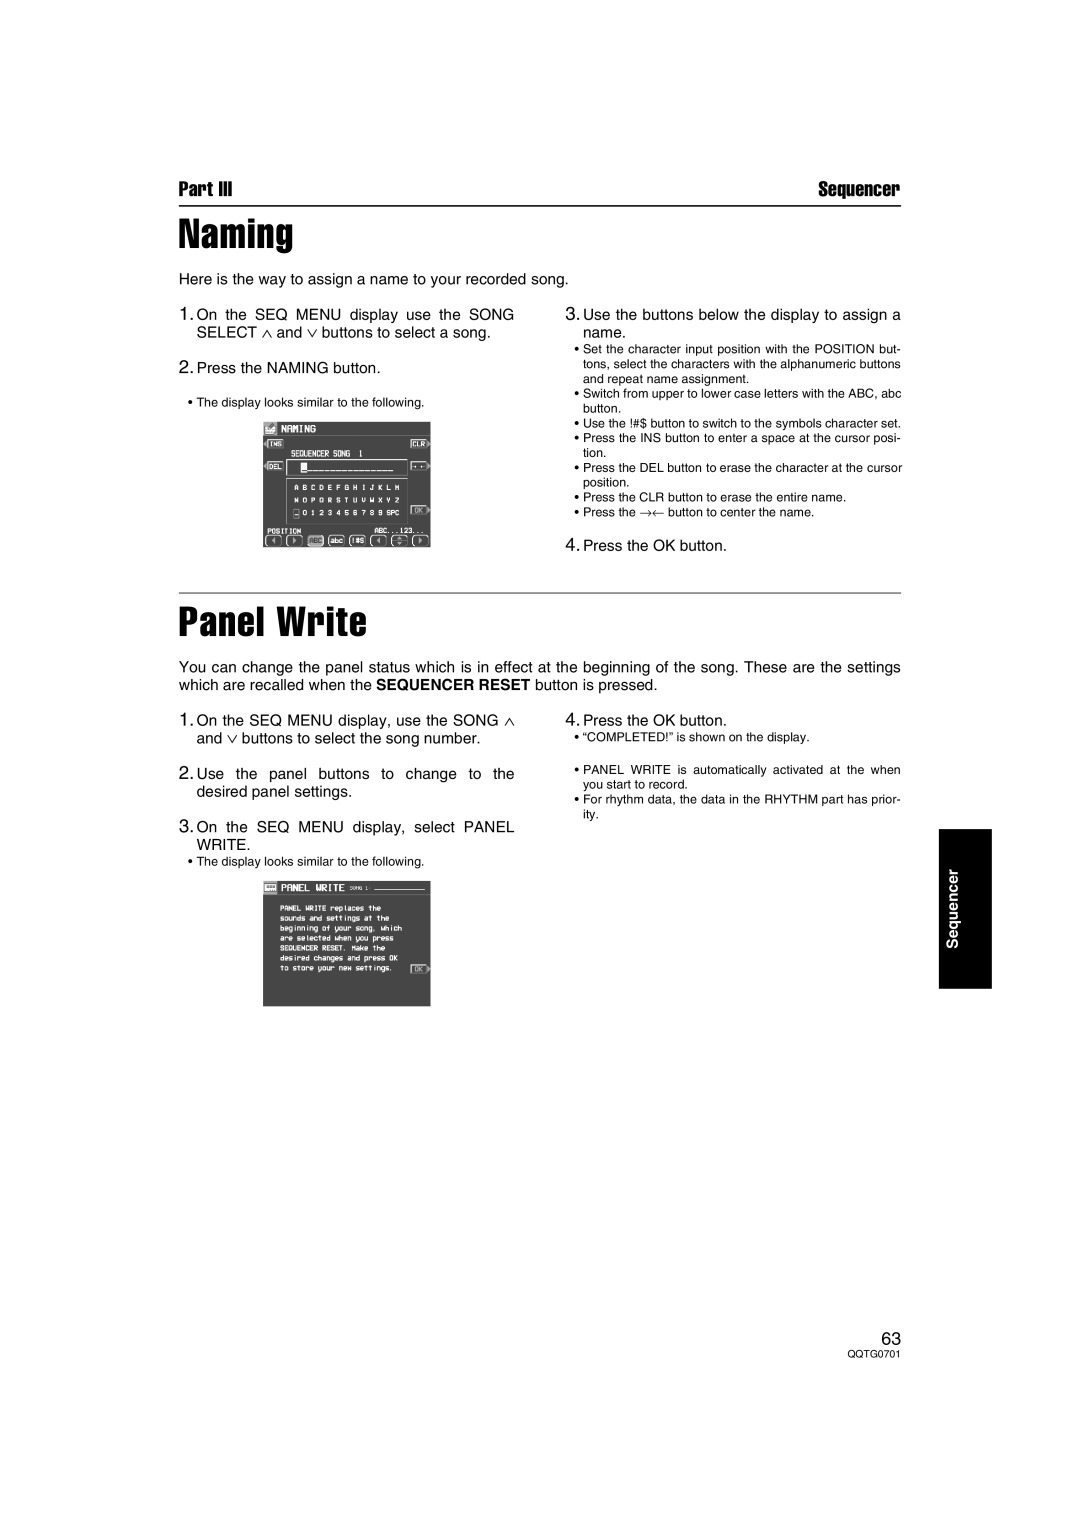
•The display looks similar to the following.
3.Use the buttons below the display to assign a
name.
•Set the character input position with the POSITION but- tons, select the characters with the alphanumeric buttons and repeat name assignment.
•Switch from upper to lower case letters with the ABC, abc button.
•Use the !#$ button to switch to the symbols character set.
•Press the INS button to enter a space at the cursor posi- tion.
•Press the DEL button to erase the character at the cursor position.
•Press the CLR button to erase the entire name.
•Press the →← button to center the name.
4.Press the OK button.
Panel Write
You can change the panel status which is in effect at the beginning of the song. These are the settings which are recalled when the SEQUENCER RESET button is pressed.
1.On the SEQ MENU display, use the SONG ∧ and ∨ buttons to select the song number.
2.Use the panel buttons to change to the desired panel settings.
3.On the SEQ MENU display, select PANEL
WRITE.
•The display looks similar to the following.
4.Press the OK button.
•“COMPLETED!” is shown on the display.
•PANEL WRITE is automatically activated at the when you start to record.
•For rhythm data, the data in the RHYTHM part has prior- ity.
Sequencer
63
