Part II |
| Playing the rhythm |
ENDING | 2. Press the INTRO & ENDING 1 or INTRO & | |
Finish the rhythm performance with an ending | ENDING 2 button to turn it on. | |
|
| |
pattern. | 1 | 2 |
INTRO & ENDING
1.Select a rhythm and press the START/STOP button.
• An ending pattern is produced, and then the rhythm per- formance stops.
• If you accidentally press the INTRO & ENDING button in the middle of the tune, you can press the FILL IN 1 or FILL IN 2 button. The ending pattern stops, and a
Auto Play Chord
FADE | RHYTHM GROUP | SOUND GROUP |
DEMO |
| + |
|
| PANEL MEMORY |
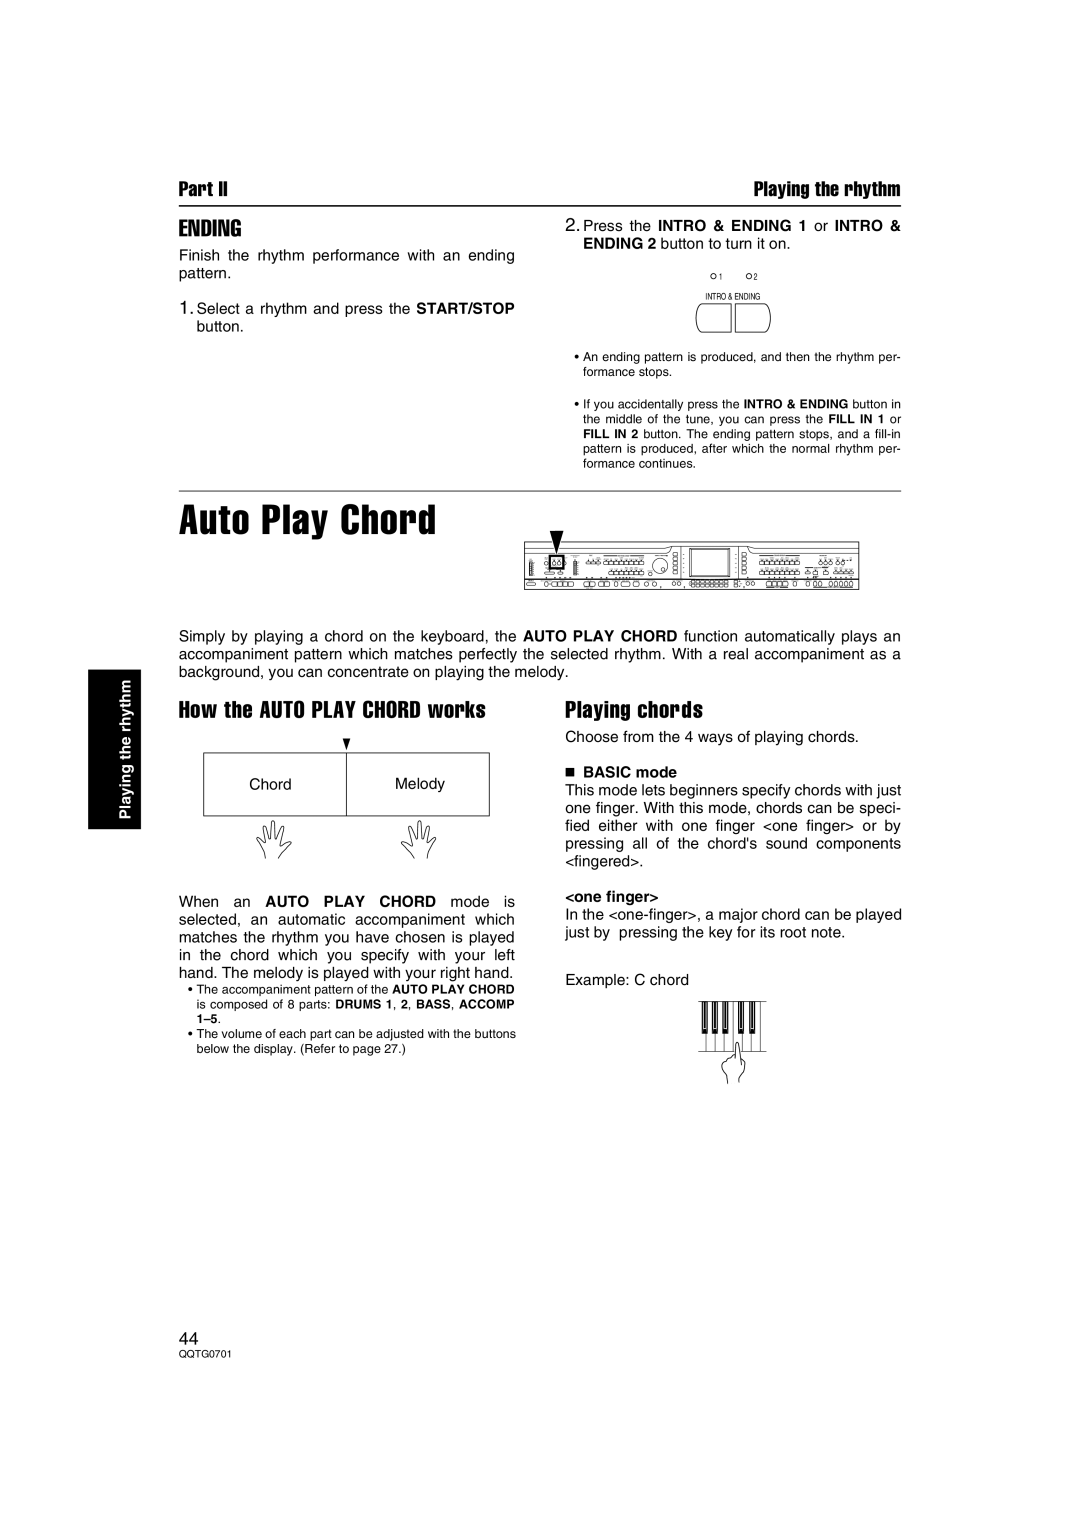
Simply by playing a chord on the keyboard, the AUTO PLAY CHORD function automatically plays an accompaniment pattern which matches perfectly the selected rhythm. With a real accompaniment as a background, you can concentrate on playing the melody.
Playing the rhythm
How the AUTO PLAY CHORD works
Chord | Melody |
|
|
Playing chords
Choose from the 4 ways of playing chords.
■BASIC mode
This mode lets beginners specify chords with just one finger. With this mode, chords can be speci- fied either with one finger <one finger> or by pressing all of the chord's sound components <fingered>.
When an AUTO PLAY CHORD mode is selected, an automatic accompaniment which matches the rhythm you have chosen is played in the chord which you specify with your left hand. The melody is played with your right hand.
•The accompaniment pattern of the AUTO PLAY CHORD is composed of 8 parts: DRUMS 1, 2, BASS, ACCOMP
•The volume of each part can be adjusted with the buttons below the display. (Refer to page 27.)
<one finger>
In the
Example: C chord
44
