Laser safety
Warning: Adjustments, use of controls, or performance of
!procedures other than those specified herein may result in hazardous light exposure. ![]()
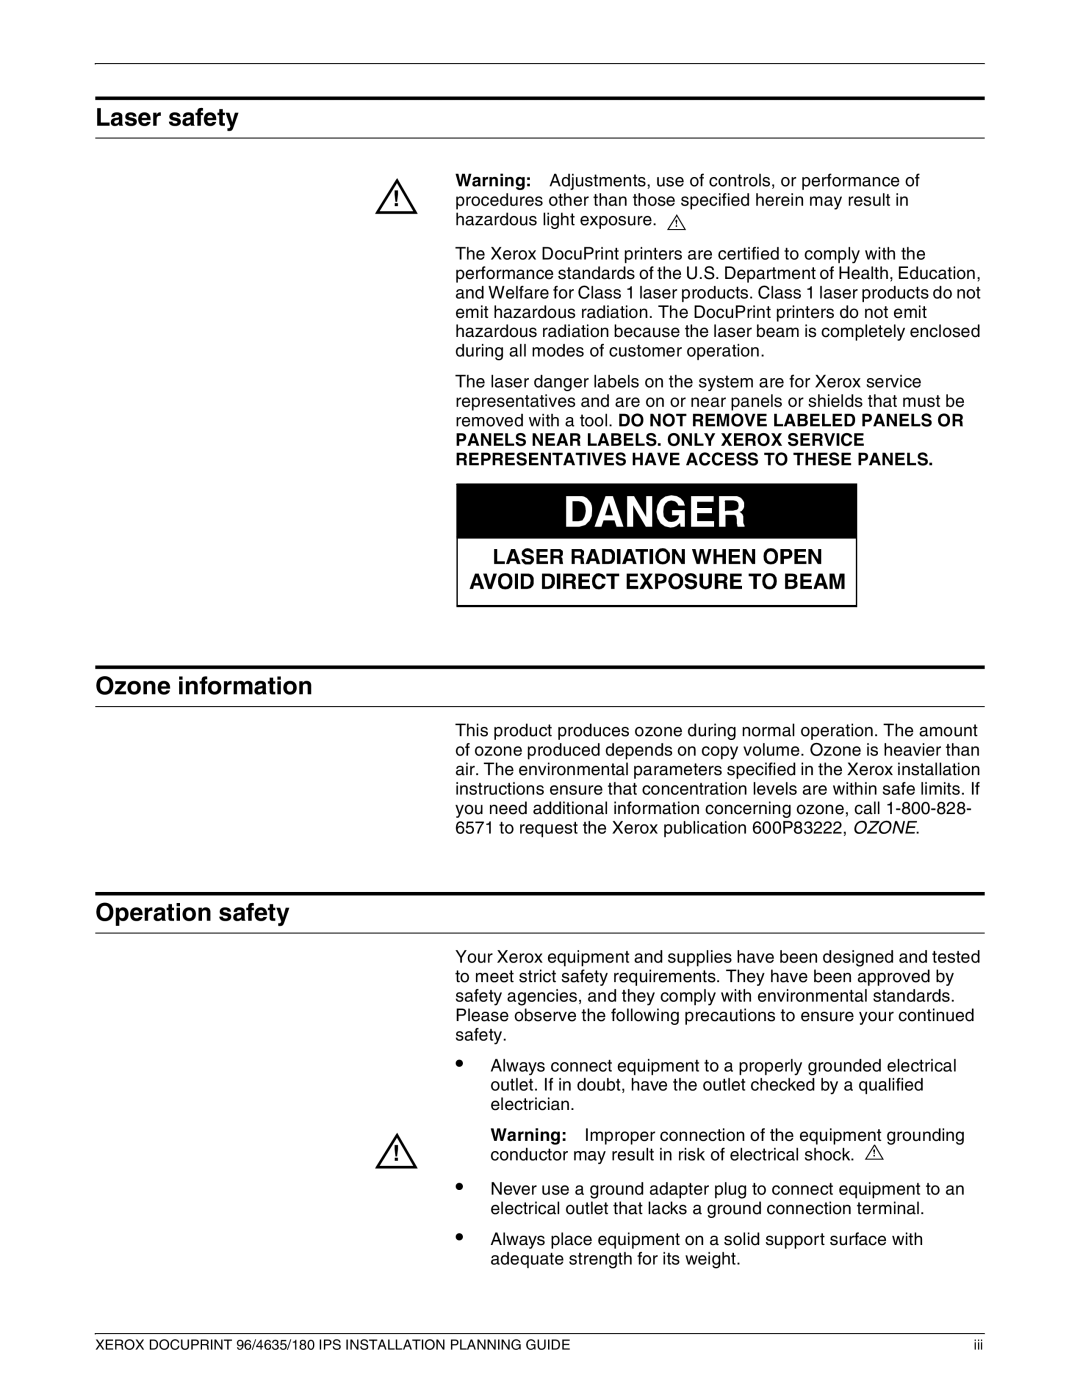
The Xerox DocuPrint printers are certified to comply with the performance standards of the U.S. Department of Health, Education, and Welfare for Class 1 laser products. Class 1 laser products do not emit hazardous radiation. The DocuPrint printers do not emit hazardous radiation because the laser beam is completely enclosed during all modes of customer operation.
The laser danger labels on the system are for Xerox service representatives and are on or near panels or shields that must be removed with a tool. DO NOT REMOVE LABELED PANELS OR
PANELS NEAR LABELS. ONLY XEROX SERVICE REPRESENTATIVES HAVE ACCESS TO THESE PANELS.
Ozone information
This product produces ozone during normal operation. The amount of ozone produced depends on copy volume. Ozone is heavier than air. The environmental parameters specified in the Xerox installation instructions ensure that concentration levels are within safe limits. If you need additional information concerning ozone, call
Operation safety
Your Xerox equipment and supplies have been designed and tested to meet strict safety requirements. They have been approved by safety agencies, and they comply with environmental standards. Please observe the following precautions to ensure your continued safety.
•Always connect equipment to a properly grounded electrical outlet. If in doubt, have the outlet checked by a qualified electrician.
!
•
•
Warning: Improper connection of the equipment grounding conductor may result in risk of electrical shock. ![]()
Never use a ground adapter plug to connect equipment to an electrical outlet that lacks a ground connection terminal.
Always place equipment on a solid support surface with adequate strength for its weight.
XEROX DOCUPRINT 96/4635/180 IPS INSTALLATION PLANNING GUIDE | iii |