Agilent Technologies Z5623A manual Limit Testing for Return Loss Port Active

Models: Z5623A

1 138
Download 138 pages 46.21 Kb
Page 87
Image 87

Performance Verification

Setting Up Limit Testing

Limit Testing for Return Loss (Port Active)

Recalling the Calibration

Recall the calibration file listed in Table 4-1 on page 4-13. (Consult “How to Recall a Calibration” on page 4-14.)

Specifying Measurement Type, Title, and Scaling

The desired measurement type for the Return Loss test is S11. The network analyzer is already configured to measure S11.

Step 1. Click View on the menu bar. When the View menu appears, scroll down to the Meas Display button and pause momentarily. When the Meas Display menu appears, scroll down to the Title... button and click it. See Figure 5-2.

Step 2. The Title Entry window is shown in Figure 5-3. When this window pops up, use the mouse to click anywhere in the white rectangle to the right of the word, “Entry:”. (The white rectangle is referred to as the Entry field.) A text entry cursor (a vertical line) will then appear in the white rectangle.

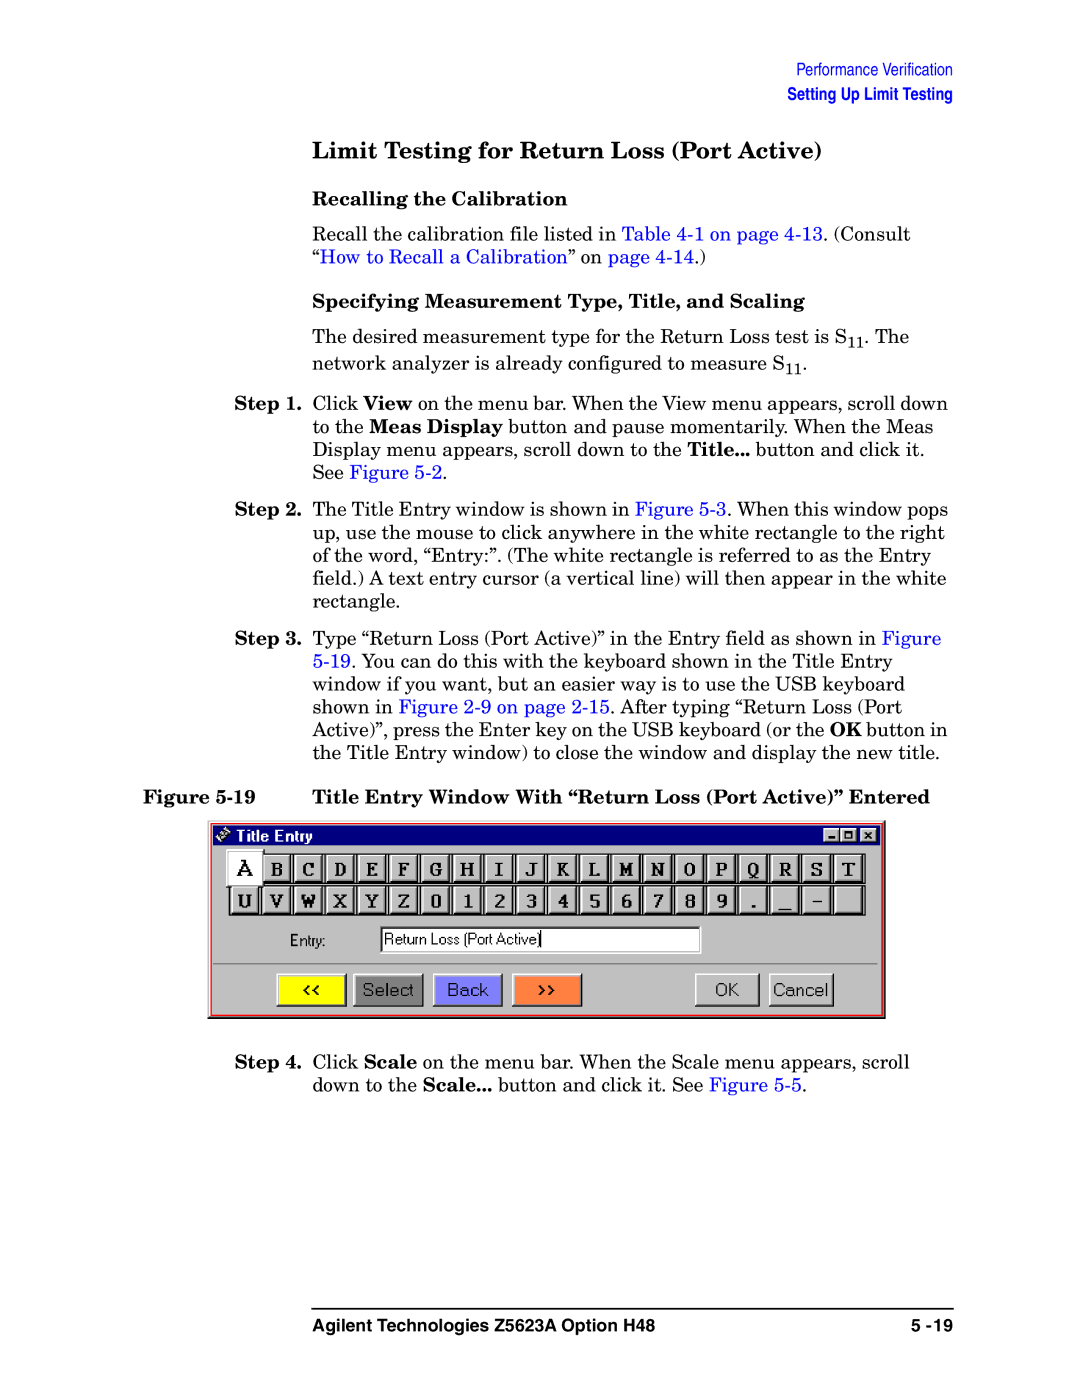
Step 3. Type “Return Loss (Port Active)” in the Entry field as shown in Figure 5-19. You can do this with the keyboard shown in the Title Entry window if you want, but an easier way is to use the USB keyboard shown in Figure 2-9 on page 2-15. After typing “Return Loss (Port Active)”, press the Enter key on the USB keyboard (or the OK button in the Title Entry window) to close the window and display the new title.

Figure 5-19 Title Entry Window With “Return Loss (Port Active)” Entered

Step 4. Click Scale on the menu bar. When the Scale menu appears, scroll down to the Scale... button and click it. See Figure 5-5.

Agilent Technologies Z5623A Option H48

5 -19

Page 87
Image 87
Agilent Technologies Z5623A manual Limit Testing for Return Loss Port Active