Installation Procedures
Assigning an I/O Address
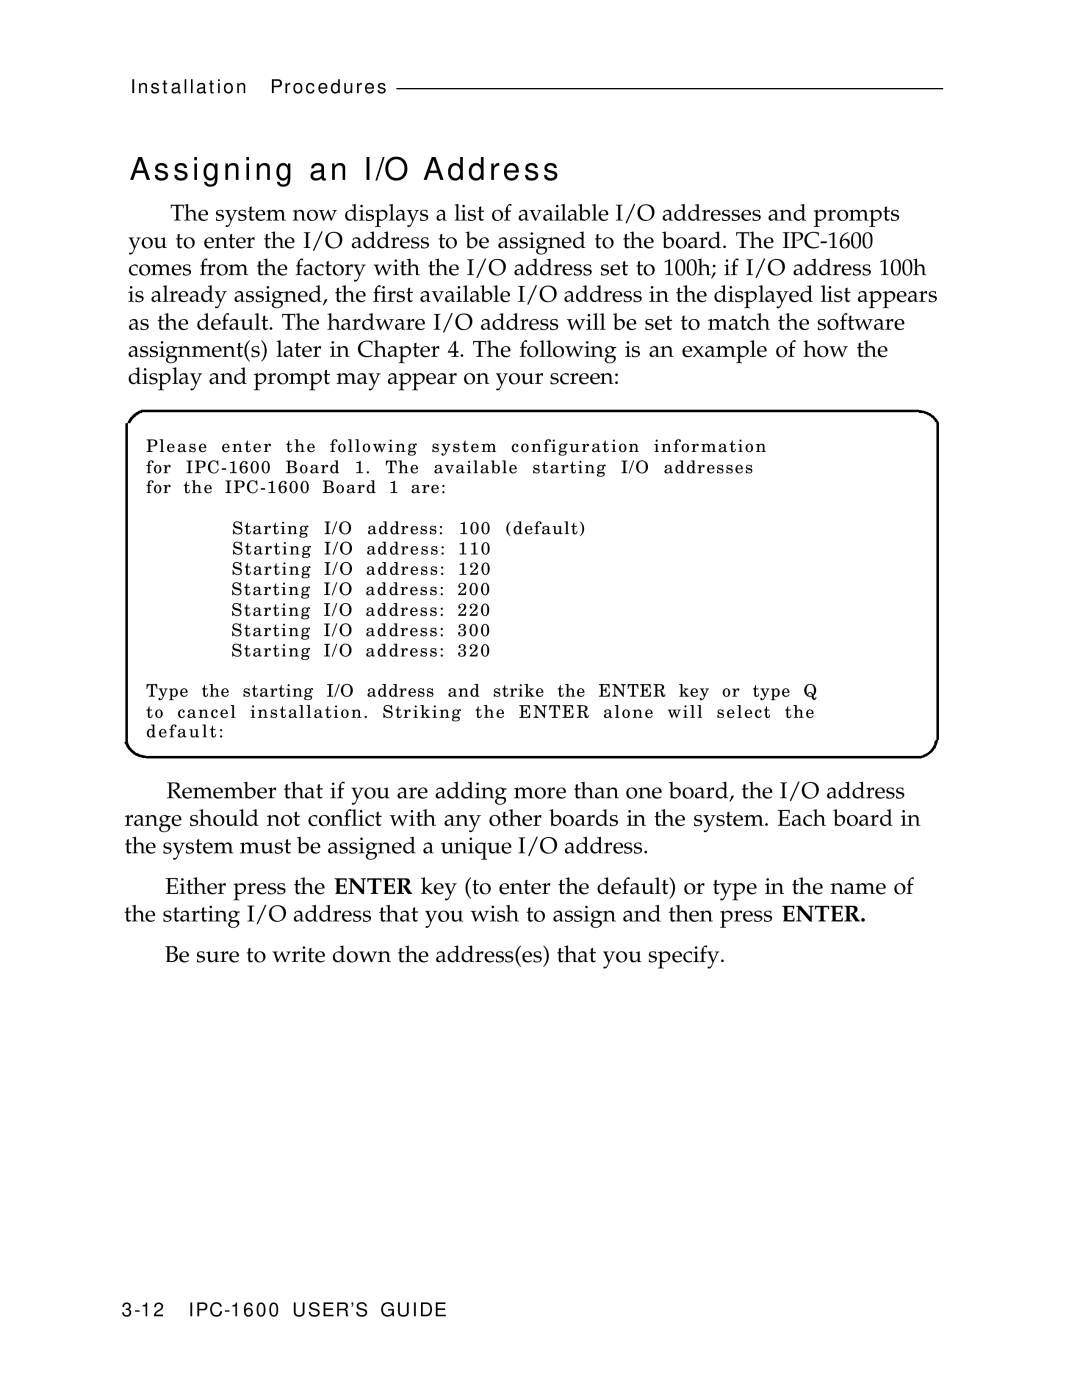
The system now displays a list of available I/O addresses and prompts you to enter the I/O address to be assigned to the board. The
Please enter the following system configuration information for
Starting I/O address: 100 (default)
Starting I/O address: 110
Starting I/O address: 120
Starting I/O address: 200
Starting I/O address: 220
Starting I/O address: 300
Starting I/O address: 320
Type the starting I/O address and strike the ENTER key or type Q to cancel installation. Striking the ENTER alone will select the default:
Remember that if you are adding more than one board, the I/O address range should not conflict with any other boards in the system. Each board in the system must be assigned a unique I/O address.
Either press the ENTER key (to enter the default) or type in the name of the starting I/O address that you wish to assign and then press ENTER.
Be sure to write down the address(es) that you specify.