Creating Users
Table of Contents | sections 1 | 2 | 3 | 4 | 5 | 6 | 7 | 8 | 9 10 11 12 13 14 15 16 17 18 | 19 | 20 21 |
There are two possible methods of inputting users into the system. When using local authentication (see page 44), users and groups are created in the OmniView IP 5000HQ GUI. When using an LDAP authentication server (see page 46), users and groups are imported from a Windows Active Directory. With both authentication methods,
an administrator can grant users different access permissions as follows:
Administrator – An administrator can view, modify, manage, and control all OmniView IP 5000HQ Manager configuration settings, including creating new users.
User – A user cannot access or change any of the OmniView IP 5000HQ Manager configuration settings. When a user logs in, only the targets to which the user has permission to access appear.
View Only – This user can only view permitted target screens without keyboard and mouse control. A “view only” indicator appears on the viewer’s local mouse pointer. View only has no effect on Access Services.
With local authentication, once you have created users you can form them into groups. This makes management changes easier by, for example, adding or deleting permitted targets per group rather than per individual user. Creating groups is explained in the “Creating a user group” section on page 19.
In LDAP mode, go to the “General tab” section below.
To create a new user (in local authentication mode):
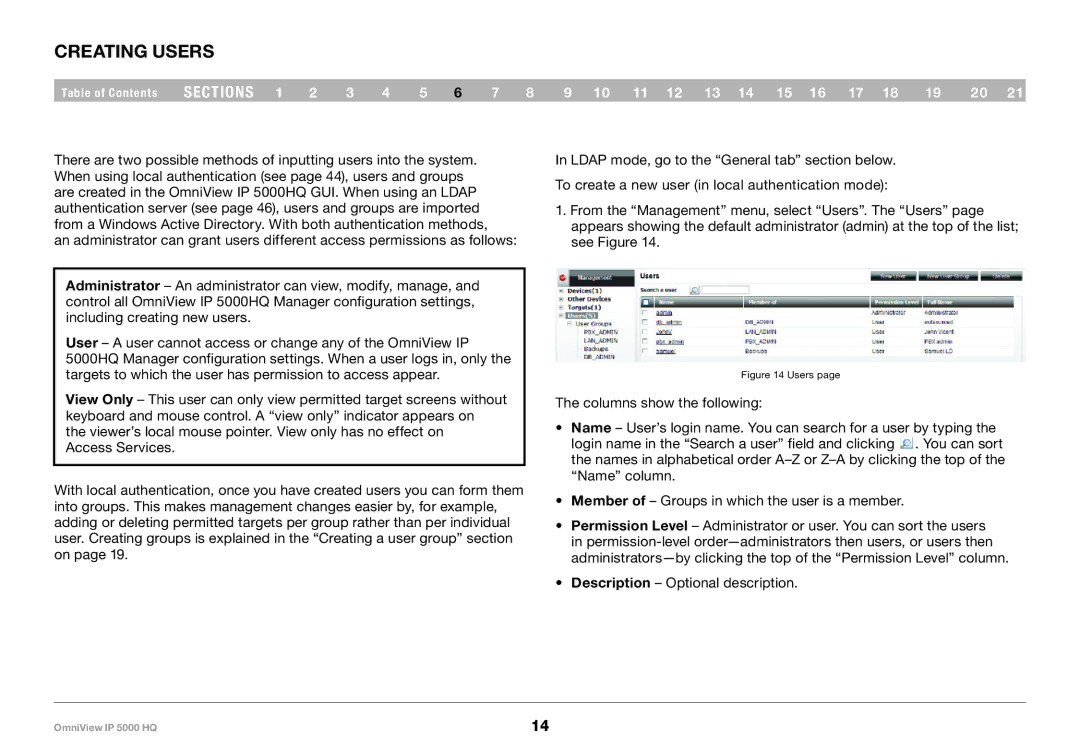
1.From the “Management” menu, select “Users”. The “Users” page appears showing the default administrator (admin) at the top of the list; see Figure 14.
Figure 14 Users page
The columns show the following:
•Name – User’s login name. You can search for a user by typing the login name in the “Search a user” field and clicking ![]() . You can sort the names in alphabetical order
. You can sort the names in alphabetical order
•Member of – Groups in which the user is a member.
•Permission Level – Administrator or user. You can sort the users in
•Description – Optional description.
OmniView IP 5000 HQ | 14 |