CHAPTER 3: Replacing notebook components
9Remove the screws that secure the LCD panel to the LCD panel lid.
10Remove the inverter by following the steps in “Replacing the inverter” on page 81.
11Disconnect the web cam by following the steps in “Replacing the webcam” on page 84. You do not need to remove the web cam.
12Remove the old LCD panel from the LCD panel lid.
13Place the new LCD panel into the LCD panel lid.
14Reconnect the web cam by following the steps in “Replacing the webcam” on page 84.
15Replace the inverter by following the steps in “Replacing the inverter” on page 81.
16Feed the wiring back into the hinge channels.
17Replace the screws that were removed in Step 9.
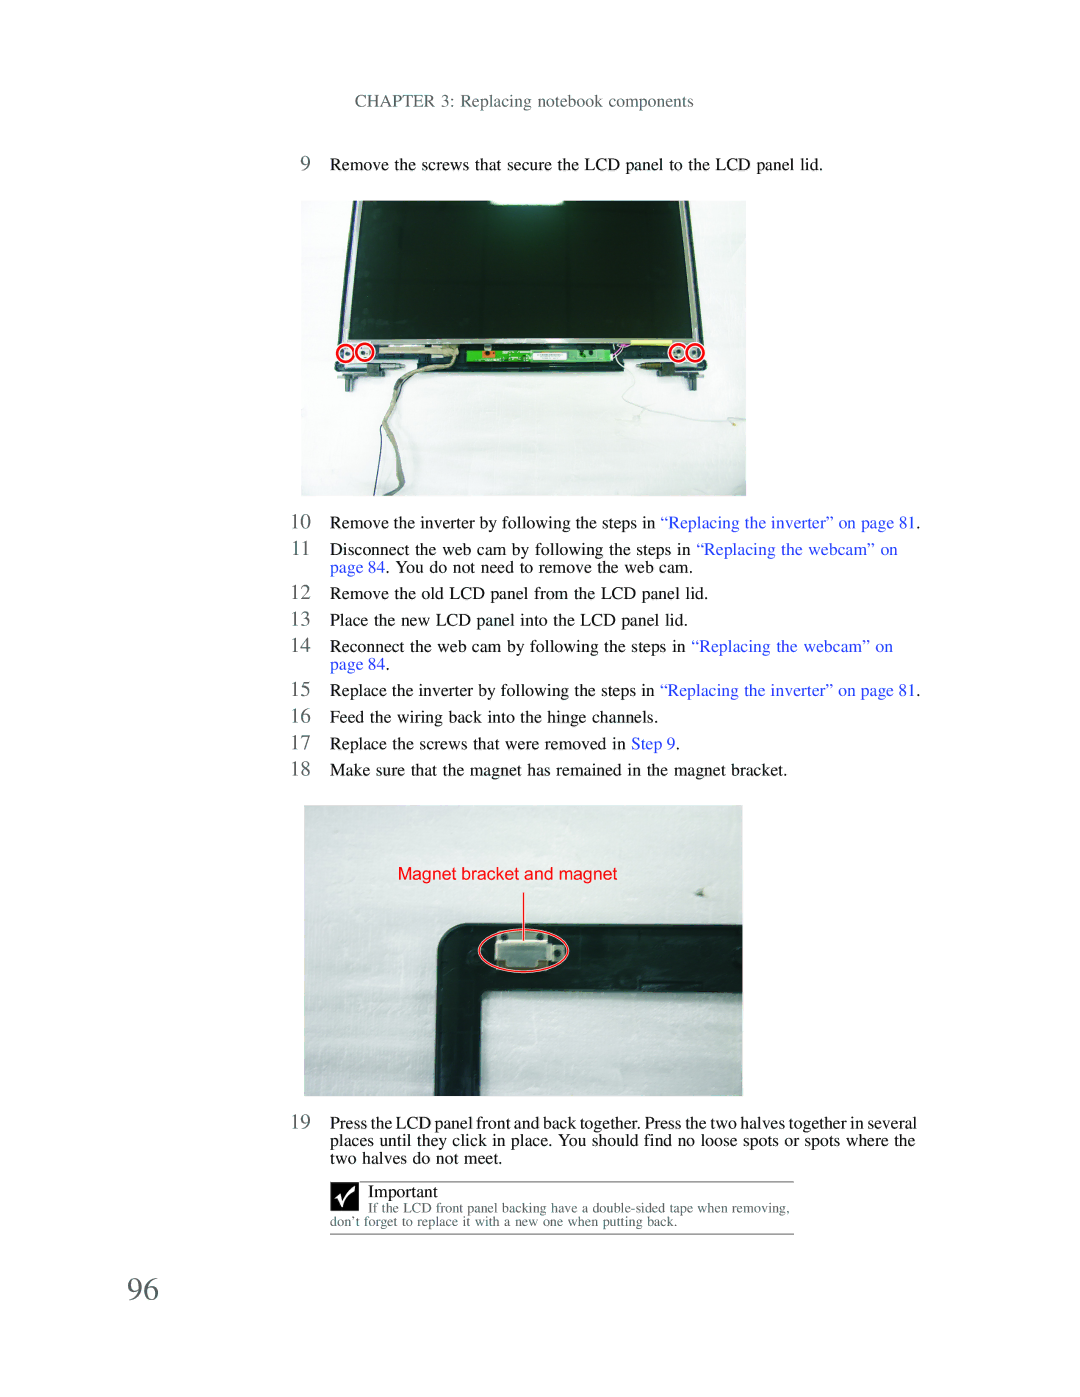
18Make sure that the magnet has remained in the magnet bracket.
Magnet bracket and magnet
19Press the LCD panel front and back together. Press the two halves together in several places until they click in place. You should find no loose spots or spots where the two halves do not meet.
Important
If the LCD front panel backing have a
96