www.gateway.com
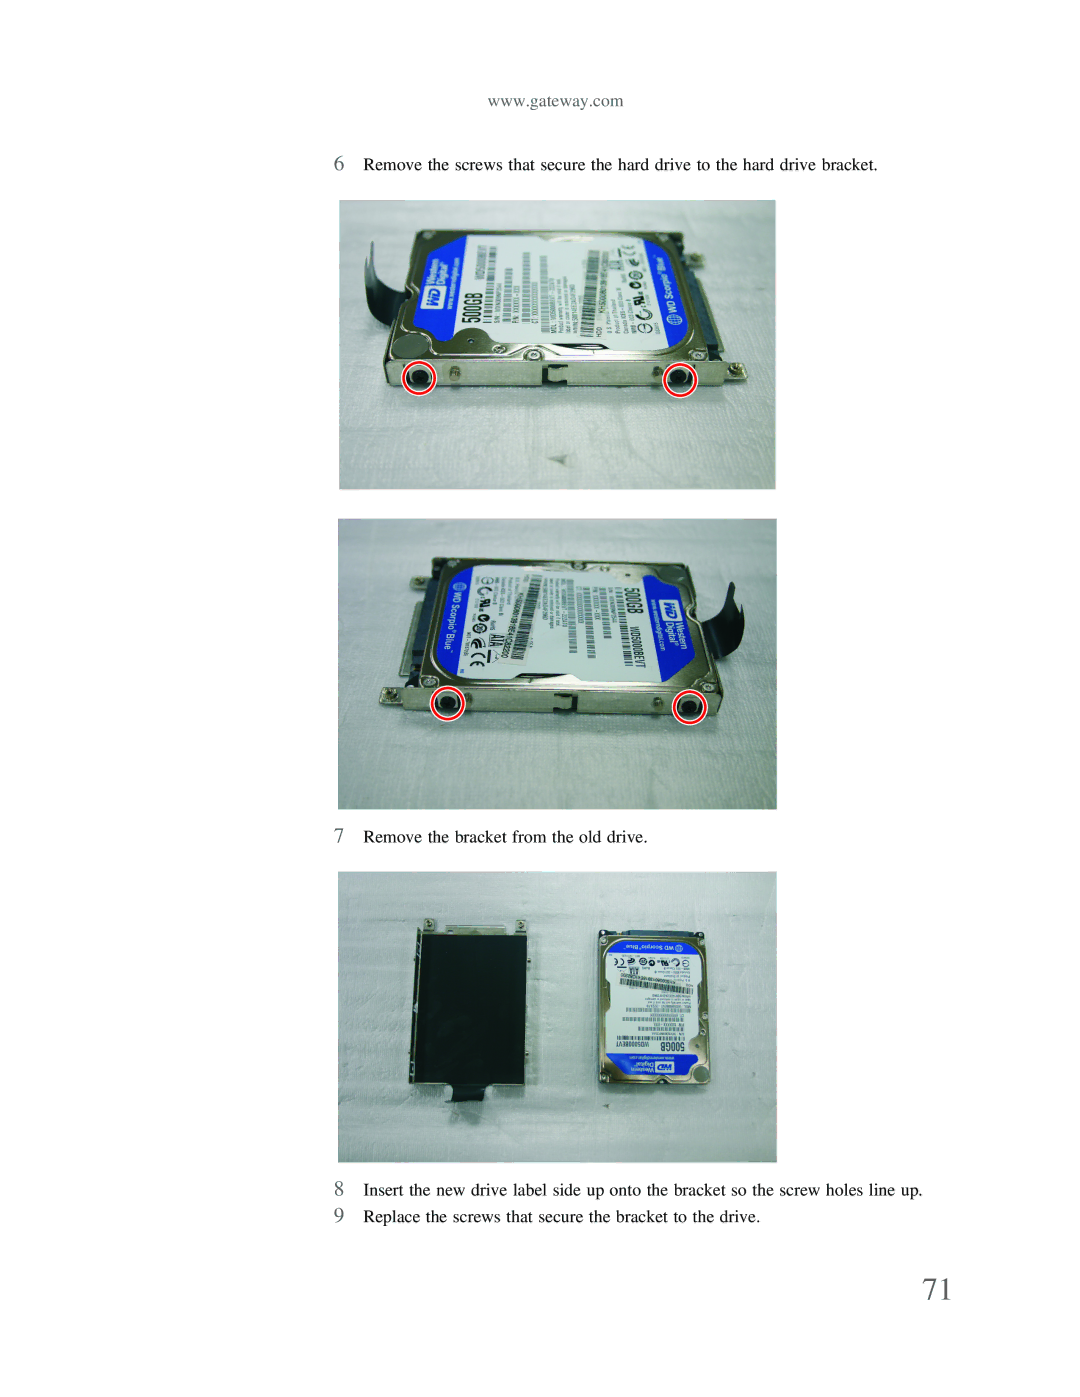
6Remove the screws that secure the hard drive to the hard drive bracket.
7Remove the bracket from the old drive.
8Insert the new drive label side up onto the bracket so the screw holes line up.
9Replace the screws that secure the bracket to the drive.
71