CHAPTER 3: Replacing notebook components
Replacing the LCD panel hinges and bracket
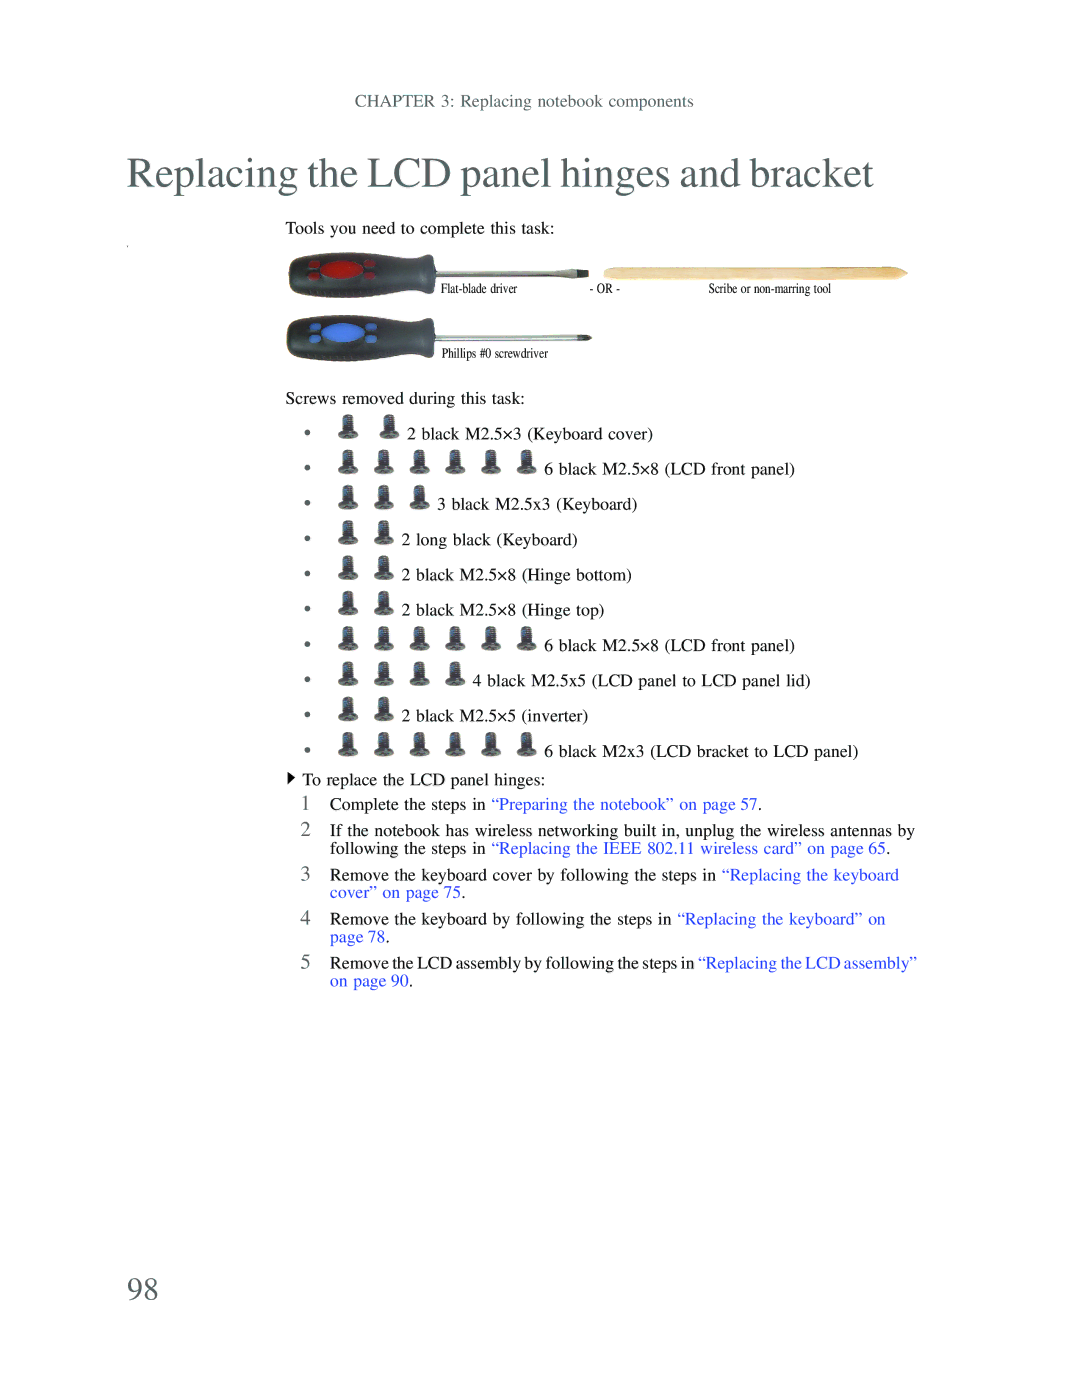
Tools you need to complete this task:
v
- OR - | Scribe or |
Phillips #0 screwdriver
Screws removed during this task:
• | 2 black M2.5×3 (Keyboard cover) |
• | 6 black M2.5×8 (LCD front panel) |
•![]()
![]()
![]() 3 black M2.5x3 (Keyboard)
3 black M2.5x3 (Keyboard)
•![]()
![]() 2 long black (Keyboard)
2 long black (Keyboard)
•![]()
![]() 2 black M2.5×8 (Hinge bottom)
2 black M2.5×8 (Hinge bottom)
•![]()
![]() 2 black M2.5×8 (Hinge top)
2 black M2.5×8 (Hinge top)
• | 6 black M2.5×8 (LCD front panel) |
• | 4 black M2.5x5 (LCD panel to LCD panel lid) |
•![]()
![]() 2 black M2.5×5 (inverter)
2 black M2.5×5 (inverter)
• | 6 black M2x3 (LCD bracket to LCD panel) |
![]() To replace the LCD panel hinges:
To replace the LCD panel hinges:
1Complete the steps in “Preparing the notebook” on page 57.
2If the notebook has wireless networking built in, unplug the wireless antennas by following the steps in “Replacing the IEEE 802.11 wireless card” on page 65.
3Remove the keyboard cover by following the steps in “Replacing the keyboard cover” on page 75.
4Remove the keyboard by following the steps in “Replacing the keyboard” on page 78.
5Remove the LCD assembly by following the steps in “Replacing the LCD assembly” on page 90.
98