CHAPTER 3: Replacing notebook components
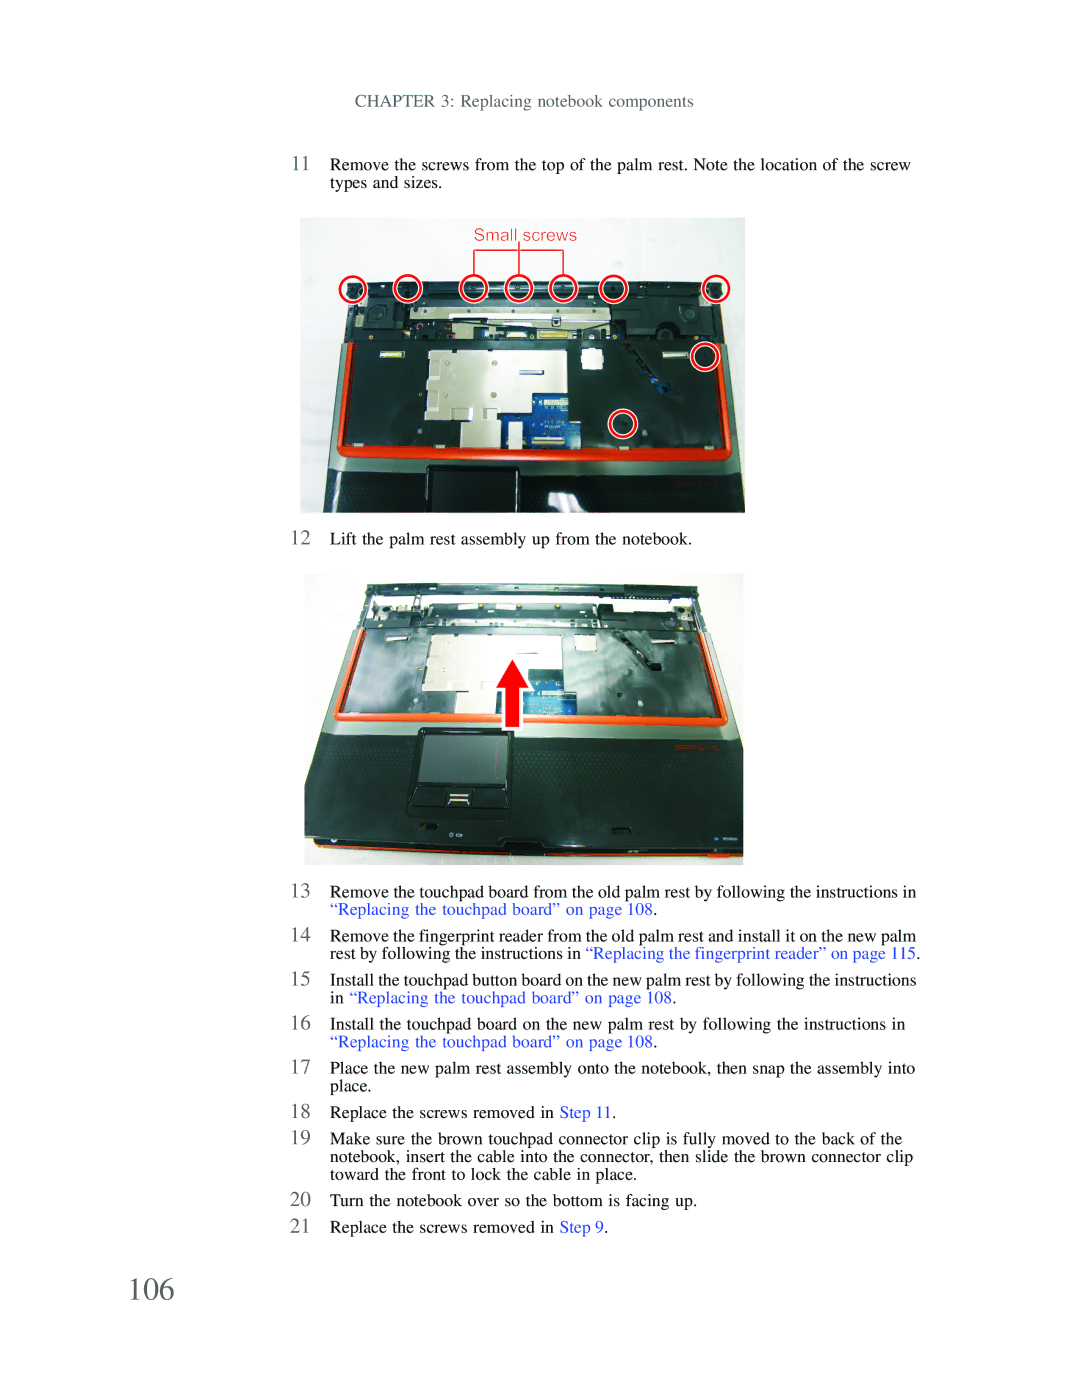
11Remove the screws from the top of the palm rest. Note the location of the screw types and sizes.
Small screws
12Lift the palm rest assembly up from the notebook.
13Remove the touchpad board from the old palm rest by following the instructions in “Replacing the touchpad board” on page 108.
14Remove the fingerprint reader from the old palm rest and install it on the new palm rest by following the instructions in “Replacing the fingerprint reader” on page 115.
15Install the touchpad button board on the new palm rest by following the instructions in “Replacing the touchpad board” on page 108.
16Install the touchpad board on the new palm rest by following the instructions in “Replacing the touchpad board” on page 108.
17Place the new palm rest assembly onto the notebook, then snap the assembly into place.
18Replace the screws removed in Step 11.
19Make sure the brown touchpad connector clip is fully moved to the back of the notebook, insert the cable into the connector, then slide the brown connector clip toward the front to lock the cable in place.
20Turn the notebook over so the bottom is facing up.
21Replace the screws removed in Step 9.